Finding the perfect photography location can be a journey in itself: sometimes it takes minutes, sometimes hours, and sometimes days. For me, it’s a mix of research, detective work, and a bit of luck. In this guide, I’m taking you behind the scenes to show exactly how I find my best landscape photography spots, whether I’m preparing for a trip abroad or heading out for a quick evening session in Switzerland.
How I Plan Photo Locations for Trips Abroad and Local Sessions
I search for photo locations in two main contexts:
✅ Planning a trip abroad
✅ Local outings in Switzerland
When I already know what I want to photograph, for example a specific lake at sunrise, my research is focused on practical details: best season, light direction, exact access point, and how long it will take to hike there.
When I don’t know exactly what I’m looking for, I go into “inspiration mode”: browsing images, reading blogs, exploring maps, and watching YouTube videos to uncover ideas and potential spots. No matter the context, I always prepare more than one location for the same day. If sunset looks cloudy at the beach, I might head to a waterfall instead, taking advantage of the soft light and moody atmosphere.
What I Look for in a Great Landscape Photography Spot
Over the years, I’ve learned that variety is key. I like to have different types of spots in my list so I can adapt to conditions:
✅ Waterfalls: perfect for overcast days when harsh shadows would ruin the scene.
✅ Winding roads: great for drone photography, especially with leading lines.
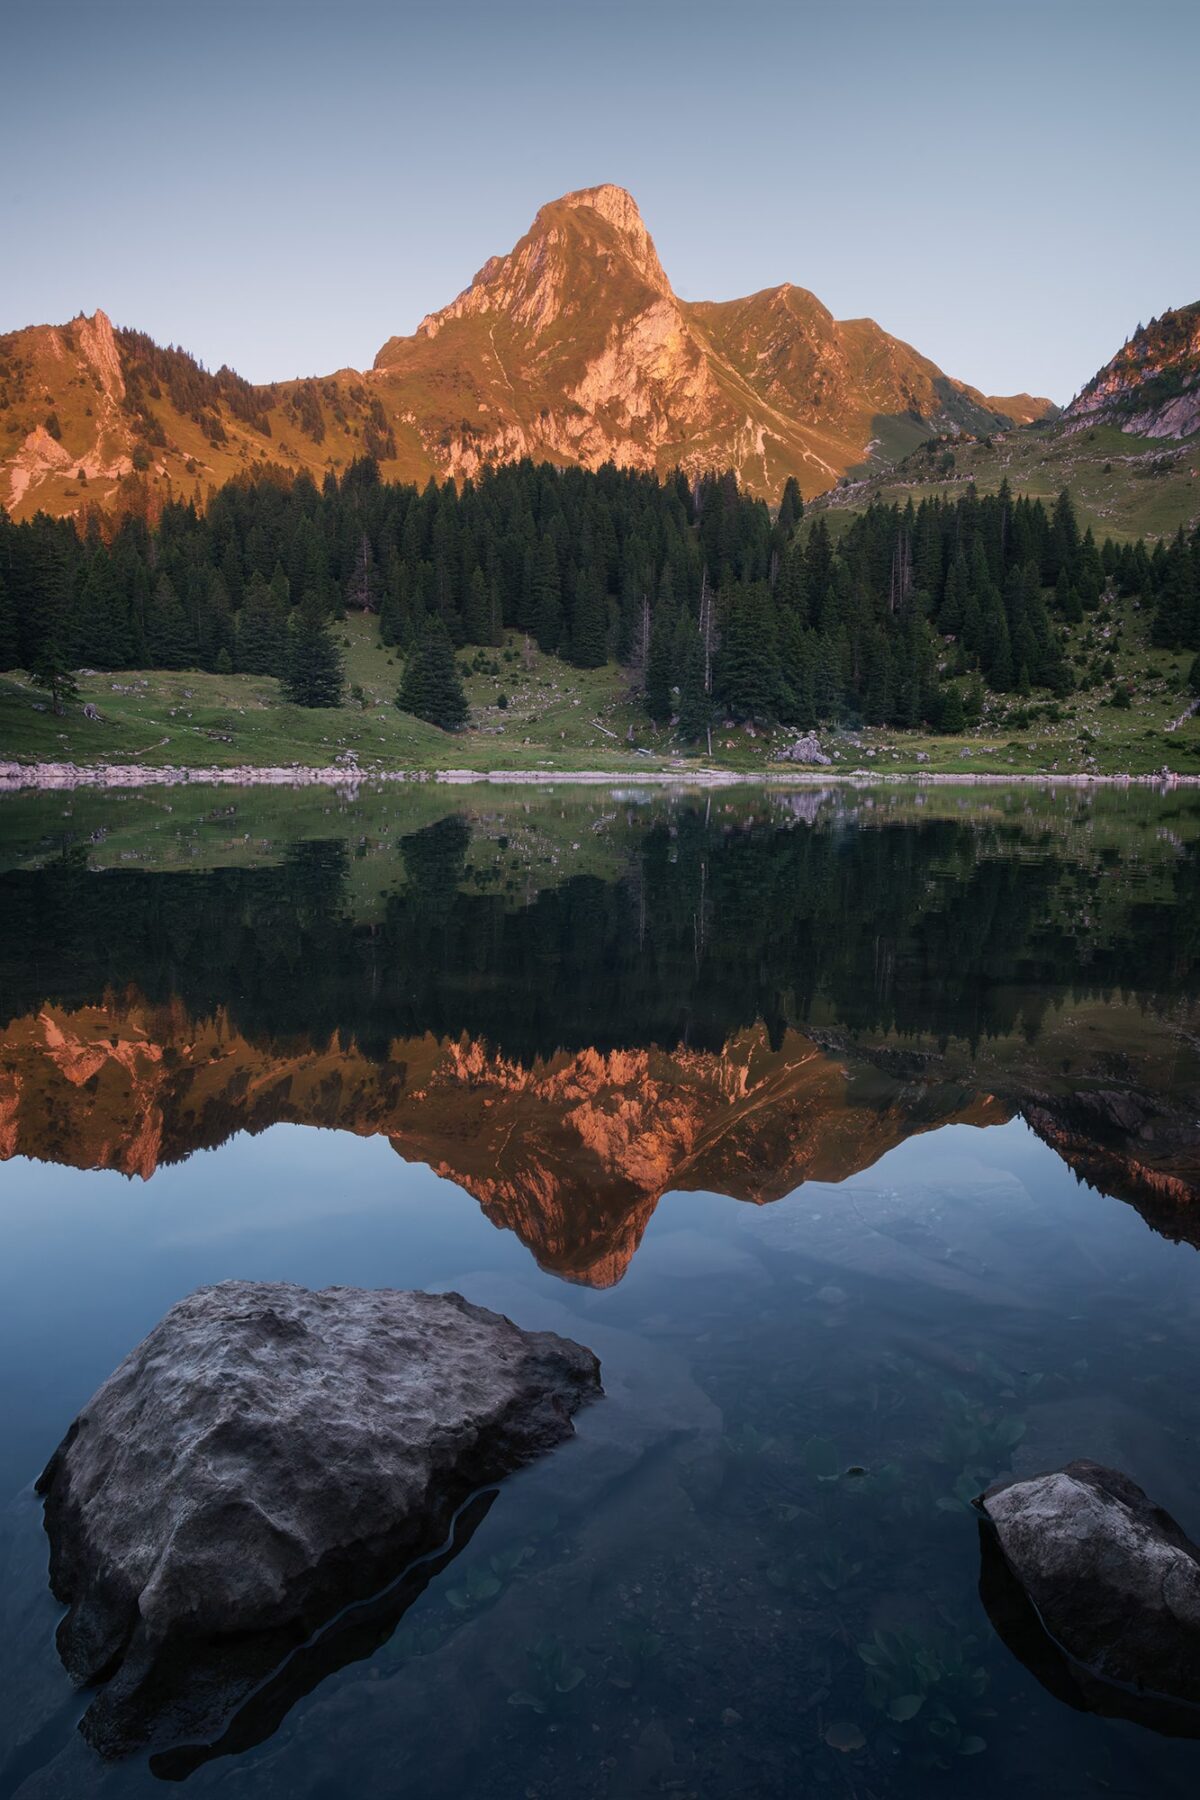
✅ Accessible mountain lakes: short hikes that still offer stunning alpine scenery.
✅ Milky Way locations: I check light pollution maps to find dark skies.
✅ Lonely trees: ideal for minimalist compositions. Sometimes I spot them on Google Maps while scouting for something else.


Hidden Photo Spots: How I Research and Plan Them
This is my favourite part: searching for less obvious, lesser-known locations. For that, I use a combination of sources:
✨ Tourism office websites: sometimes they share overlooked spots that aren’t famous yet.
✨ Travel blogs: useful for general info, but I read between the lines for clues to unique views.
✨ Portfolios of other photographers: especially locals who know their region well.
✨ Instagram: I explore hashtags and location tags.
✨ YouTube: video travel guides often show hidden angles and perspectives.
✨ Photography location maps: some photographers sell maps with their favourite spots.
✨ Google Maps & Google Earth: I zoom in, check satellite view, and sometimes “walk” the path in Street View to get a feel for the landscape.
How I Plan Photography Locations for the Best Light and Weather
Finding a location is only the first step: then comes the planning. I:
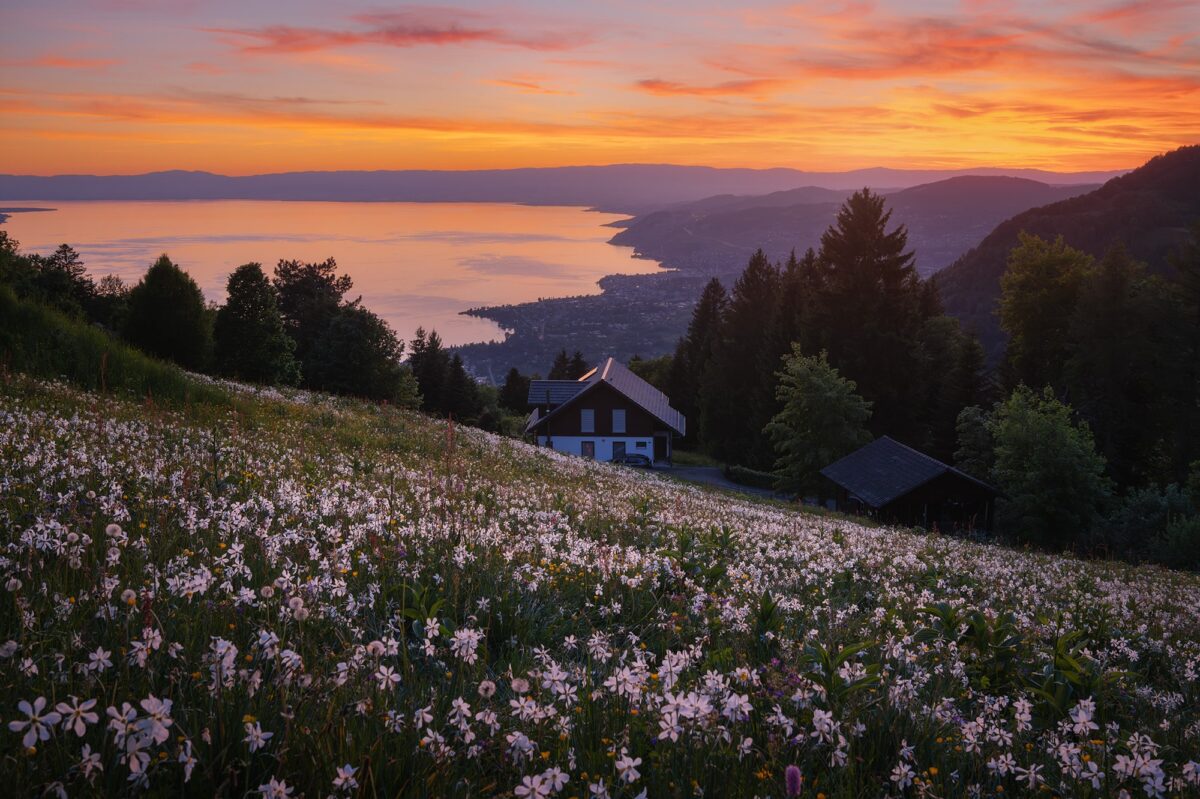
✅ Choose the right season depending on the atmosphere you want to capture: wildflowers in spring, autumn colours, or fresh snow in winter.
✅ Look up the sunrise and sunset times and light direction.
✅ Monitor weather conditions: I often check local webcams before leaving to see if fog, clouds, or fresh snow are actually there.
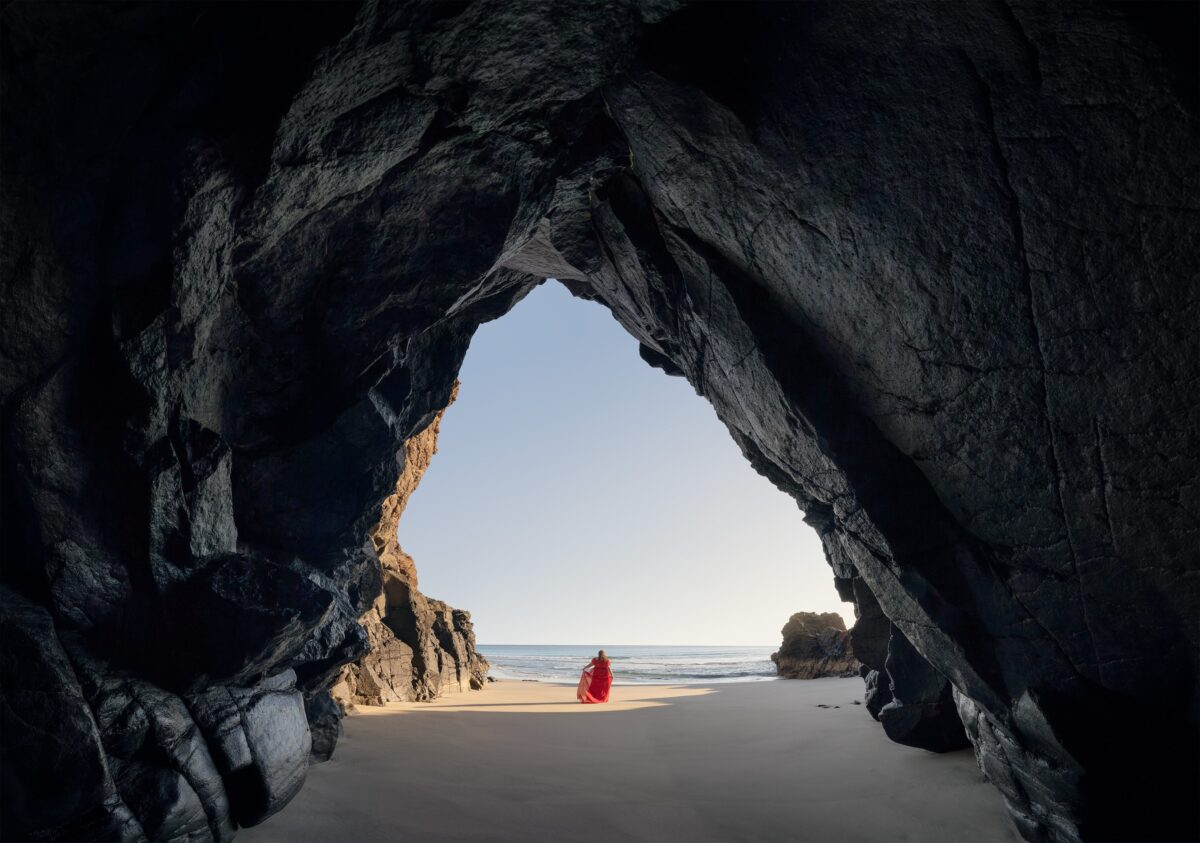
✅ Check tides when I need them for reflections or access. For example, at Famara Beach in Lanzarote, I went at low tide to get perfect reflections on the wet sand.
✅ Identify access points and possible backup routes.
✅ Estimate how much time I’ll need on-site to explore and set up.
I also create “plan B” and “plan C” options for the same day. If my mountain viewpoint is hidden in clouds, I’ll head to a nearby lake or forest where the conditions work better.
What I Do When I Arrive at a Photo Spot
Once on location, I like to arrive at least an hour before I plan to start shooting. This gives me time to walk around, study the light, and think about different compositions. I try not to pack my travel schedule too tightly, because some places inspire me to stay for hours, while others make me move on after just a short while. Giving myself this flexibility is essential for creativity.
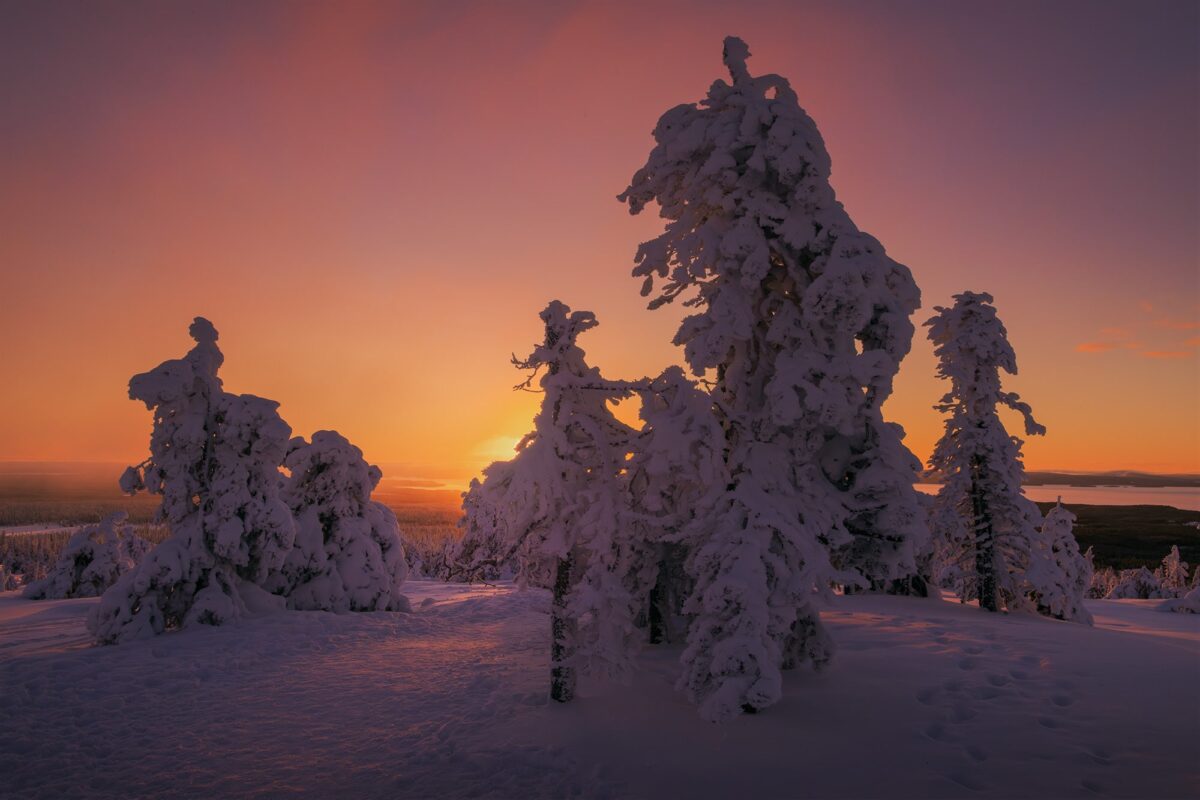
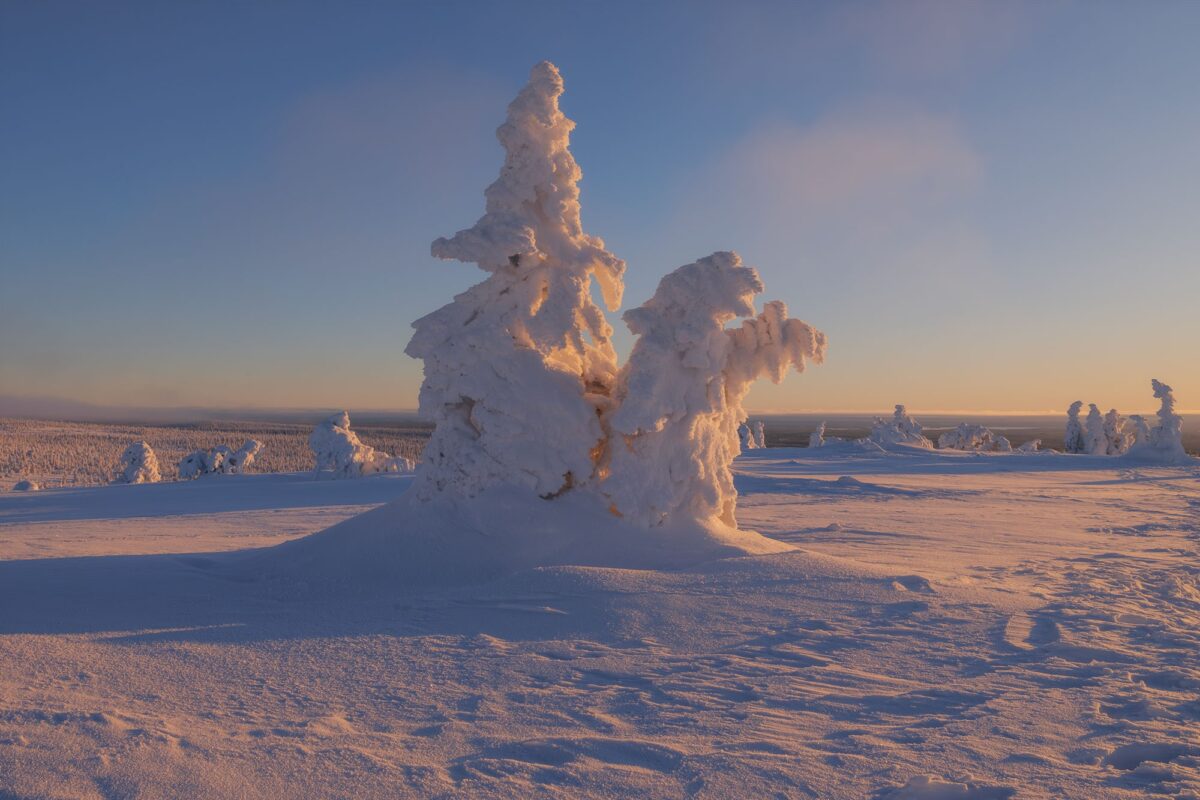
For example, at Riisitunturi National Park in Finnish Lapland, I arrived about one hour before sunrise. This gave me the chance to capture the blue hour, twilight, the first light of sunrise, and the soft glow at the end of golden hour. In just a few hours, within a relatively small walking area, I was able to create four completely different images. Taking the time to explore slowly allowed me to notice details, observe how the light was evolving, and identify several unique compositions I would have missed if I had rushed.

Why I Don’t Share All My Photography Locations
Sometimes, finding a spot is straightforward. Other times, it’s like piecing together a puzzle: a hint from a blog post, a glimpse of a peak in the background of someone’s Instagram Story, a name that pops up on a hiking forum.
Behind every image there’s a lot of time, energy, and personal discovery involved. That’s why I don’t share all my exact locations publicly, not to keep secrets, but to preserve the value of exploration, encourage others to experience their own discoveries, and protect delicate environments from being overrun.
Published on October 11, 2025 by Jennifer Esseiva


