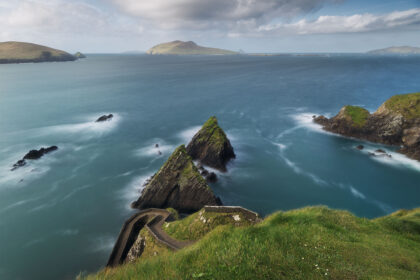
Do you dream of photographing an ice cave? When you envision ice caves, perhaps you picture them tucked away in remote, inaccessible corners of the world. Yet, surprisingly, Switzerland boasts its own enchanting ice caves, some of which are easily reachable by foot. In this article, I explain how to get to the Zinal ice cave and how to prepare for successful landscape photography. At the end of the article, I’ll share the camera settings I used for my panorama of the Zinal ice cave.
The Zinal ice cave is a dynamic natural wonder, constantly evolving with each passing year. With every winter season, it unveils new formations, offering endless opportunities for epic landscape photographs!
Stay safe, stay prepared: tips for exploring the Zinal ice cave responsibly
The Zinal ice cave is accessible from November to mid-March. During the other months of the year, it is too hot and dangerous to venture inside.
As with any mountain hike, there are risks involved in trekking to the Zinal ice cave. Before you set off, be sure to check the weather conditions and avalanche bulletins.
Here’s the information I check the week before I set off and on the morning of my departure. I only embark on this walk if the weather is good and the conditions are ideal.
➜ Avalanche bulletin
➜ Val d’Avinniers webcams
➜ Ski slopes openings
➜ Swiss weather
Get a private guide
If you wish, you can book an expert guide to take you to the cave. He’ll be able to give you lots of explanations about the site. You can find all the information and contact details for booking your visit to the Zinal ice cave directly on the Val d’Avinnier website.
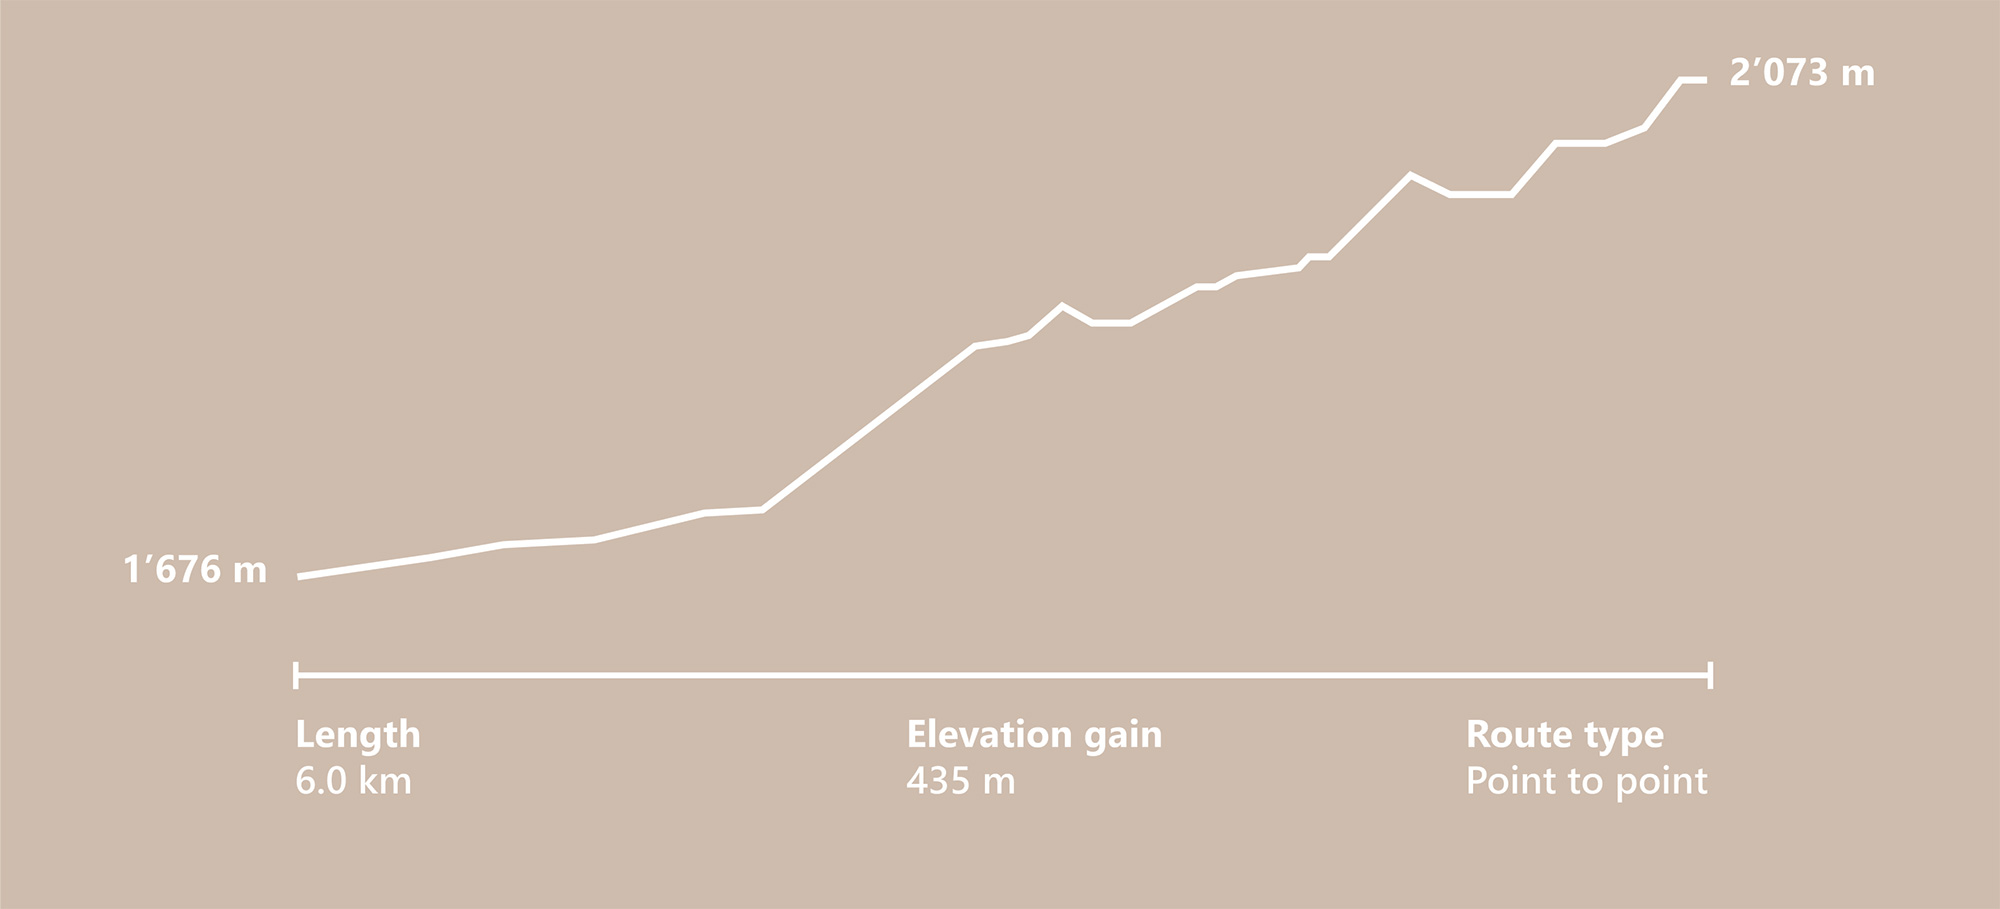
Zinal ice cave hike: trail info
The hiking trail to the Zinal ice cave starts from the car park at the end of the village of Zinal.
➜ Car park
The walk is about 6 km long and 500 m ascent, one way. 2/3 of the way is signposted, while the last part is not. You’ll be walking directly on the glacier plain. Generally, the ascent takes between 2h30 and 3h. The descent is a little quicker, by the same route. So it’s a relatively long hike, but it’s still doable.
I advise you to set off early in the morning, so that you have plenty of time. The cave is a local highlight and several people visit it, so you probably won’t be alone. If you leave yourself some time, you’ll be able to enjoy this unique place and you’ll also have more opportunities to take good photographs.
Equipment and clothing
For a successful photo trip to the Zinal ice cave, I’d advise you to make sure you’re well equipped in terms of clothing and equipment, and to take something to eat with you. There are no shops along the way. It’s pure nature!
Equipment :
– Snowshoes
– Hiking poles
Clothing :
– Shoes suitable for snowshoeing (waterproof and warm)
– Ski trousers
– Ski jacket
– Hat and gloves
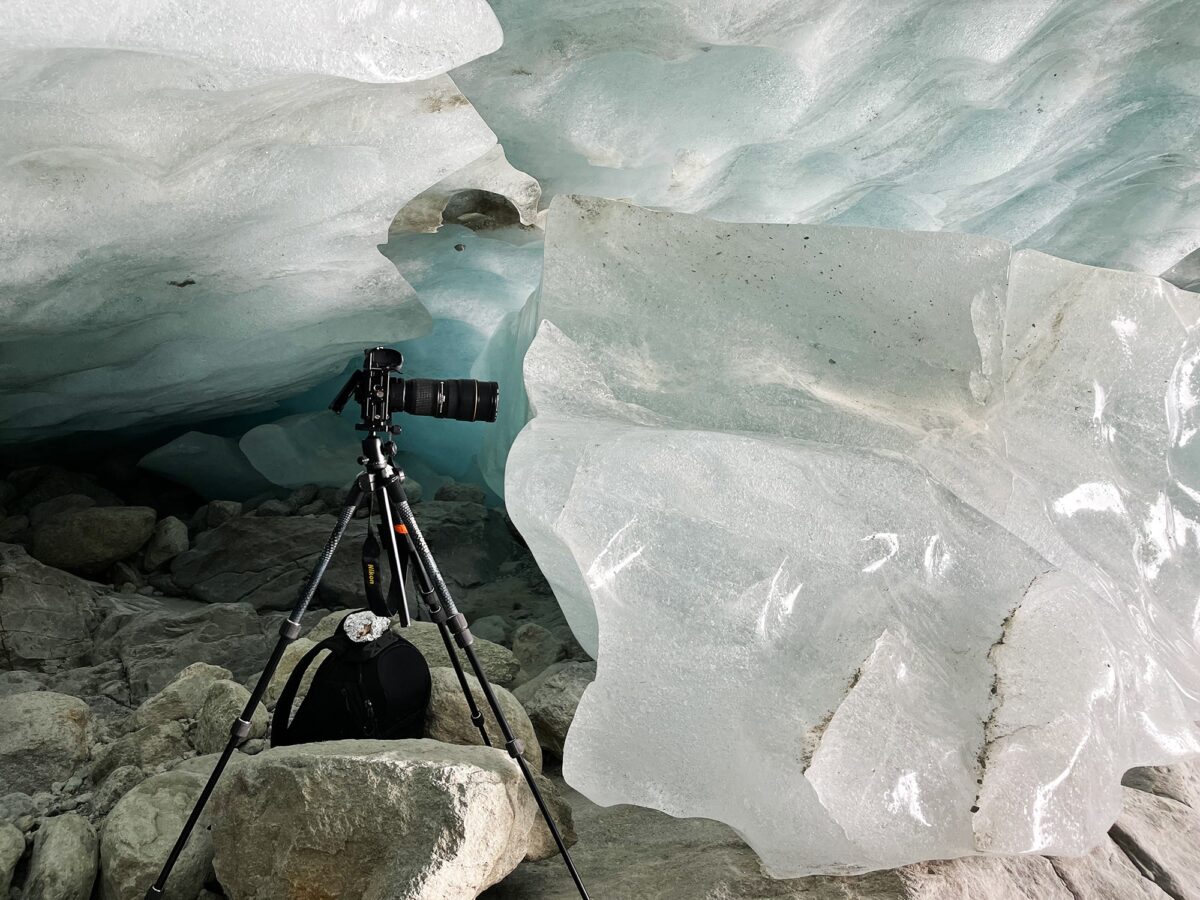
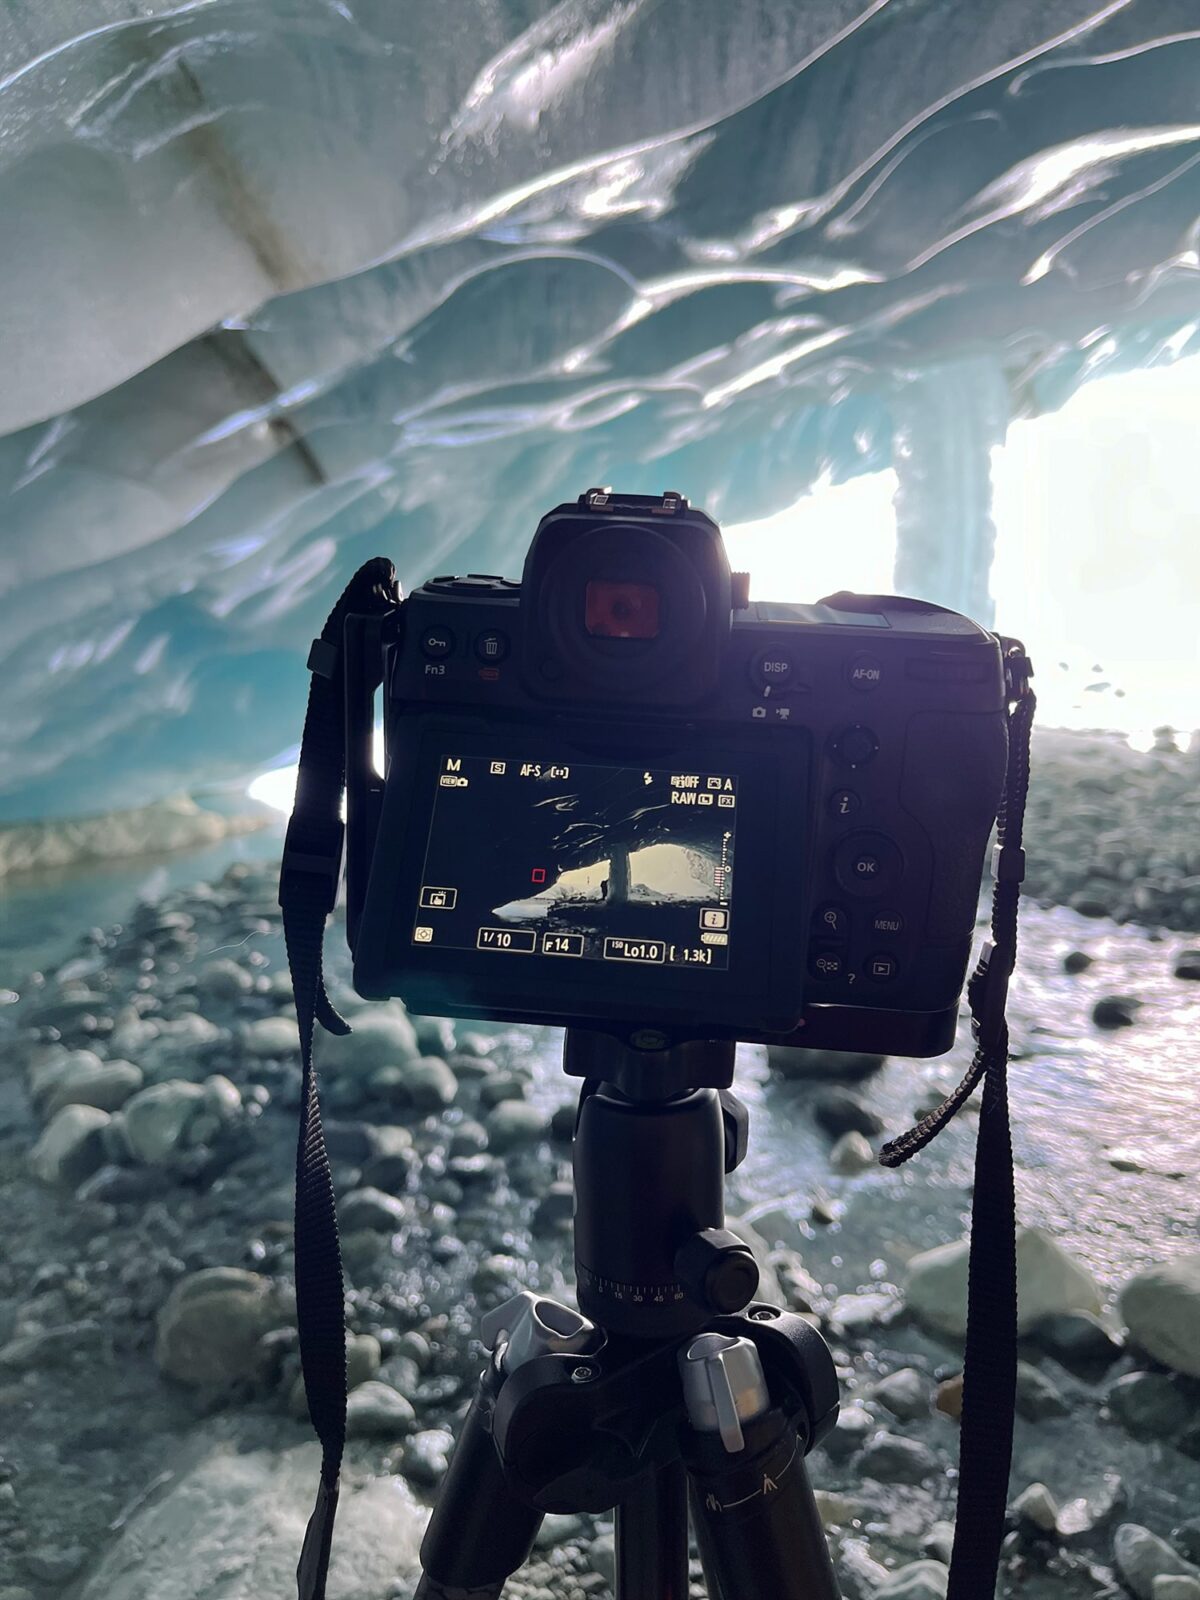
Photo equipment
And most importantly, what photographic equipment should you take with you? As the hike is long, it’s best to travel with a light bag. Here’s what I suggest you take with you to create amazing landscape photographs.
– Camera body
– Wide-angle lens
– Macro lens (if you want to photograph ice details)
– Tripod
– Remote control (for long breaks)
The Zinal cave is relatively large, but it’s also relatively dark. To ensure great images, I really recommend taking your tripod, which will allow you to make long exposure times.
The two times I went there, there was a small river running through the cave. It’s also an interesting element that can be incorporated into your compositions.
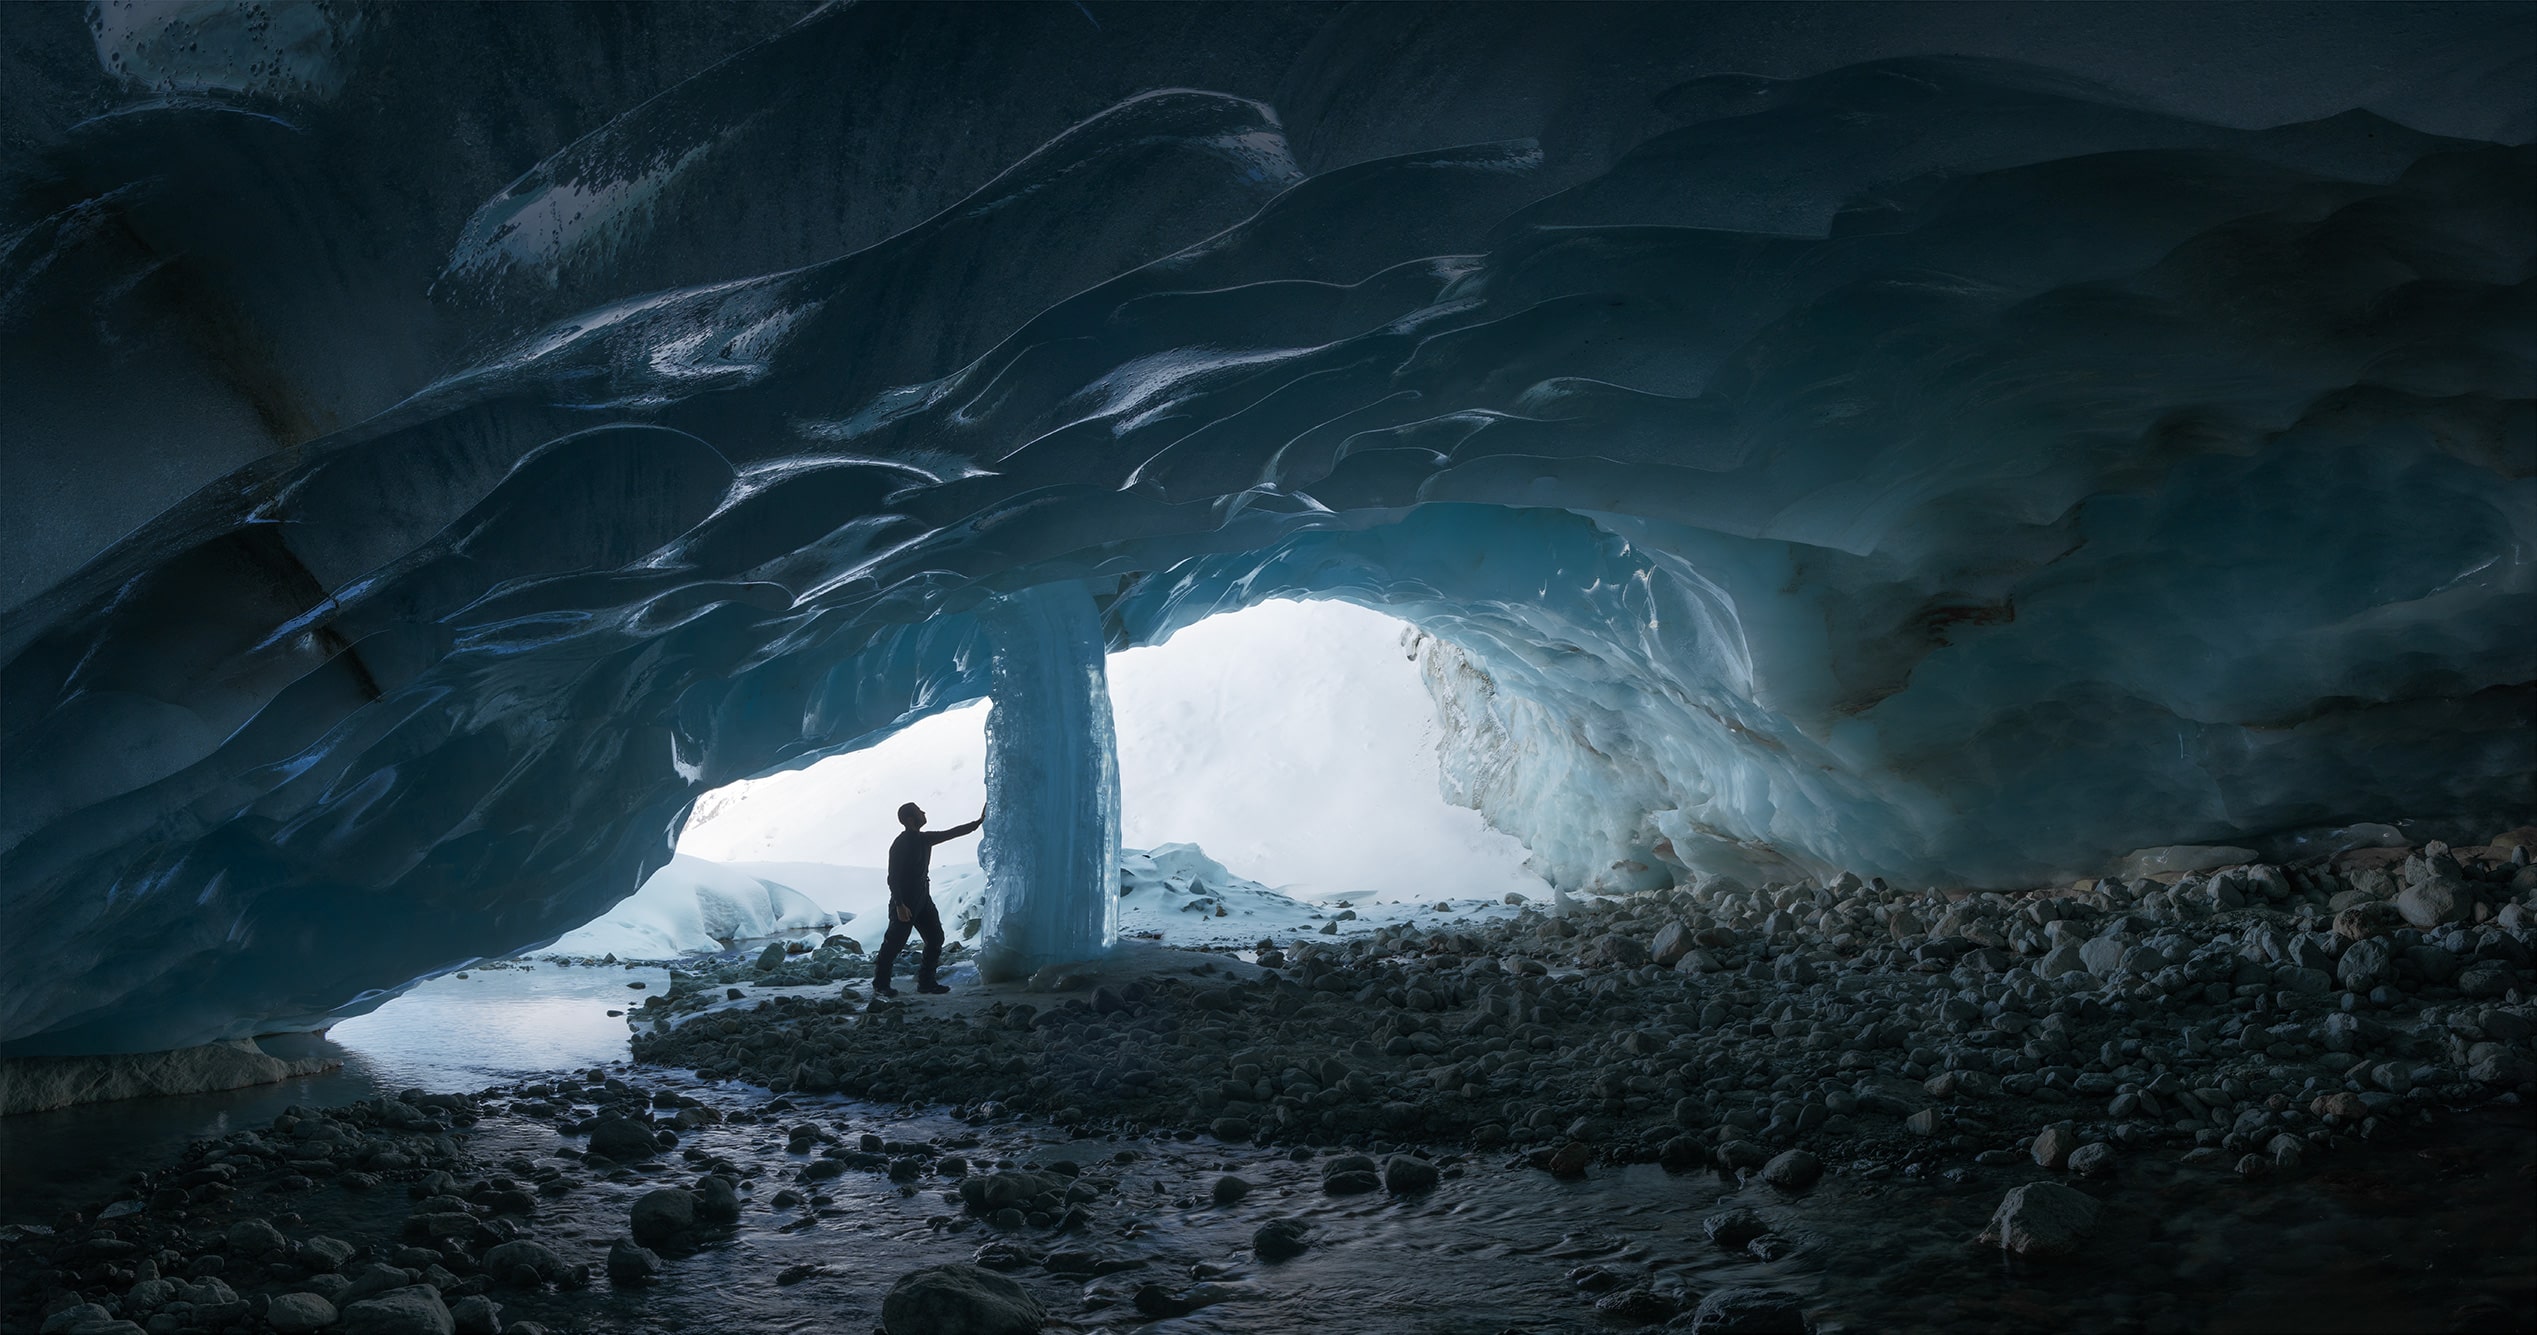
How I shot this panorama landscape photography
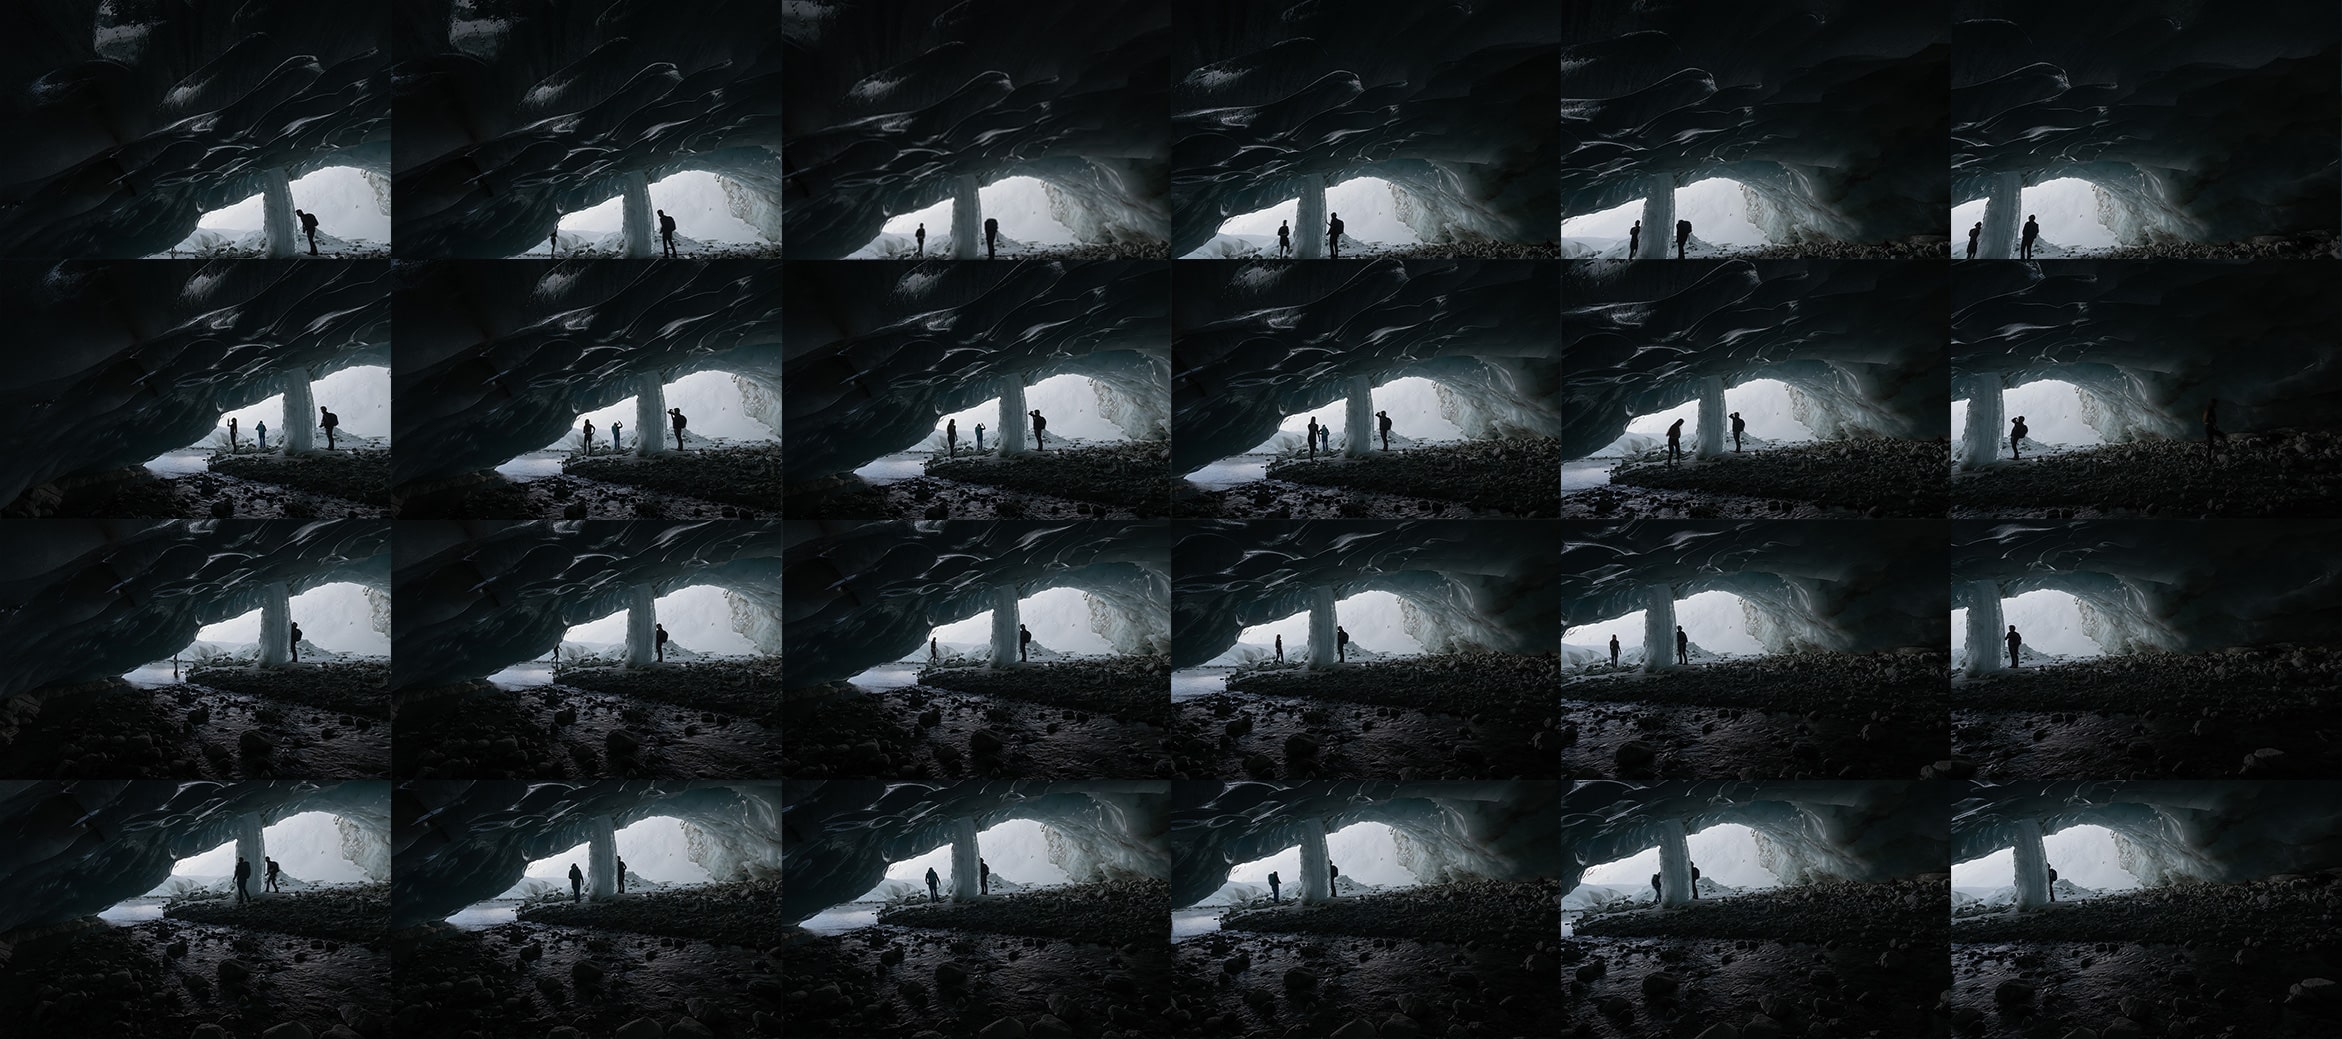
This photograph is actually a panorama made up of 24 photos that I stitched together directly on Adobe Camera Raw.
To create this landscape photography panorama, I put my camera on my tripod so that I could take photos while only moving my Nikon Z8 horizontally. I started by taking photos of the ceiling and took 6 horizontal photos. Then I lowered my camera and did the same. My aim was to photographically cover the entire area that I wanted to include in my final photograph.
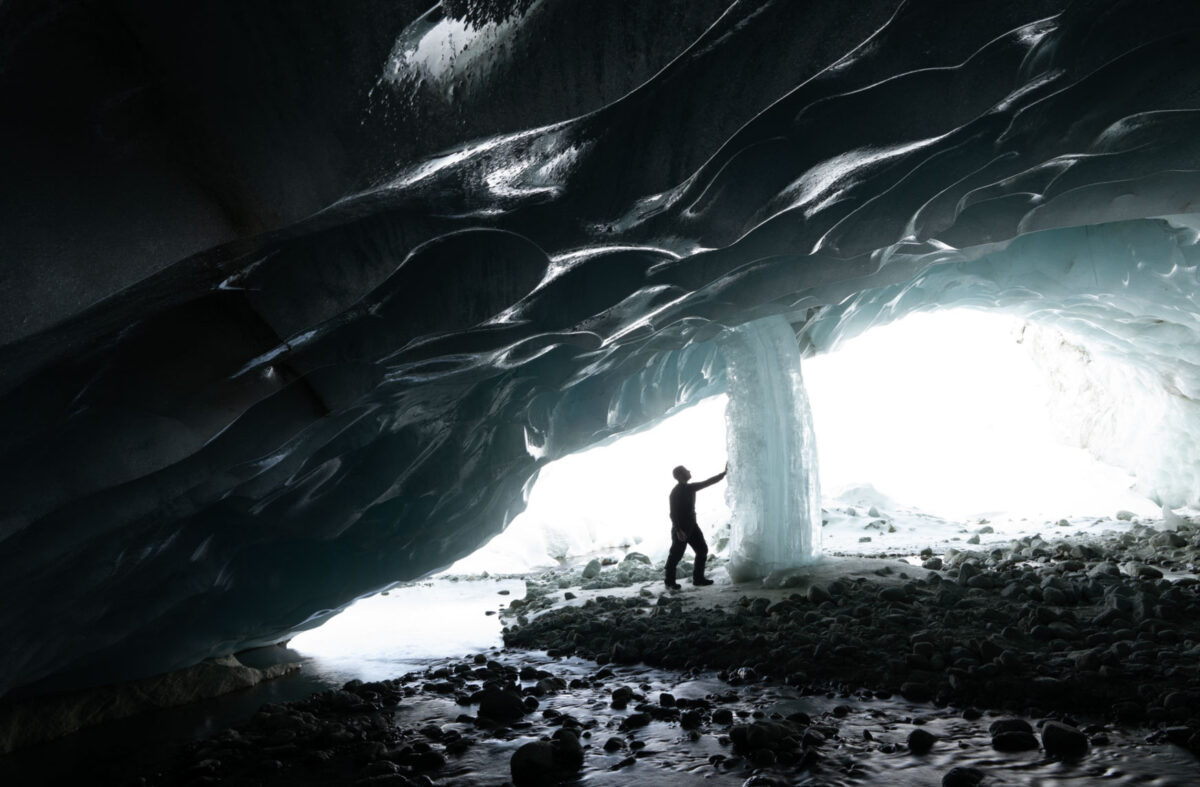
Once my panorama was complete, I took one last photo of my friend close to the icefall. I incorporated it into my photoshop afterwards.
As the cave was very bright at the entrance and very dark at the back, I double-exposed each photo so that I could combine them in Photoshop using the luminosity masks.
➜ Tips panorama
When you create a panorama, make sure you take enough photos. Each time you take a new image, make sure you always re-photograph part of the previous photo, otherwise your editing software will not be able to create your panorama. It’s better to have too many “photographed areas”, because your software will automatically cut off part of the image when you stitch it together.
Be careful not to touch the focal length of your lens. When you start your panorama, don’t touch your lens. For example, if you take your first photograph at 24 mm, stay at 24 mm for all subsequent photographs.
MY GEAR
Camera Body: Nikon Z8
Lens: Nikkor 24-70mm f/2.8
Tripod: Manfrotto Element Traveller Small Carbon
CAMERA SETTINGS
ISO 32, f/14, 1/8S
Published on 26.03.2024 by Jennifer Esseiva