Having immersed myself in landscape photography for several years, I’m excited to offer you 10 valuable tips for optimizing your photo sessions. Drawing from my own journey and the lessons learned from my mistakes — like the infamous memory card blunder — I’m eager to share insights gleaned from personal experience. My hope is that these tips will serve as a guiding light, empowering you to enhance your own photography endeavors.
1. Mastering your shots: the importance of location research in photography
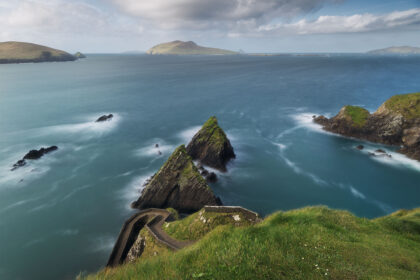
Before setting out to take landscape photos, I always research the place I want to photograph. On Instagram, I collect photos I like of each place I’m thinking of going to shoot, to have a base of inspiration.
Then, once I’ve chosen a particular landscape, I go to Google Maps and Google Earth to get a better view of the location. For example, I look for a parking lot and find out how I can get there. Sometimes I have to walk a few kilometers, take a bus or a cable car. This allows me to plan how long it will take to get there in advance. For example, if my aim is to take a photo of a sunset in a place I don’t know, I need to arrive at least an hour early. I need time to get a feel for the location and plan my composition.
2. Elevate your photography: select the right photo gear
It may be silly advice, but before you leave, always check that you have all your equipment. It’s easy to forget your memory card on your computer at home, only to realize it when you get there.
Before you leave, think carefully about what you’re going to photograph. If access is easy, I’d advise you to take all your gear. On the other hand, if you’re going on a hike lasting several hours with a lot of elevation gain, it may be a good idea to have a lighter bag. Make sure all your batteries are charged. It would be a shame to run out of batteries.
Landscape photography, as the name suggests, is generally done outdoors. So you’ll need the right clothes for the weather and the geography. For example, in winter in Switzerland, it can be very cold. If the wind is blowing, it’s best to wear gloves to avoid frostbite.
Here’s my checklist before you leave :
– Camera(s)
– Lens(es)
– ND and polarizing filters
– Remote control
– Tripod
– Fully charged batteries
– Memory card(s)
– Clothing (shoes, warm clothing, hat, cap, gloves, thermal clothing)
3. Exploring the Power of Polarizing and ND Filters
Polarizing filter
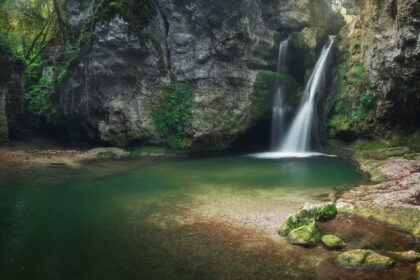
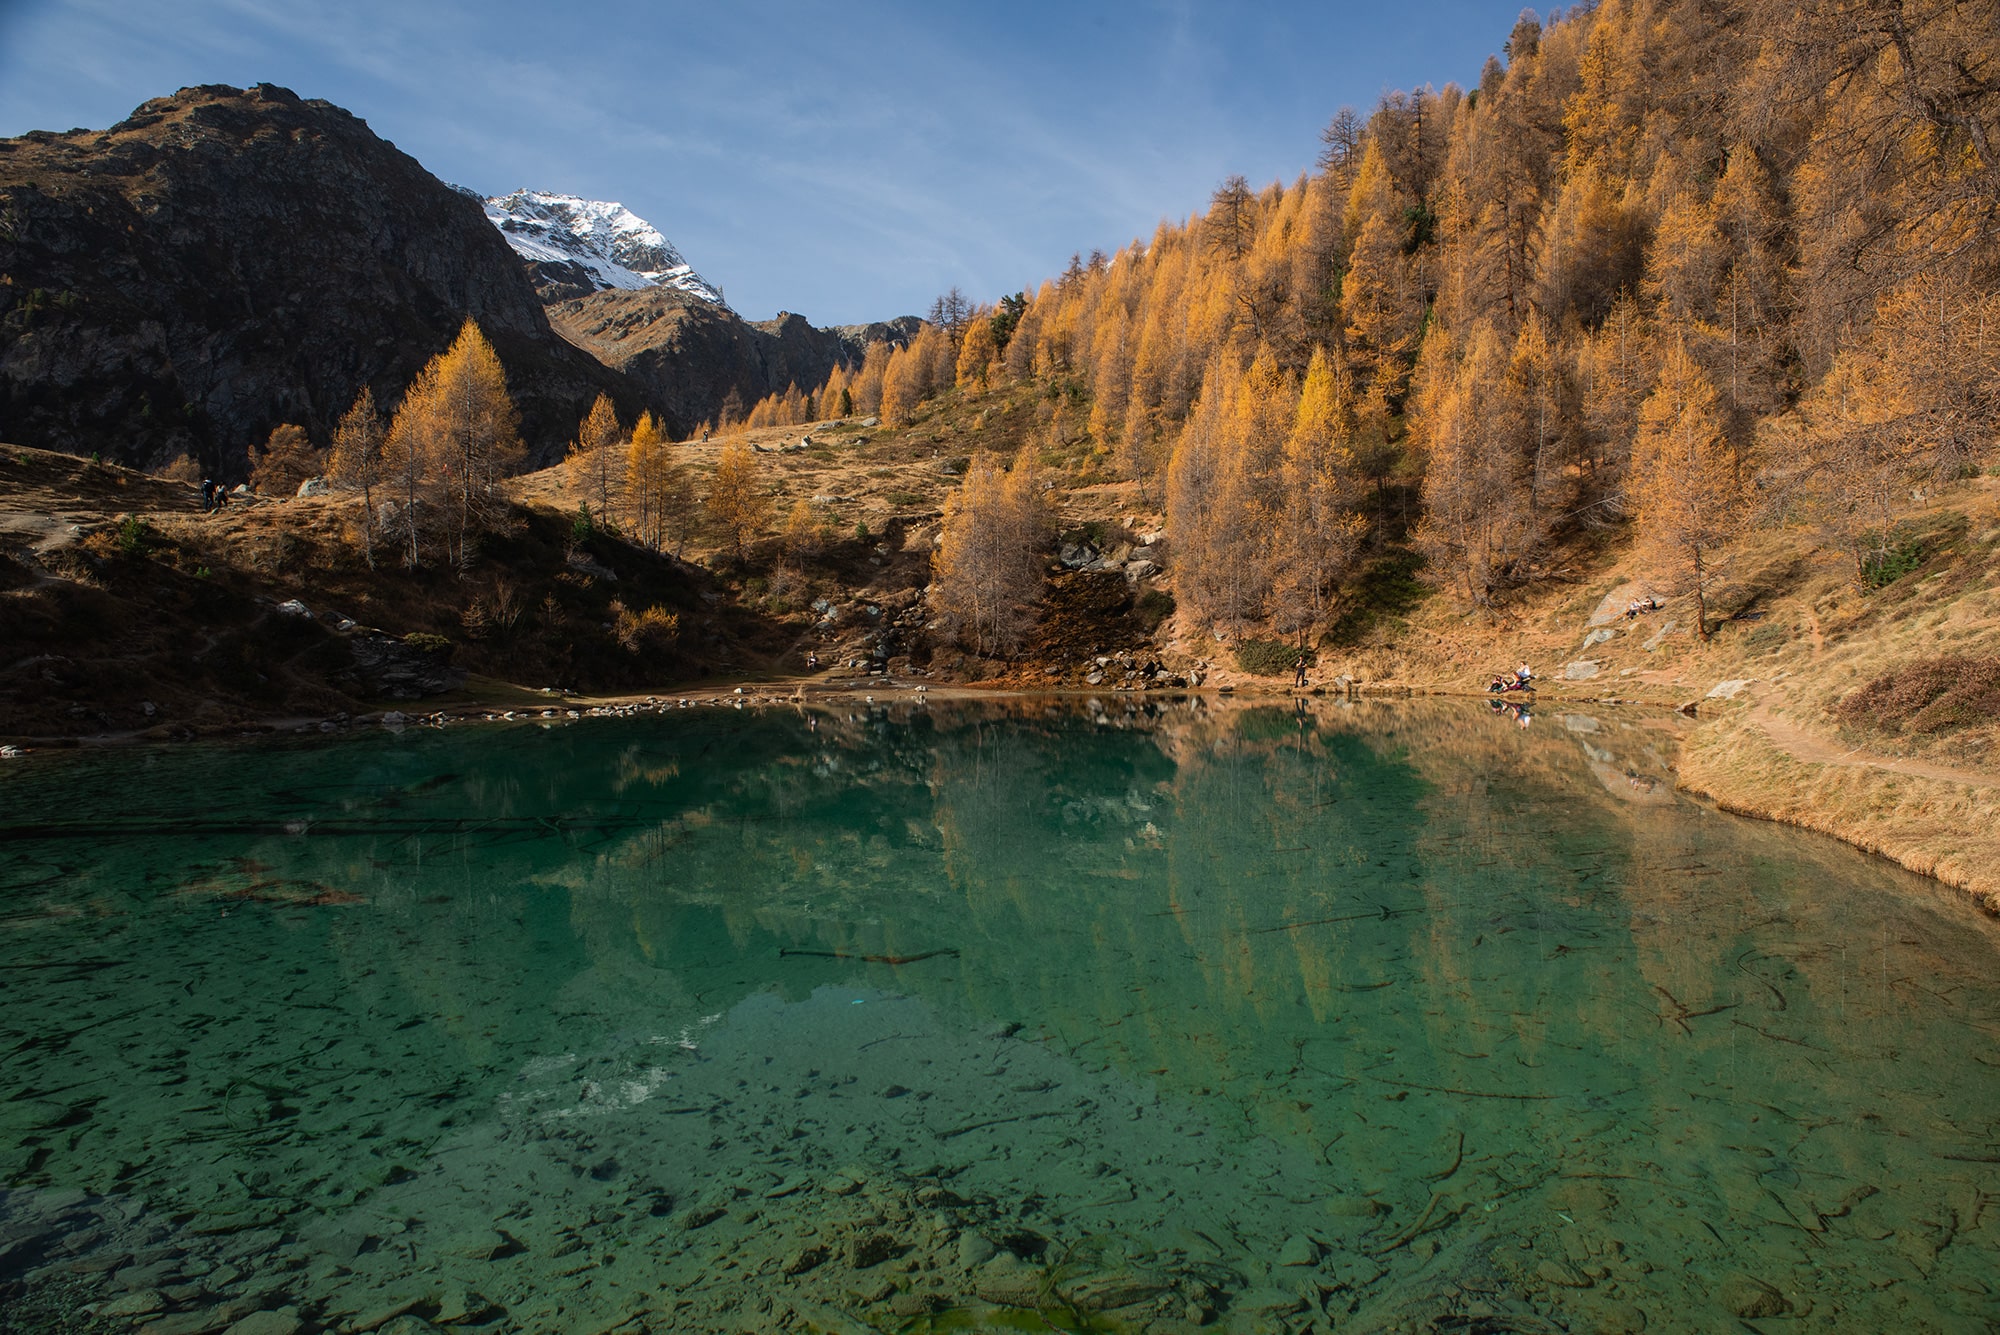
A must-have in your camera bag! It reduces or eliminates reflections. This is particularly useful when photographing lakes or rivers. This filter lets you see the bottom of the water. In the forest, it will erase reflections on leaves.
➜ I use the Hoya polarizing filter PRO1D CIRCULAR PL
ND filter
ND filters are darker filters that reduce shutter speed and create a kinetic blur. If you’re in bright sunlight and want to take a long exposure of a river, you’ll need an ND filter.
➜ I use the Hoya PROND Filter kit containing ND8 (3-stops), ND64 (6-stops) and ND1000 (10-stops). That covers all situations.
I like these filters because they allow me to be more creative and open up more possibilities. It’s very personal, but I think you need to test them a few times to see the results and make up your own mind.
4. Take the appropriate clothes for photography excursions
No matter where you’re going, I’d advise you to take appropriate clothing. Often, in landscape photography, you’ll be walking to the viewpoint and staying in one place for a while. You need to have something to protect you from the wind, rain, cold, heat and sun.
There are lightweight thermal garments that can be worn under your main clothes. I particularly like thermal gloves, which are very thin, protect from the cold and allow me to handle my equipment well.
As for footwear, I’d advise you to choose a waterproof pair with a very good sole. Mine can be worn in both summer and winter. To be able to walk in the snow, I have crampons and/or snowshoes, accompanied by poles to help me.
5. Planning ahead with weather forecasts
For my part, I have a list of places I want to photograph in a certain weather. I have several apps that let me check for red sky, fog, rain and wind, including VIEWFINDR. This lets me know whether or not I’m going to a certain place.
When you travel, you depend on the weather. You may not get the chance to go back, so you have to adapt. In such a case, I observe the place and look for guidelines to create my photography. I try to change lenses to get a tighter or wider shot. And sometimes, you get what you get!
6. Exploring composition: experimenting with various perspectives
When you get there, you may already have a composition in mind. Once you’ve done that, I suggest you take a good look around you and try out other compositions. Every place can be photographed in different ways, so don’t be afraid to try other things! And the more you immerse yourself in a place, the more you’ll be able to capture its essence.
Take time to observe the guidelines, interesting elements to bring to the foreground to energize your photo. Sometimes all you need to do is change the angle to get a more dynamic image.
Don’t hesitate to experiment with other types of photography: horizontal, vertical, panorama, long exposure. In the worst-case scenario, you may not like the result when you get home, but you won’t go home thinking: gee, I should have tried that anyway.
7. Embrace patience: the key to capturing the perfect shot
It’s rare to arrive at a location, get out of your car and capture the photo of the century! If that happens to you, you’re in luck!
Patience is a virtue, and sometimes I find it hard to be patient myself. But you have to know how to wait a few minutes. It depends on where you are, and the weather changes more or less quickly. For example, I once waited 5 hours in the same place for the fog to lift and reveal the landscape. It took a really long time, but I was able to take the photo I’d come for!
8. Try again, again and again
To improve, you have to do the same thing over and over again to perfect it. In my opinion, the more you get out and do landscape photography, the more confident you’ll be and the better your compositions will be.
I often go to the same place because it’s close to home. As I work 100% in marketing, I can’t afford to go to the mountains just because there’s a beautiful sunset. I’ve found a photo spot that I like right next to my house, and during the week, if the sky is interesting, I drop in for a little walk. It gives me a chance to do some photography, try out new compositions and hone my skills. As it’s close to home, I don’t feel any pressure to get a good shot or not, I can always come back.
9. Inspire and elevate: challenging yourself
The world of photography is vast. Every artist photographer has his or her own vision. I follow several photographers and love looking at their work. Not only does it make me want to travel and visit other places, it also makes me question my own work.
Their photos inspire me to do even better, to create even more! By looking at the work of other landscape photographers, I try to see why their photos appeal to me more than my own. And that helps me to improve. You shouldn’t tell yourself that you’re better or worse, just that other people are talented and their work deserves to be seen and inspired, without copying it of course.
10. Learning from failure to enhance your landscape photography
It doesn’t matter if you fail. Sometimes it will take several attempts before you get the photograph of your dreams. But you have to accept that you won’t win every time, because with each attempt you’ll have learned something. And that’s important. You’re getting better, you know yourself better and you’ve learned about your environment. Keep trying, you will succeed.
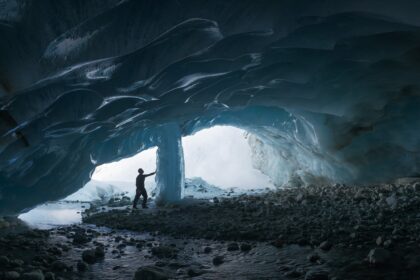
I’ll share with you one of my bitter failures: I absolutely wanted to photograph the Zinal ice cave in Switzerland. The first two times, I didn’t manage to reach the cave. For me, the hike was really difficult and I really had a hard time of it. Fortunately, I was able to count on the support of my friend, who forced me to try a 3rd time, which turned out to be the right one! I was at the end of my tether when I got there, but once I got there I was just too happy to be able to take my photographs. Which I find bland now and I’m planning to go back a 4th time, 2 years later.
Published on 24.02.2024 by Jennifer Esseiva