Water has always been one of my favorite subjects to photograph. Whether it is the ocean, a lake, a river or a waterfall, I am always drawn to it.
Depending on the scene, I often use long exposure photography to create a spe cific mood. Sometimes I go for very long exposures to simplify the image and make it feel softer and more minimal. Other times, I prefer shorter shutter speeds to keep the movement and energy of the water.
What I really enjoy is how much a single location can change depending on your settings. The same scene can feel completely different, from wild and dynamic to calm and almost abstract.
In this article, I will show you how I use long exposure photography in different environments through real examples, and share both my creative approach and the settings behind each image. If you are curious about the gear I use, you can also check my photography gear guide.
What is long exposure in landscape photography?
Long exposure photography is a technique where you keep your shutter open longer to capture movement in a scene. In landscape photography, it is often used to transform elements like water or clouds. Instead of freezing the moment, you let the movement appear in the image. Water becomes smooth, waves turn into soft lines, and clouds can stretch across the sky.
The result depends entirely on your shutter speed. A shorter exposure will keep texture and energy, while a longer one will create a softer and more minimal look. Because more light enters the camera, you often need tools like ND filters to control the exposure, especially during the day. I will explain how I use them later in this article.
Essential gear for long exposure landscape photography
Long exposure photography can be a bit tricky without the right gear, especially when shooting in bright conditions or close to water. Over time, I have found a simple setup that works really well for me and that I carry on most of my photography trips. If you are curious, I have shared my full gear list in a dedicated article.
ND filters
ND filters are essential for long exposure photography. They reduce the amount of light entering the lens, allowing you to use slower shutter speeds without overexposing your image. The strength of an ND filter is measured in stops, each stop reducing the light by half. For example, if your correct exposure is 1/125s, using a 3-stop filter (ND8) will allow you to shoot at 1/15s.
These are the three filters I use the most:
✅ ND8 : Perfect for subtle effects when you want to keep some movement in the water.
✅ ND64 : A great balance for sunrise or sunset when there is still quite a lot of light.
✅ ND1000 : Ideal for very long exposures in daylight, when you want to completely smooth water or create a more minimal image.
Polarizing filter
A polarizing filter is one of the most useful tools when photographing water. It helps reduce reflections on the surface and enhances colors, especially in wet rocks, lakes or rivers.
I often combine it with ND filters to have more control over both reflections and exposure.
Tripod
A tripod is essential for long exposure photography. It keeps your camera stable while the shutter is open, ensuring that everything remains sharp.
I personally use a lightweight tripod because I often hike with my gear. It is a good balance between stability and portability, especially in windy conditions.
Cleaning tools
When shooting near water, drops can easily land on your lens. I always carry a cleaning cloth or a small blower. It might sound simple, but it can save a lot of images.
Long exposure seascape photography
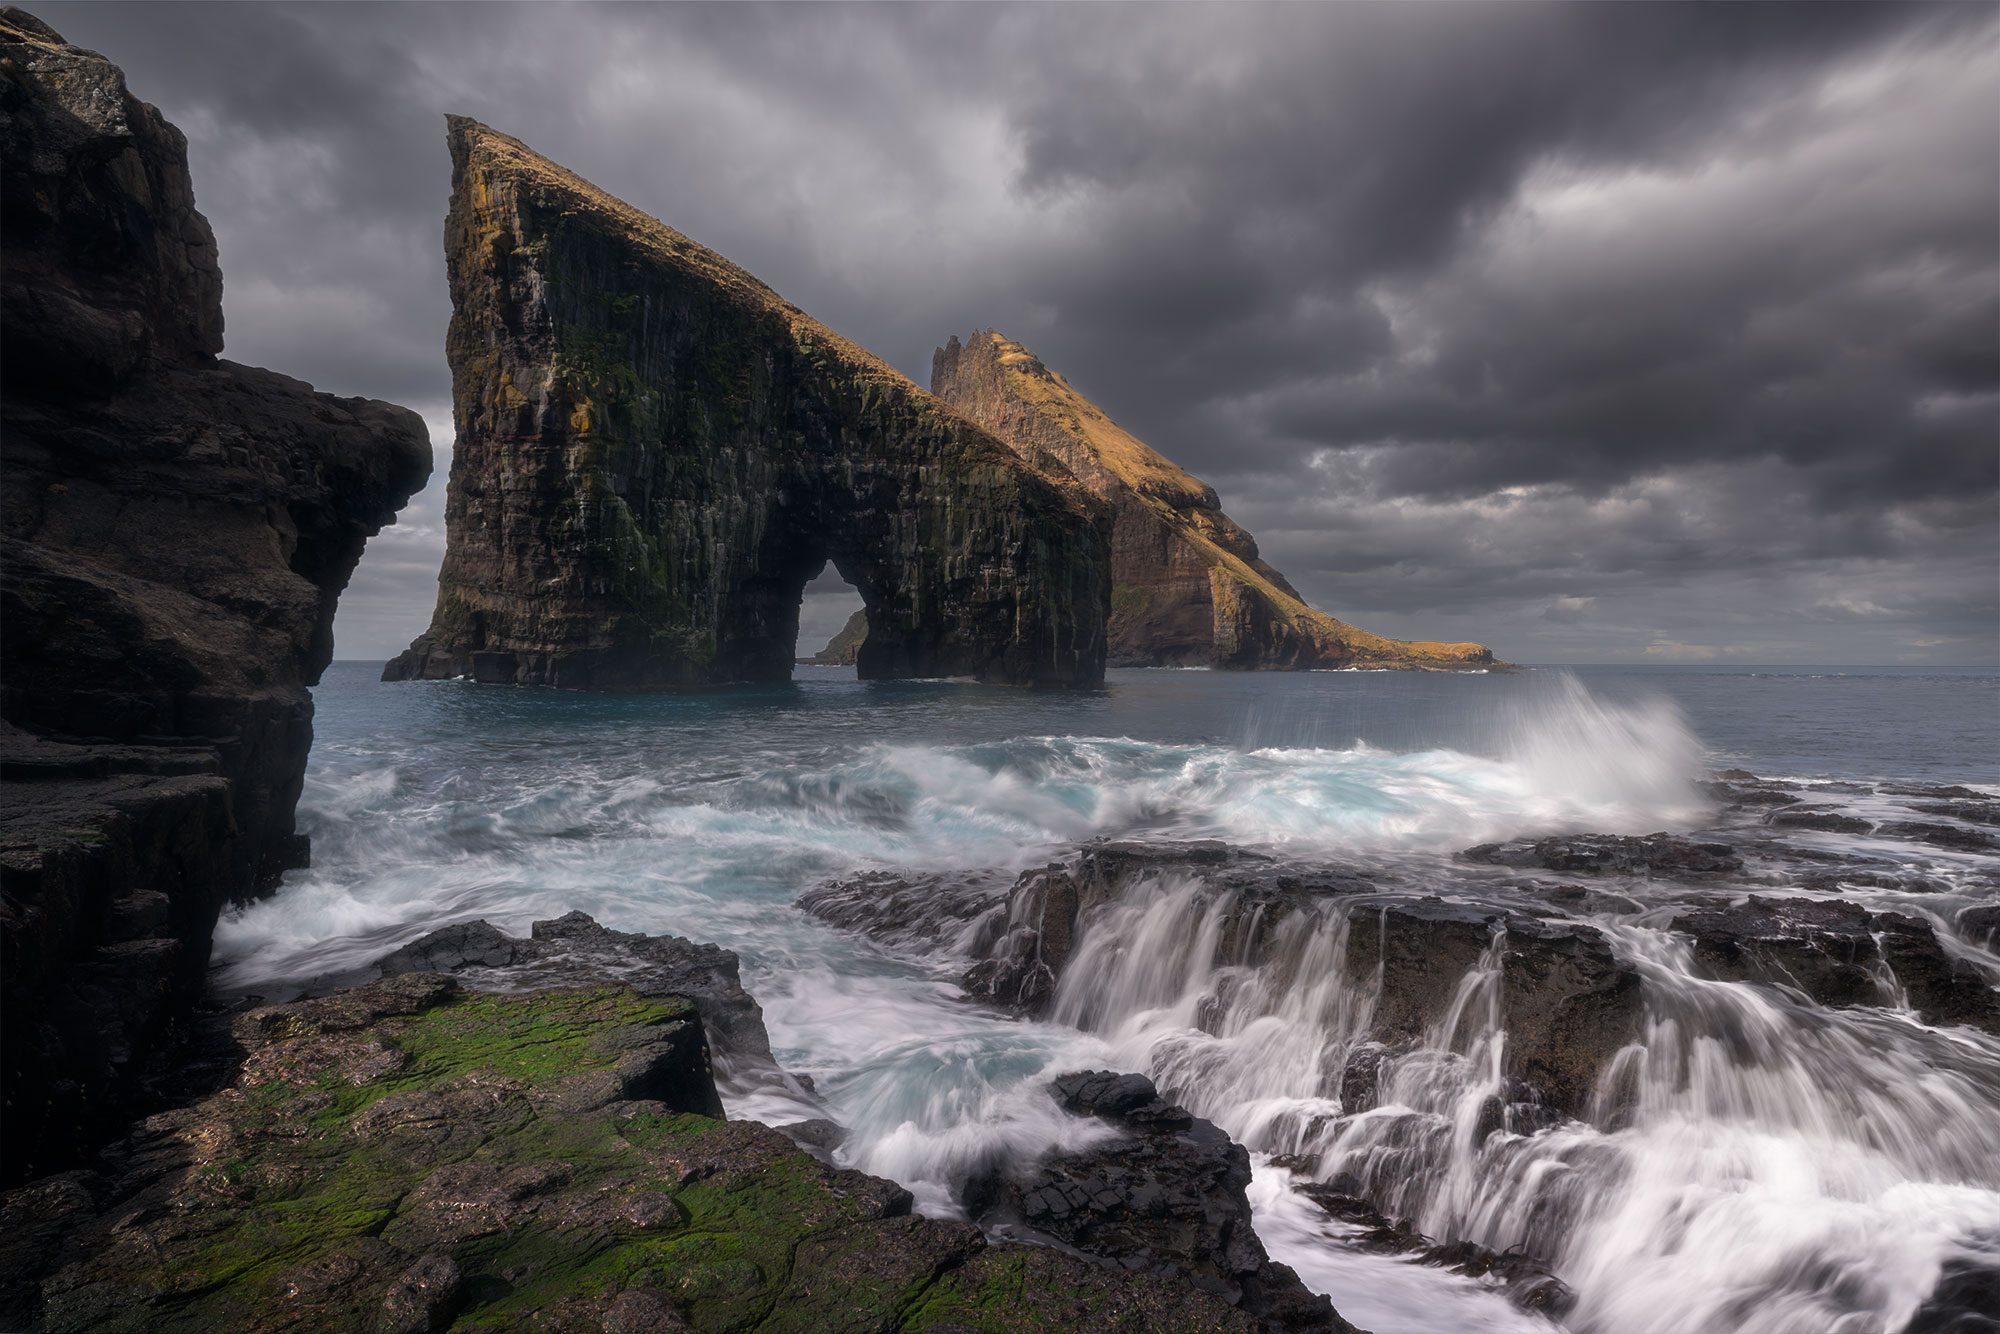
📍 Drangarnir, Faroe Islands
Camera settings : ISO 31, f/18, 1/10 seconds, polarizing and ND 64 filters
Seascapes are one of the most dynamic subjects in long exposure photography. Depending on your shutter speed and the position you choose, the ocean can look either soft and minimal or powerful and chaotic.
Story behind this image from the Faroe Islands
At Drangarnir in the Faroe Islands, I was standing on rocks right next to the ocean, with waves crashing around me. The conditions were quite intense, with strong movement in the water and dramatic clouds in the sky. It felt like the perfect place to experiment and try to capture that raw energy.
Choosing the right shutter speed
For this image, I chose a relatively short shutter speed, between 1/4 second and 1 second. The final result is a composite made from several waves captured at the same location.
I didn’t want to use a very long exposure here. My goal was not to smooth the scene, but to keep its power. The sea stack is already very strong visually, and the sky was quite dramatic. By using a medium exposure, the water keeps its movement and energy instead of becoming too soft.
This approach allowed me to keep the natural chaos of the waves while still controlling the final composition.
Practical tips for seascape photography
✅ Pay attention to the tide. Some places can become dangerous or inaccessible.
✅ Never turn your back to the ocean. Waves can be unpredictable.
✅ Keep your gear at a safe distance from the water.
✅ Always follow local safety rules
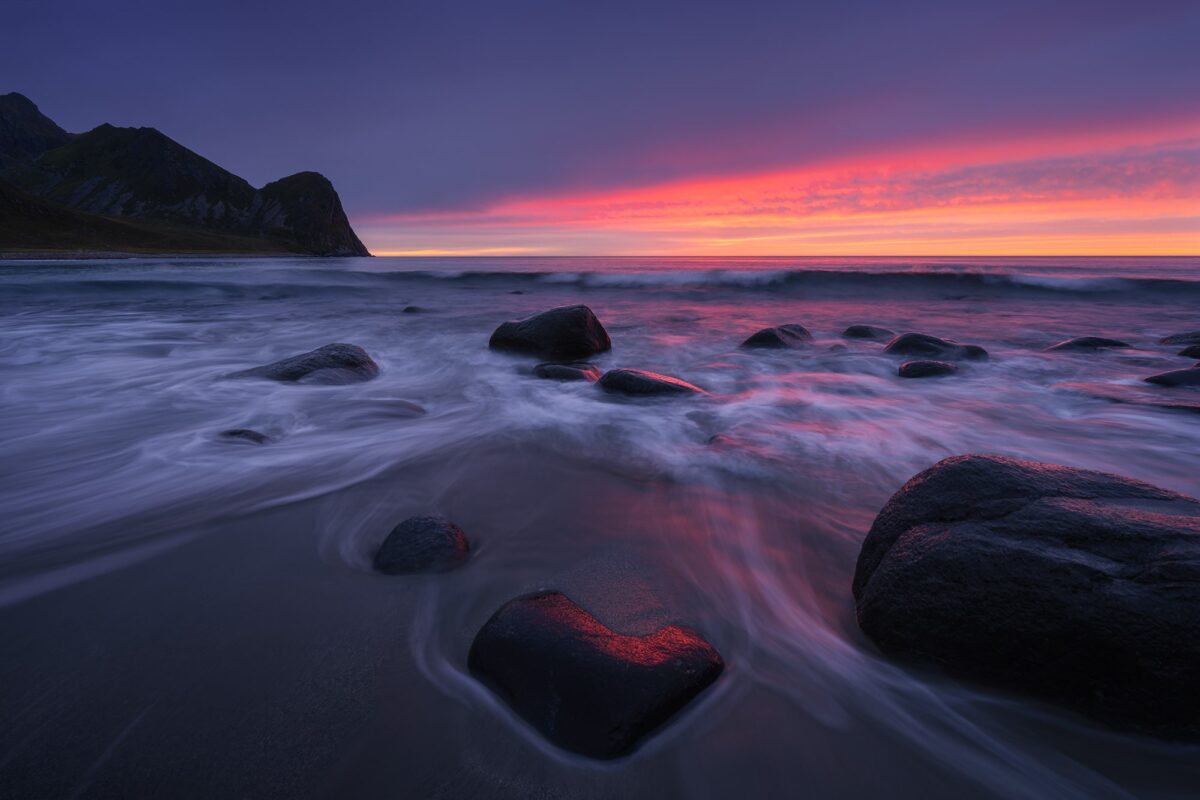
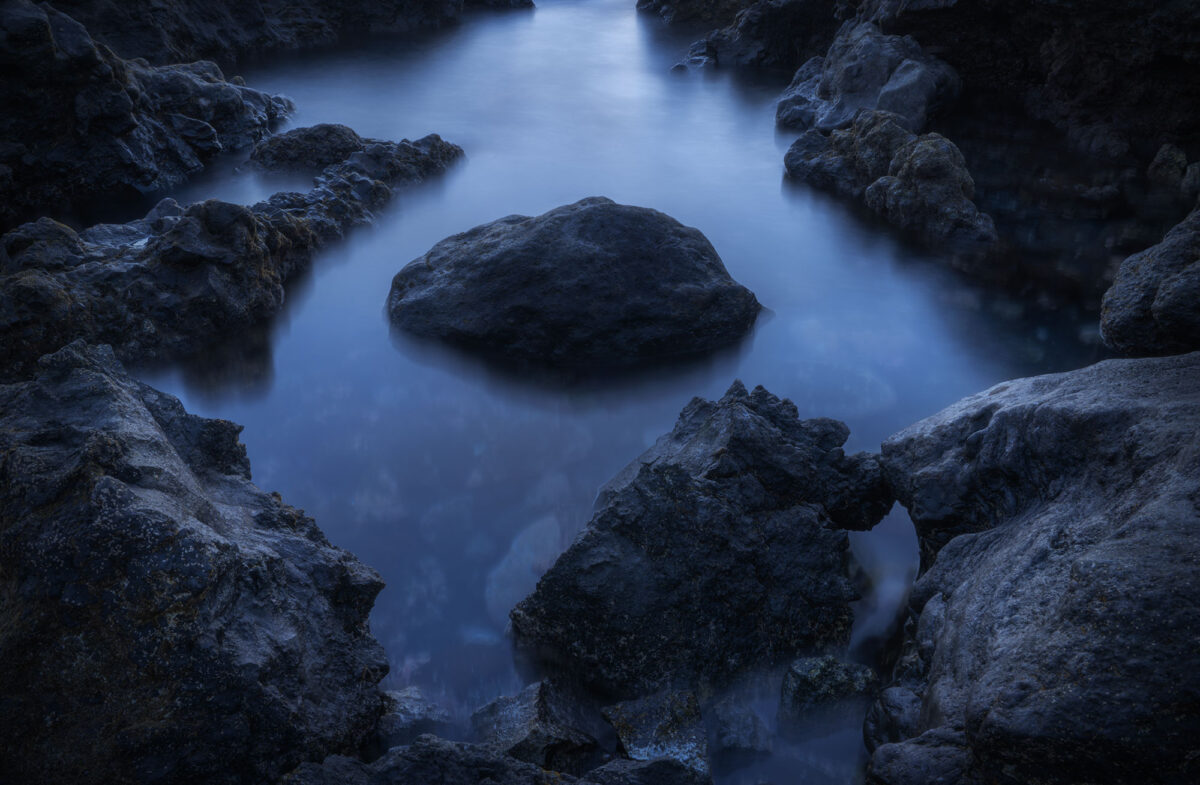
Examples of seascapes with different shutter speeds
Here are a few additional examples showing how different shutter speeds and conditions can completely change the look and feel of a seascape. From very long exposures to more dynamic scenes, each approach creates a different mood.


Long exposure waterfall photography
📍 Levada do Caldeirão Verde, Madeira
Camera settings : ISO 800, f/14, 8 seconds, polarizing
Waterfalls are one of the most classic subjects in long exposure photography. They naturally create soft and flowing shapes, which makes them perfect for more minimal and dreamy images.
Story behind the image
This photo was taken at the end of the Levada do Caldeirão Verde hike in Madeira. It is a very impressive waterfall, but when I arrived, the light was quite harsh as it was the middle of the day.
Instead of trying to capture the full scene, I decided to focus on a more intimate composition, looking at the lower part of the waterfall where the water meets the rocks and the green pool. This allowed me to simplify the image and create a calmer atmosphere.
Choosing the right shutter speed
For this image, I used a long exposure of around 30 seconds. My goal was to create a soft and smooth effect on the water while keeping the surrounding rocks sharp.
A longer shutter speed works really well for waterfalls because it enhances their natural flow. It transforms the water into something more abstract and removes the chaotic details you would see with a faster exposure.
At the same time, the contrast between the silky water and the texture of the rocks helps to keep depth in the image.
Practical tips for photographing waterfalls
✅ Cloudy or moody conditions work best to avoid harsh highlights
✅ Use an ND filter to control exposure in bright conditions
✅ A polarizing filter helps reduce reflections on wet rocks
✅ Watch for water drops on your lens, especially close to the fall
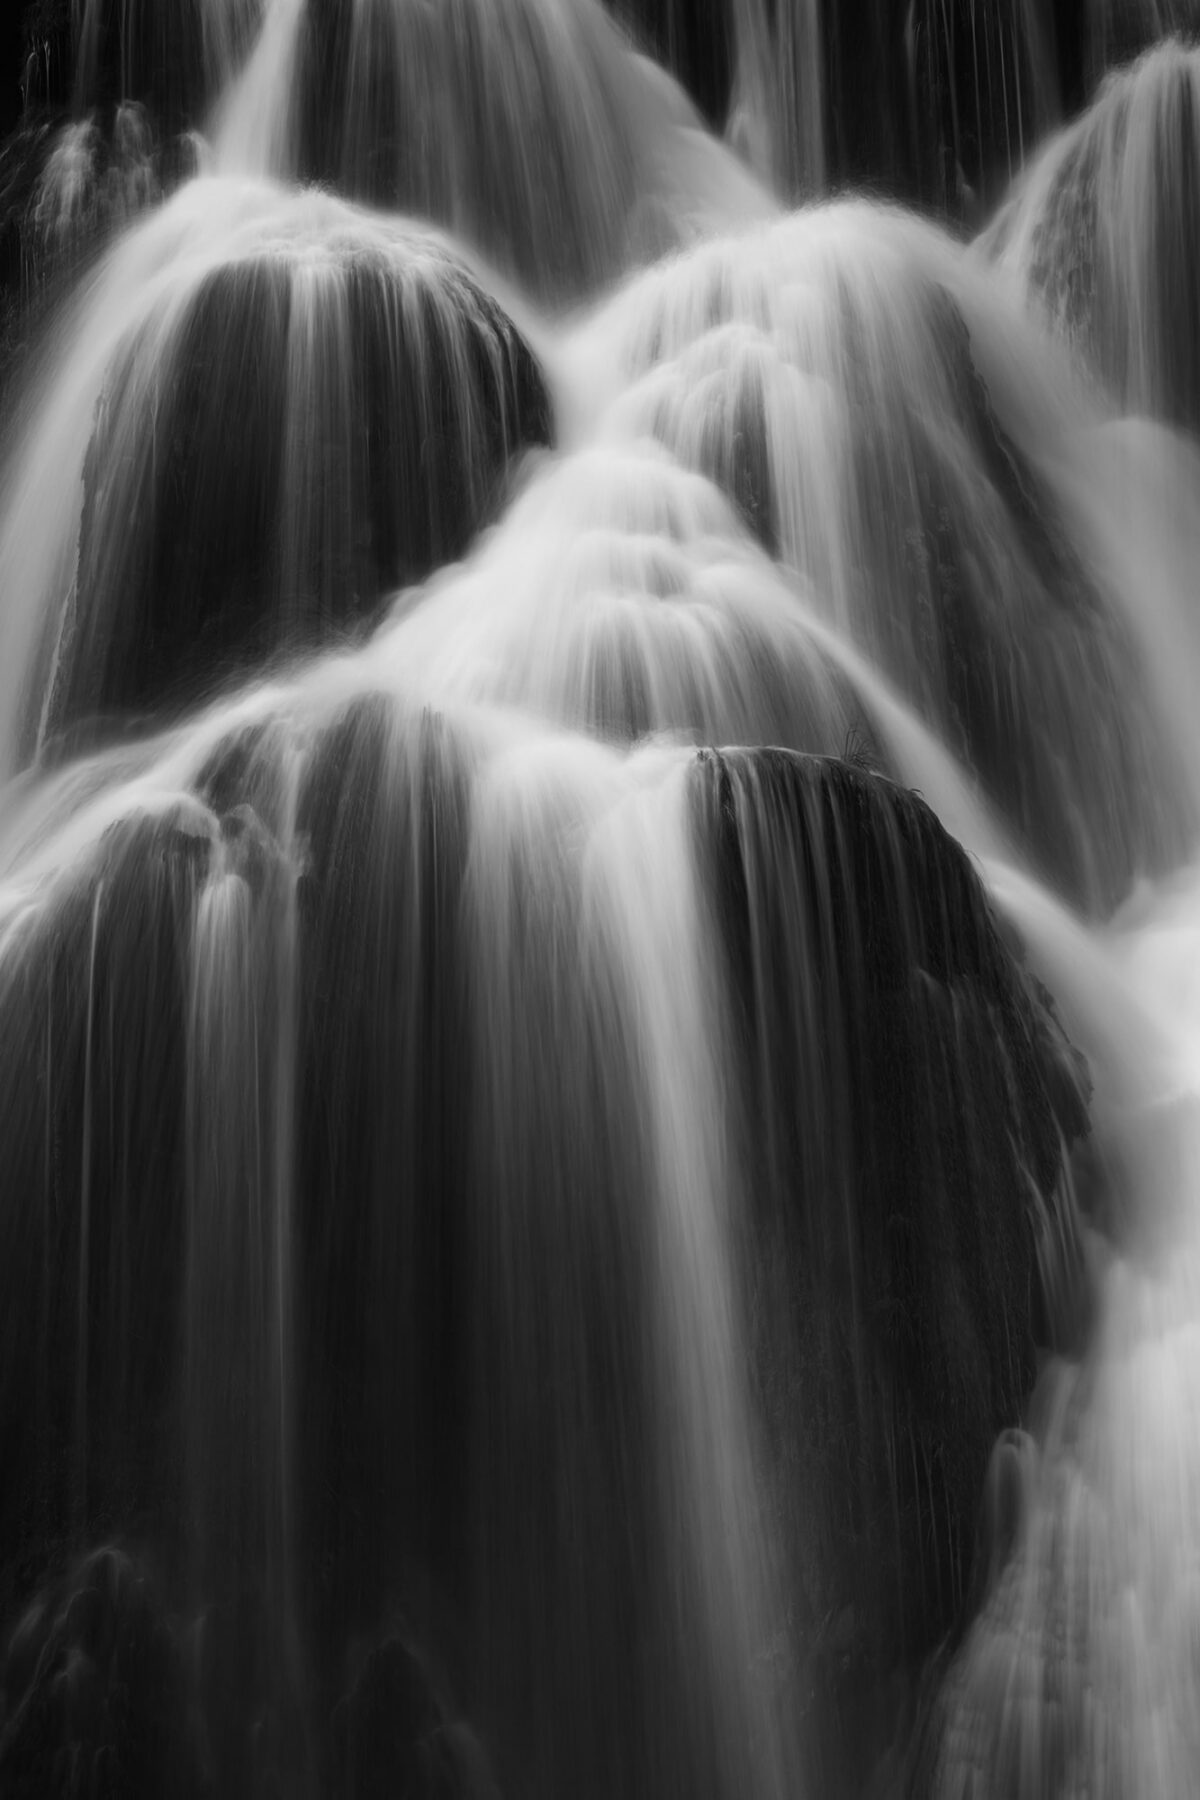
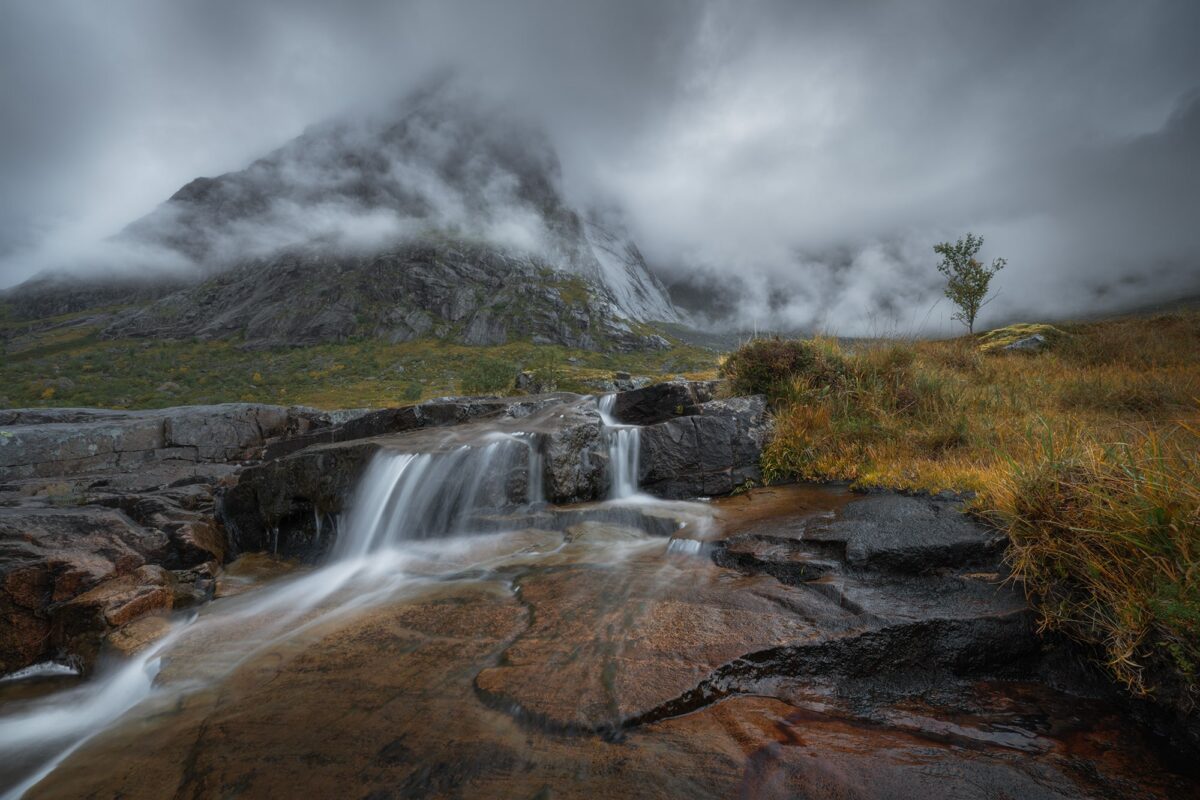
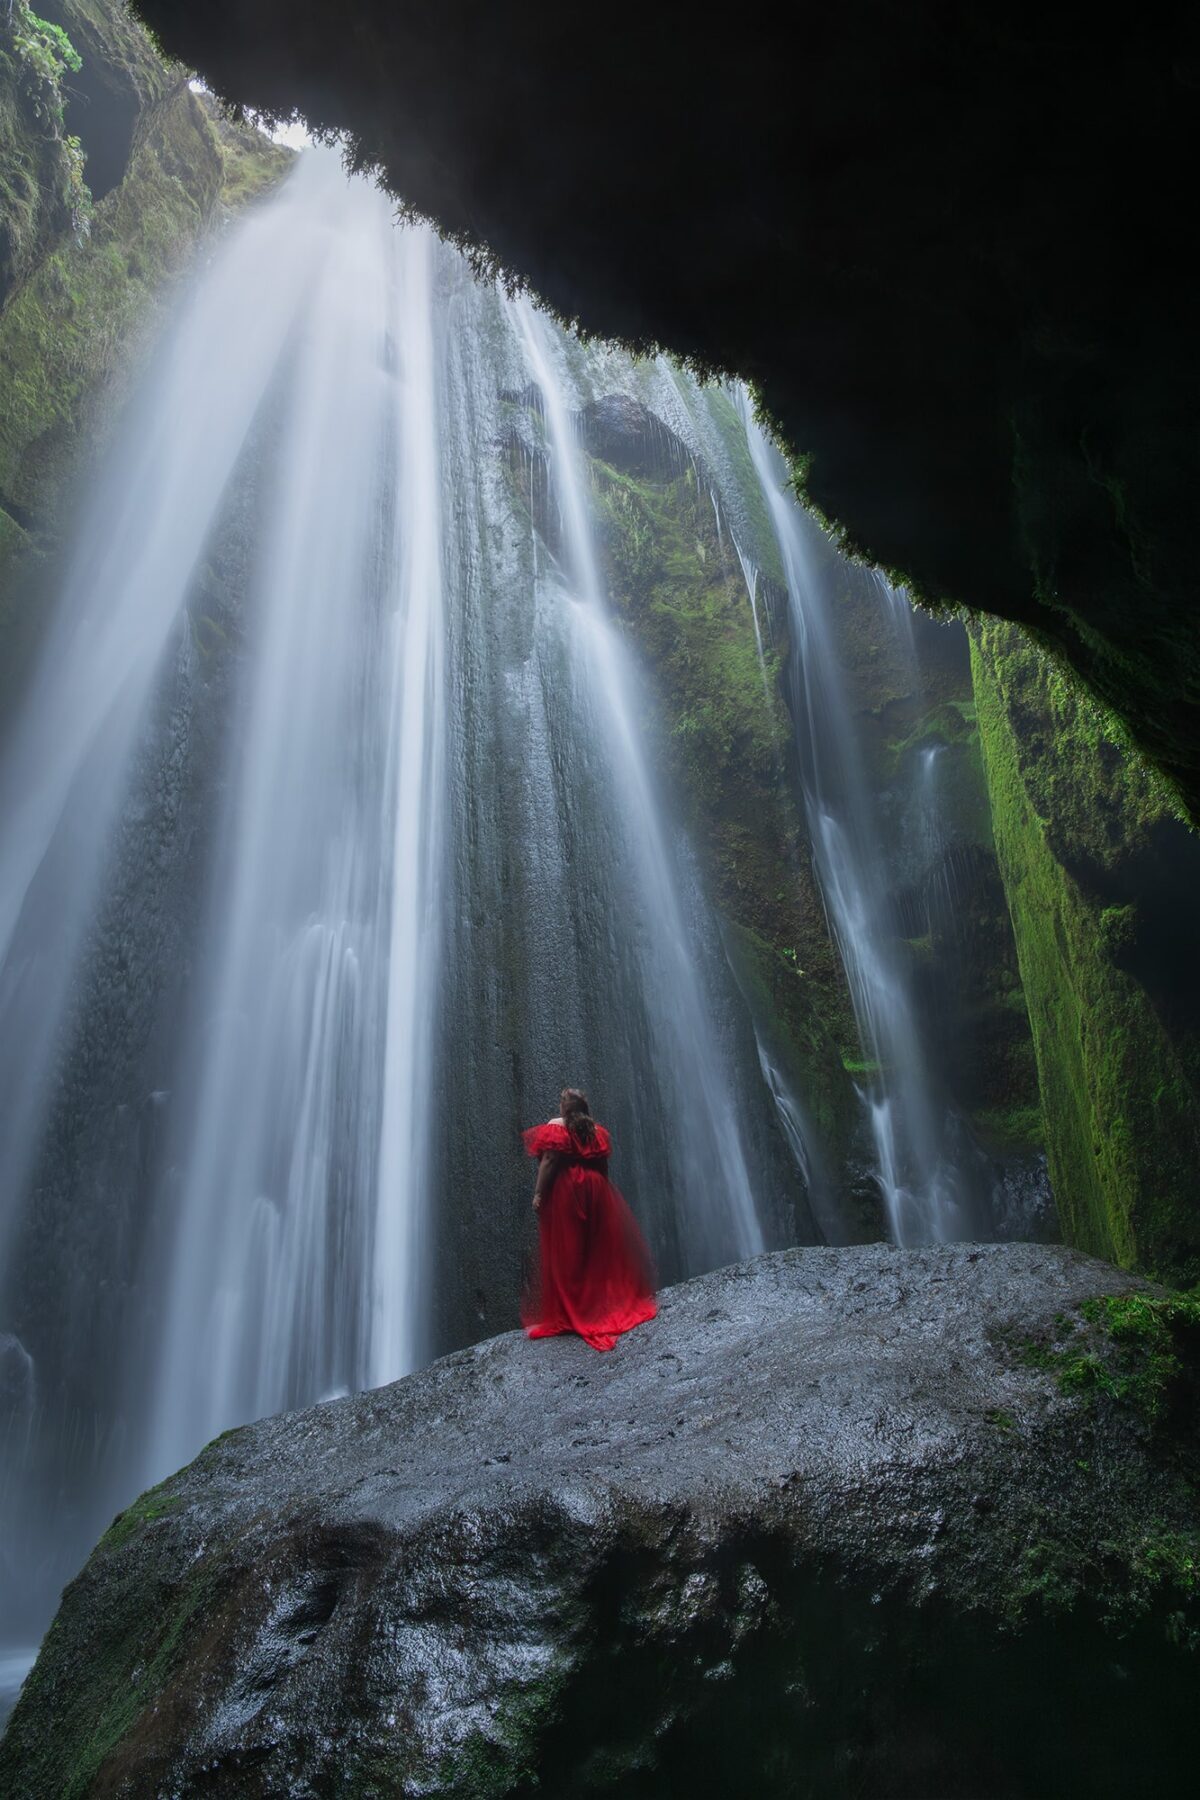
Examples of waterfalls with different shutter speeds
Here are a few additional examples showing how different exposure times can change the rendering of a waterfall, from soft and dreamy to slightly more textured.
Long exposure lake photography
📍 Préverenges, Switzerland
Camera settings : ISO 125, f/13, 151 seconds, polarizing and ND 1000 filters
Lakes are perfect for long exposure photography when you are looking for calm and minimal compositions. Unlike the ocean or waterfalls, the movement is often much more subtle, which creates a very different atmosphere.
Story behind the image
This photo was taken at one of my favorite local spots in Switzerland, in Préverenges by Lake Geneva. It is a place I often return to, because the conditions can change a lot depending on the light and the weather.
That day, the sky had just enough movement to create something interesting, without being too dramatic. I wanted to keep the scene very simple and focus on the balance between the foreground, the lake and the sky.
Choosing the right shutter speed
For this image, I used a long exposure of around one minute. The goal was to completely smooth the surface of the lake and create a clean and minimal look.
With this kind of shutter speed, even small movements in the water disappear, and the lake becomes almost like a mirror. At the same time, the clouds start to stretch slightly, adding a soft sense of movement in the sky.
This combination helps simplify the scene while still keeping some depth and atmosphere.
Practical tips for photographing lakes
✅ Early morning or late evening often gives the softest light
✅ Long exposures work best when the water is already relatively calm
✅ Look for simple compositions with clear foreground elements
✅ Pay attention to subtle cloud movement to add depth
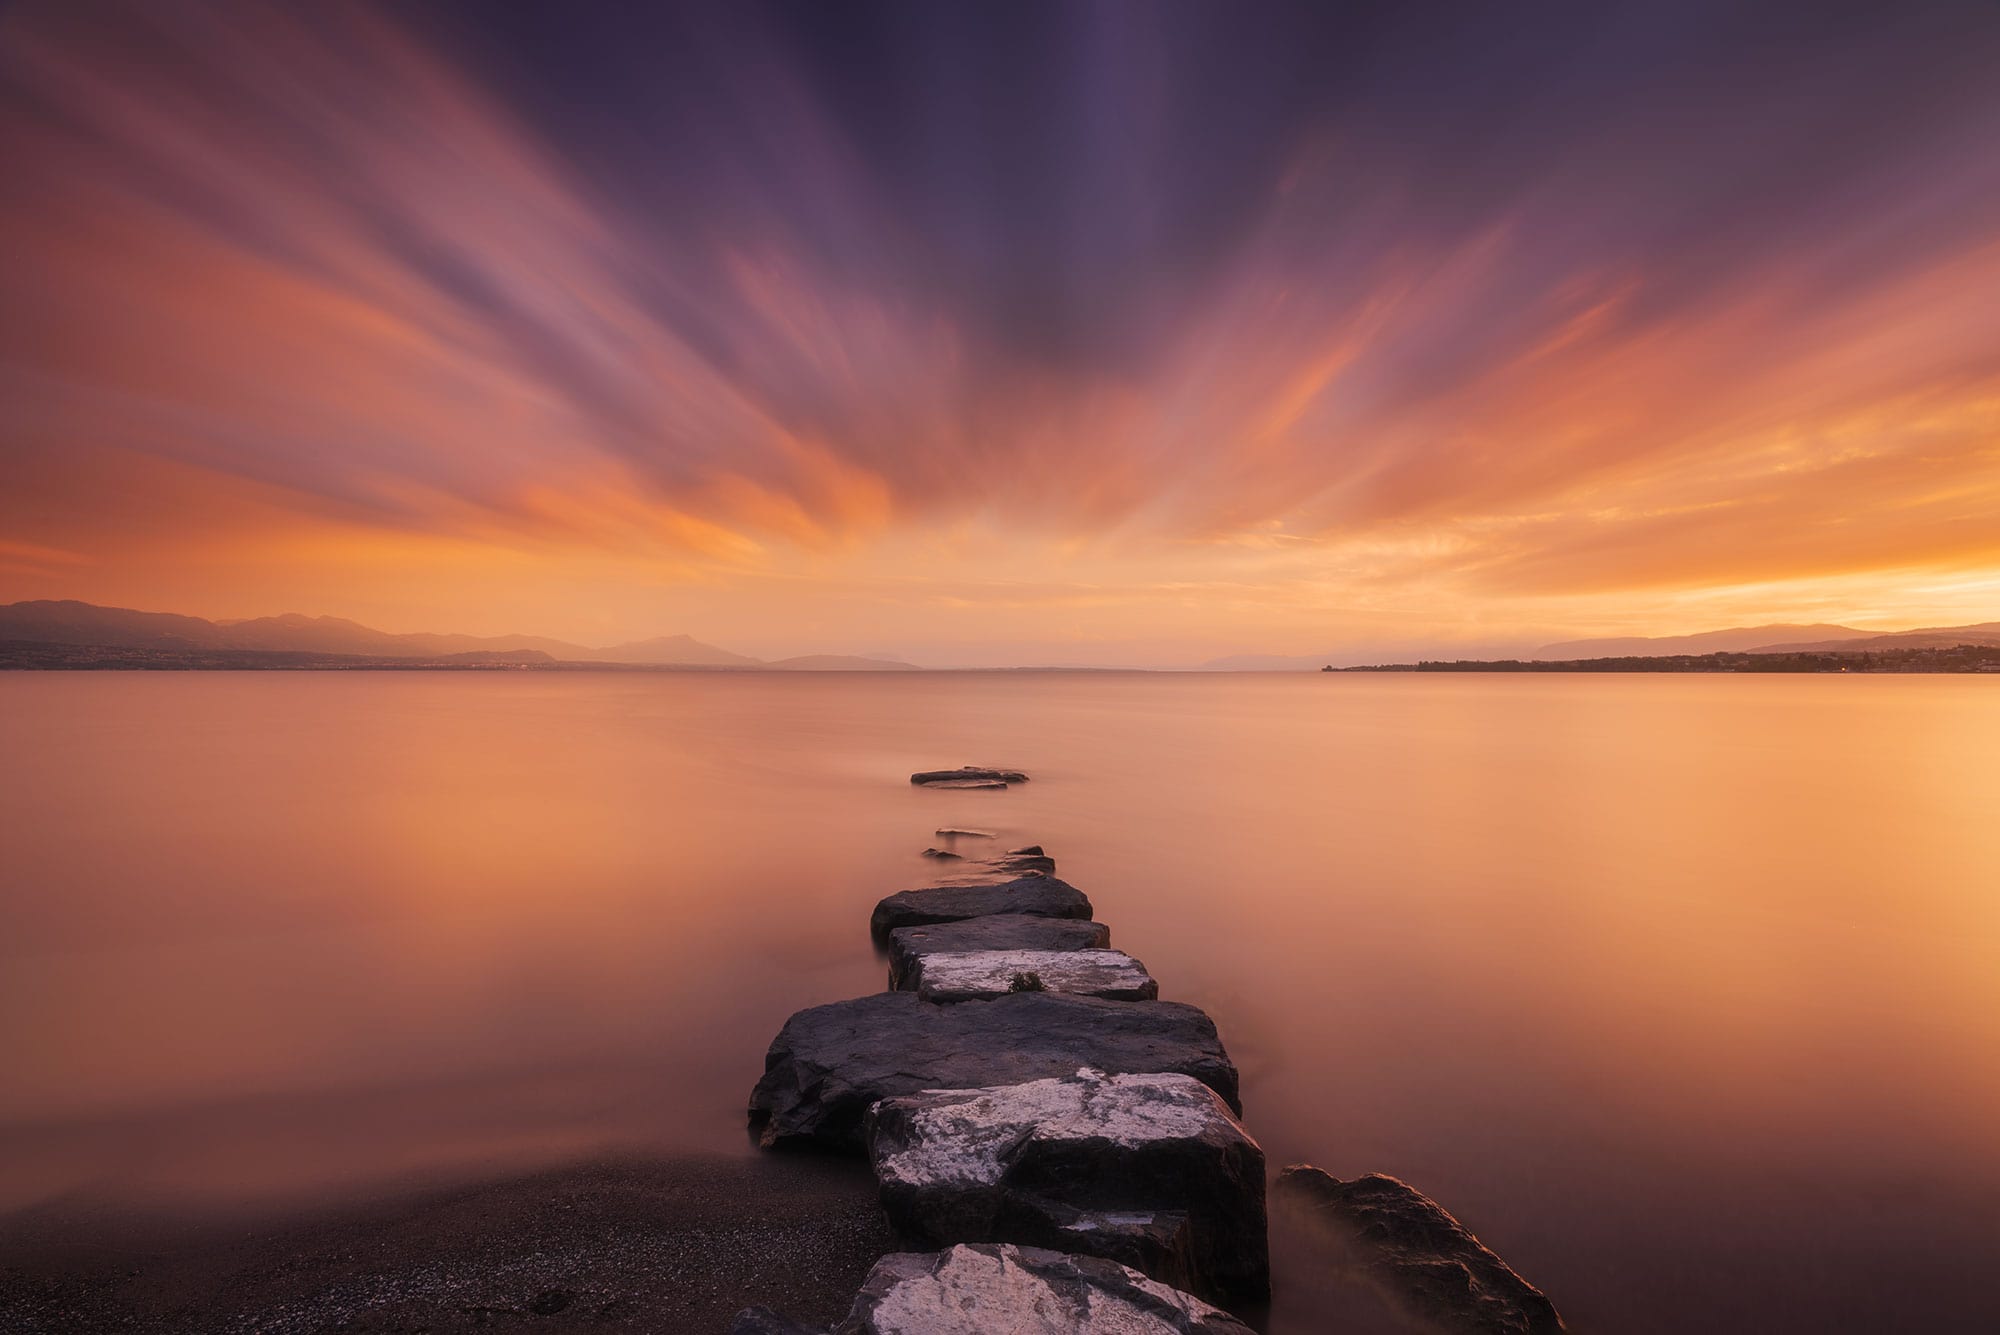
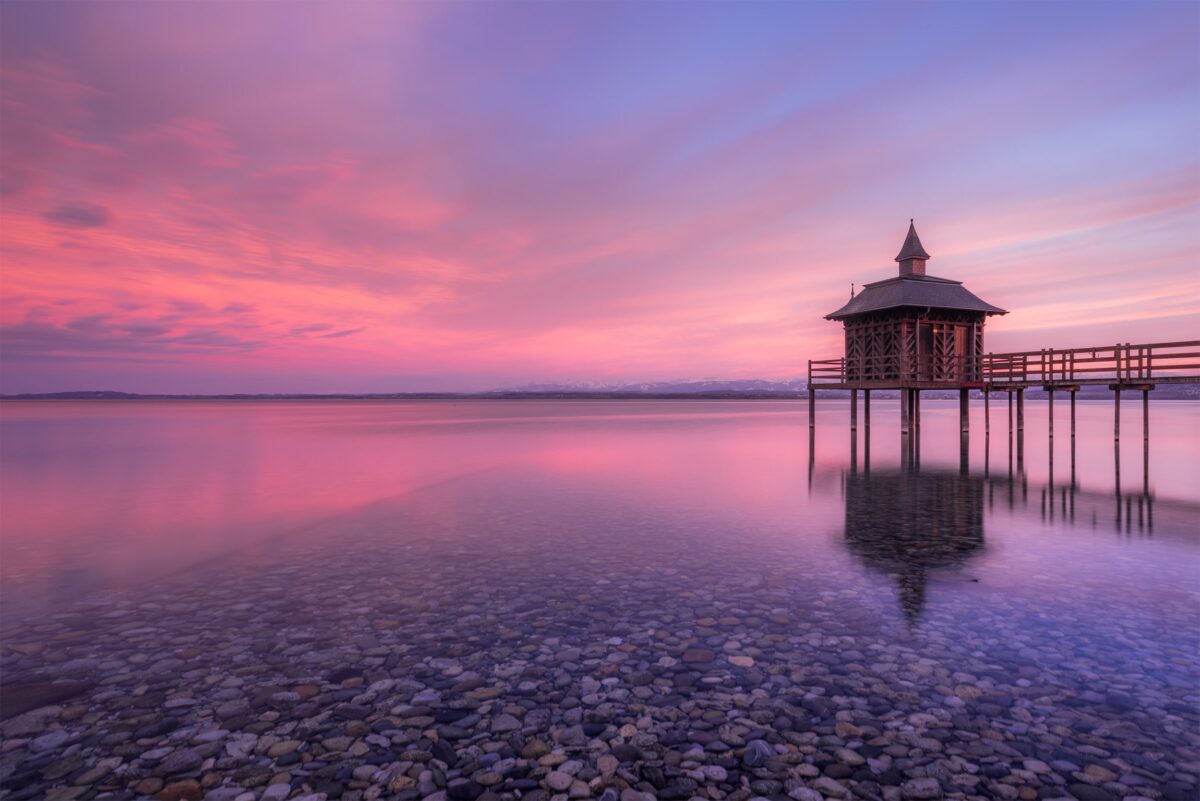
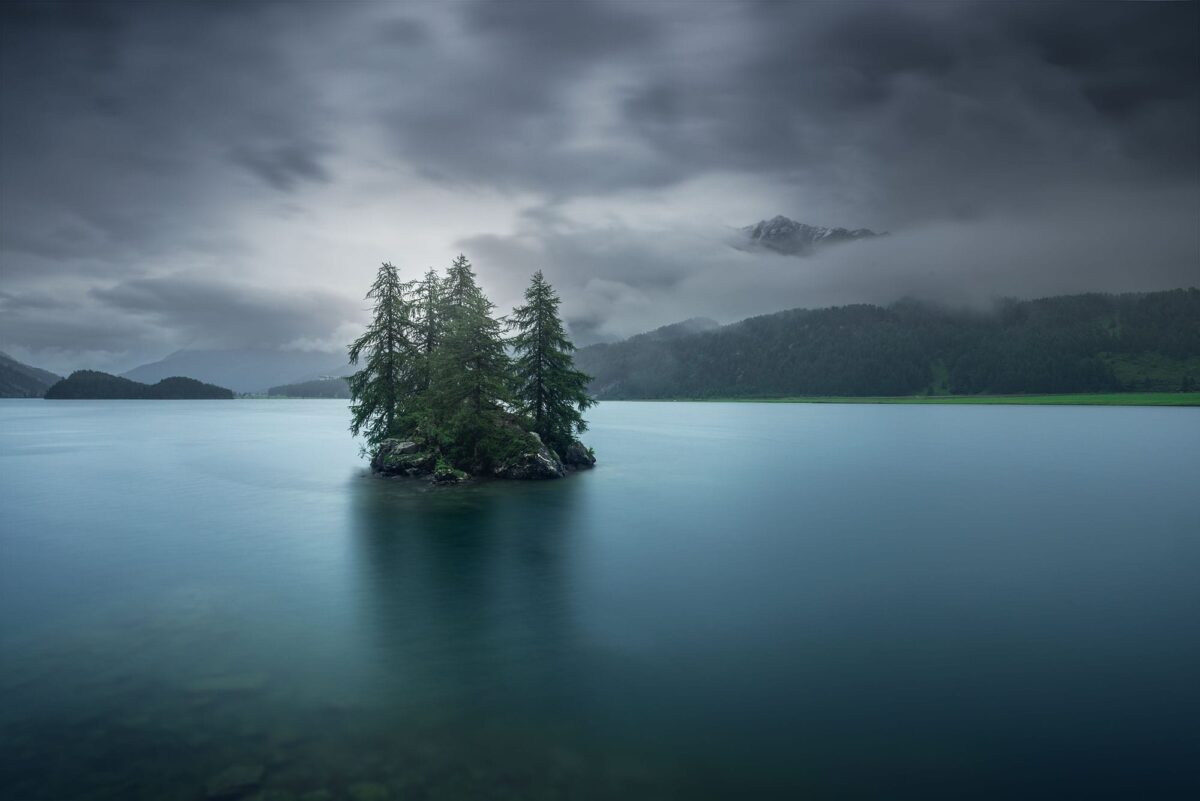
Examples of lake photography with long exposure
Here are a few examples showing how long exposure can enhance the calm and minimal feeling of a lake, depending on the light and the conditions.

Long exposure river photography
📍 Valnesforsen, Norway
Camera settings : ISO 2500, f/4.5, 20 seconds
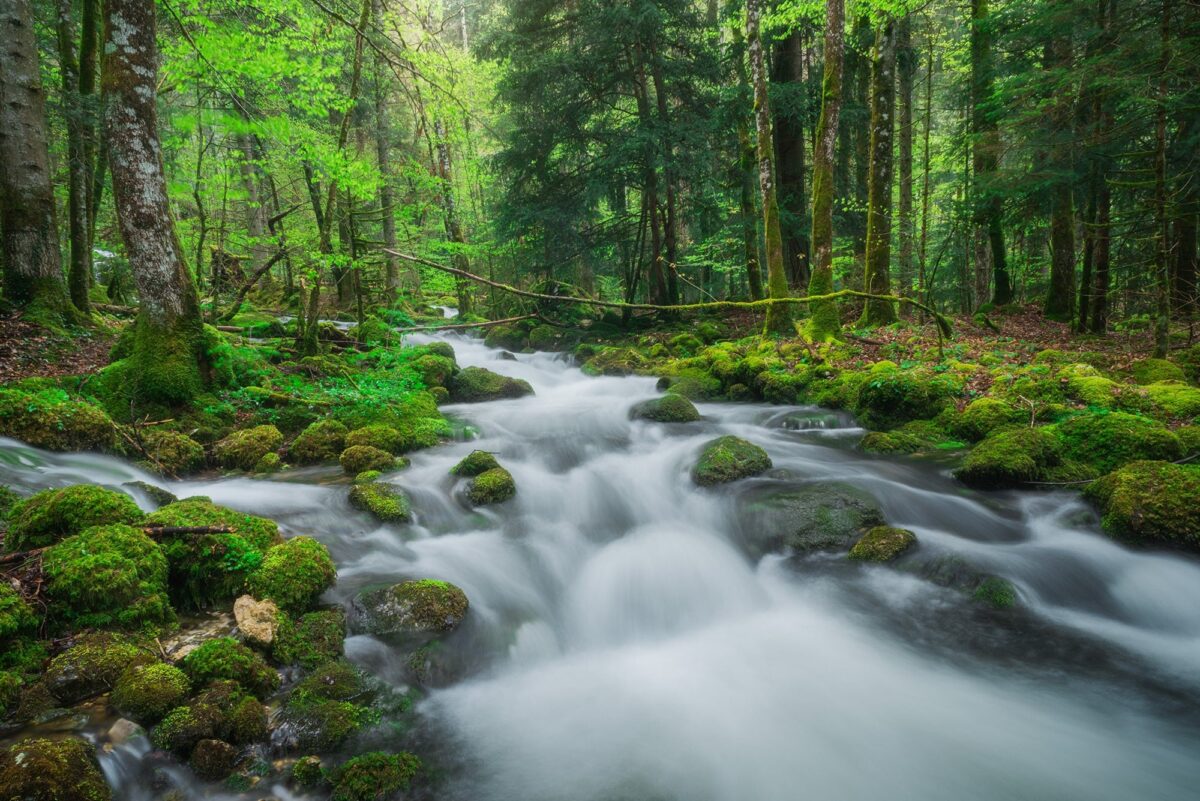
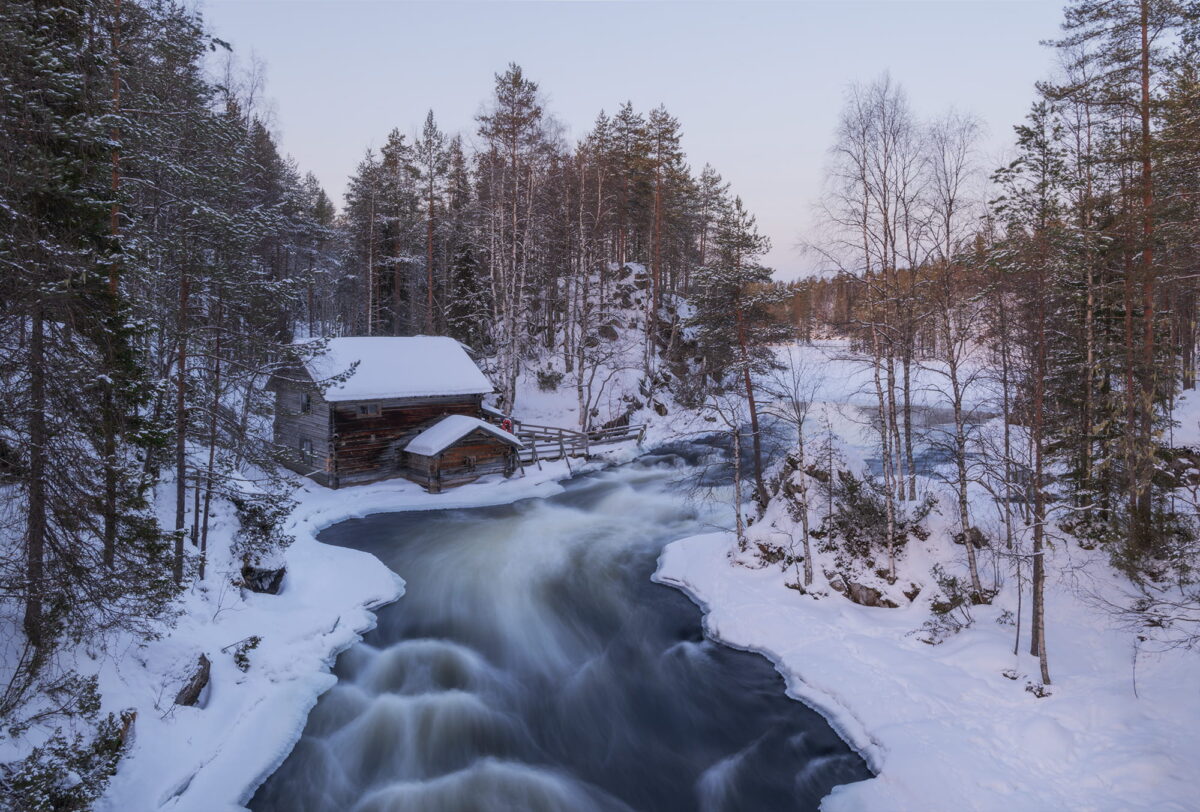
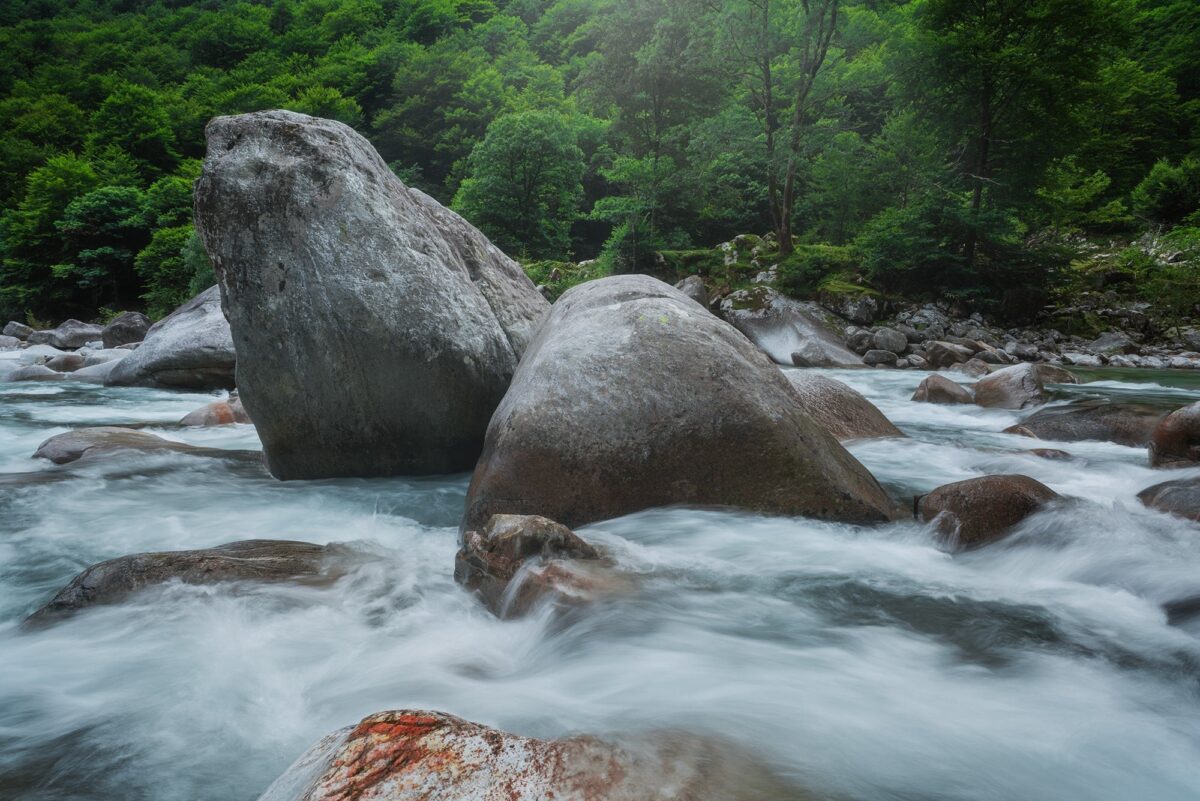
Rivers are perfect subjects for long exposure photography when you want to combine movement with strong composition. Unlike lakes, they naturally create leading lines, and unlike waterfalls, they allow more flexibility in framing and perspective.
Story behind the image
This photo was taken in autumn in northern Norway, not far from Bodø, along the Valnesforsen river. I was drawn to this location by the combination of flowing water, textured rocks and vibrant autumn colors.
The conditions were ideal. The sky was dramatic, the light was soft and diffused, and there was no direct sunlight. This allowed the warm tones of the trees to stand out without creating harsh contrasts.
I positioned myself very low, almost at water level, to emphasize the movement of the river. The flow of the water and the shapes of the rocks naturally created leading lines, guiding the eye toward the center of the image and into the landscape.
Choosing the right shutter speed
For river photography, I usually aim for a balance between movement and texture. A shutter speed of a few seconds is often enough to smooth the water while still keeping some structure and direction in the flow. In this image, the goal was not to completely blur the river, but to keep its energy visible while softening it enough to create a more harmonious and fluid composition.
Practical tips for photographing rivers
✅ Wear waterproof boots so you can safely step into the water and explore better compositions
✅ Use a polarizing filter to reduce reflections and reveal details under the surface
✅ Try shooting from a low angle to enhance leading lines and create a more immersive perspective
✅ Cloudy or rainy weather works best for soft light and richer colors
Examples of river photography with long exposure
Here are a few examples showing how long exposure can enhance the flow and movement of a river, depending on the conditions.
Final thoughts
Long exposure landscape photography is not just a technique. It is a way of interpreting a scene, of slowing it down, and of translating movement into something more personal.
Whether you are photographing the ocean, a quiet lake, a river or a waterfall, every place reacts differently to light, time and motion. The same location can feel wild, soft, minimal or powerful, simply by adjusting your settings.
The key is to experiment, observe and adapt. There is no single “correct” shutter speed. Only the one that matches what you want to express.
And most of all, take the time to enjoy the moment. Because sometimes, the best part happens before you even press the shutter. Happy shooting!
Published on April 17, 2026 by Jennifer Esseiva