Northern lights photography is both a technical challenge and a magical experience. Few moments compare to standing beneath a sky that suddenly comes alive with moving curtains of green, pink, purple or even red light. While photographing the aurora can seem intimidating at first, understanding a few key principles will dramatically improve your chances of capturing memorable images.
Over the past few years, I have photographed the northern lights across Iceland, Finland, Norway and the Faroe Islands. I have spent countless hours standing in freezing temperatures, waiting under cloudy skies, adjusting camera settings in the dark and learning how unpredictable the aurora can be. I also had the rare opportunity to photograph the northern lights in Switzerland during exceptional geomagnetic storms, proving that auroras can sometimes appear much farther south than most people expect.
Whether you are planning your first aurora photography trip or looking to improve your results, this guide covers the essential foundations of northern lights photography. From planning and camera settings to composition, weather conditions and patience in the field, everything is based on real-world experience gained over multiple years of chasing the aurora.
If you would like to learn more about the different colors of the aurora, explore rare displays in Switzerland, or discover the most common mistakes photographers face, I have linked several additional guides throughout this article.
Let’s dive in, because when the sky starts to dance, you want to be ready.
Quick Guide: 6 Essential Tips for Northern Lights Photography
Photographing the northern lights is about much more than camera settings. Success often comes from combining preparation, patience, technical knowledge and a bit of luck. Over the years, these are the six principles that have helped me capture auroras in Iceland, Norway, Finland, the Faroe Islands and even Switzerland.
➜ Learn to read the sky and solar activity beyond KP numbers
➜ Research your destination and maximize your chances of clear skies
➜ Adapt your camera settings to the aurora’s speed and intensity
➜ Use the landscape to create stronger and more memorable compositions
➜ Stay warm and comfortable to spend more time outside
➜ Be patient, stay alert and never give up too early
The northern lights are constantly changing, and no two displays are ever the same. The tips below will help you prepare for the conditions, improve your images and make the most of every aurora photography session.

⬆️ Northern Lights panorama captured in Finland
1. Use Aurora Forecast Apps and Tools
You can’t photograph the northern lights if you don’t know they are coming. While auroras are never guaranteed, using reliable forecast apps and space weather tools can significantly improve your chances of being in the right place at the right time.
Over the years, I have relied on a combination of forecasting apps, real-time observations and weather maps while photographing the aurora in Iceland, Norway, Finland, the Faroe Islands and Switzerland. One thing I quickly learned is that the KP index alone does not tell the whole story. Cloud cover, solar wind speed and local conditions are often just as important.
These apps should be used as indicators rather than guarantees. Even during strong geomagnetic storms, clouds can hide the aurora completely. On the other hand, I have witnessed beautiful displays during nights that initially looked rather average on paper.
Here are the three tools I use most often:
My Aurora Forecast
My go-to app for monitoring geomagnetic activity. It displays the current KP index, short-term forecasts, cloud cover and sends alerts when conditions improve. It is simple, reliable and ideal for beginners.
HelloAurora
A community-based app where users share real-time aurora sightings. I find it particularly useful for checking whether activity is already visible nearby, especially when travelling in northern regions.
SpaceWeatherLive
For photographers who enjoy understanding the science behind the aurora, this platform provides live solar wind data, geomagnetic charts and solar flare alerts. It is more technical, but extremely valuable for understanding why auroral activity suddenly increases or fades.
For even more detailed forecasts, I occasionally consult the NOAA Space Weather Prediction Center, which provides scientific information about solar storms, solar wind speed and geomagnetic activity.
Used together, these tools help me decide when to go out, how prepared I should be and what expectations I should realistically have for the night ahead.


2. Research and Plan Your Northern Lights Photography Trip
Northern lights photography starts long before you set up your tripod. One of the biggest mistakes beginners make is underestimating how much planning goes into a successful aurora trip.
Even in regions where auroras are common, there are no guarantees. Cloud cover, moonlight and weather conditions can all affect your chances of seeing and photographing the northern lights. This is why I always recommend staying several nights rather than building an entire trip around a single evening.
When planning a northern lights photography trip, I always consider:
✅ Traveling between September and March, when nights are longest
✅ Staying at least 5 to 7 nights to increase the chances of clear skies and aurora activity
✅ Monitoring both aurora forecasts and weather forecasts
✅ Remaining flexible and ready to change plans if conditions improve elsewhere
✅ Choosing locations with low light pollution
I often use this light pollution map when planning a photography trip or scouting a new location:
➜ Light pollution map
One lesson I learned quickly is that flexibility often matters more than the forecast itself. Some of my favourite aurora photographs happened after changing plans at the last minute, driving to clearer skies or returning to the same location multiple nights in a row.
Over the years, I have photographed the northern lights in Iceland, Norway, Finland, the Faroe Islands and, during the exceptional solar activity of 2024 and 2025, even in Switzerland. No matter the destination, careful planning and patience have always played a bigger role than luck alone.
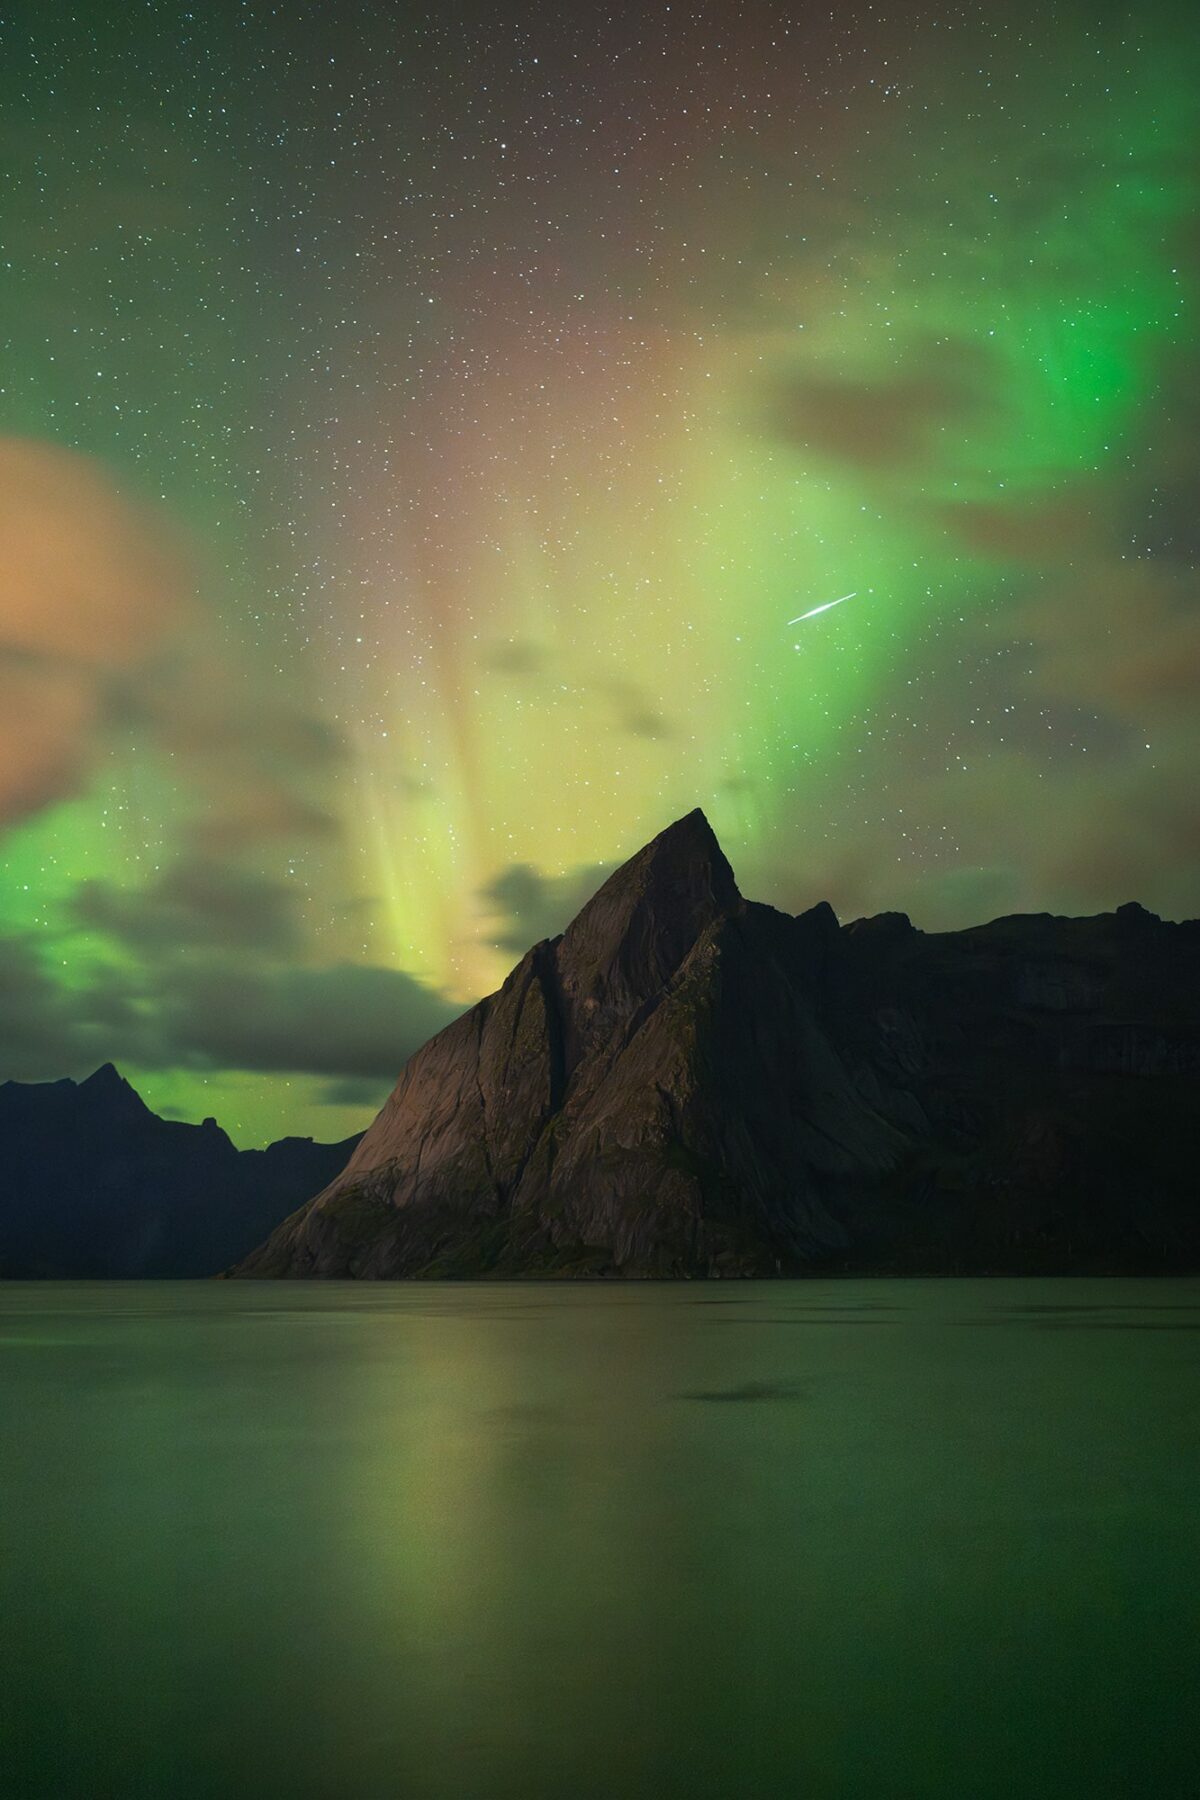

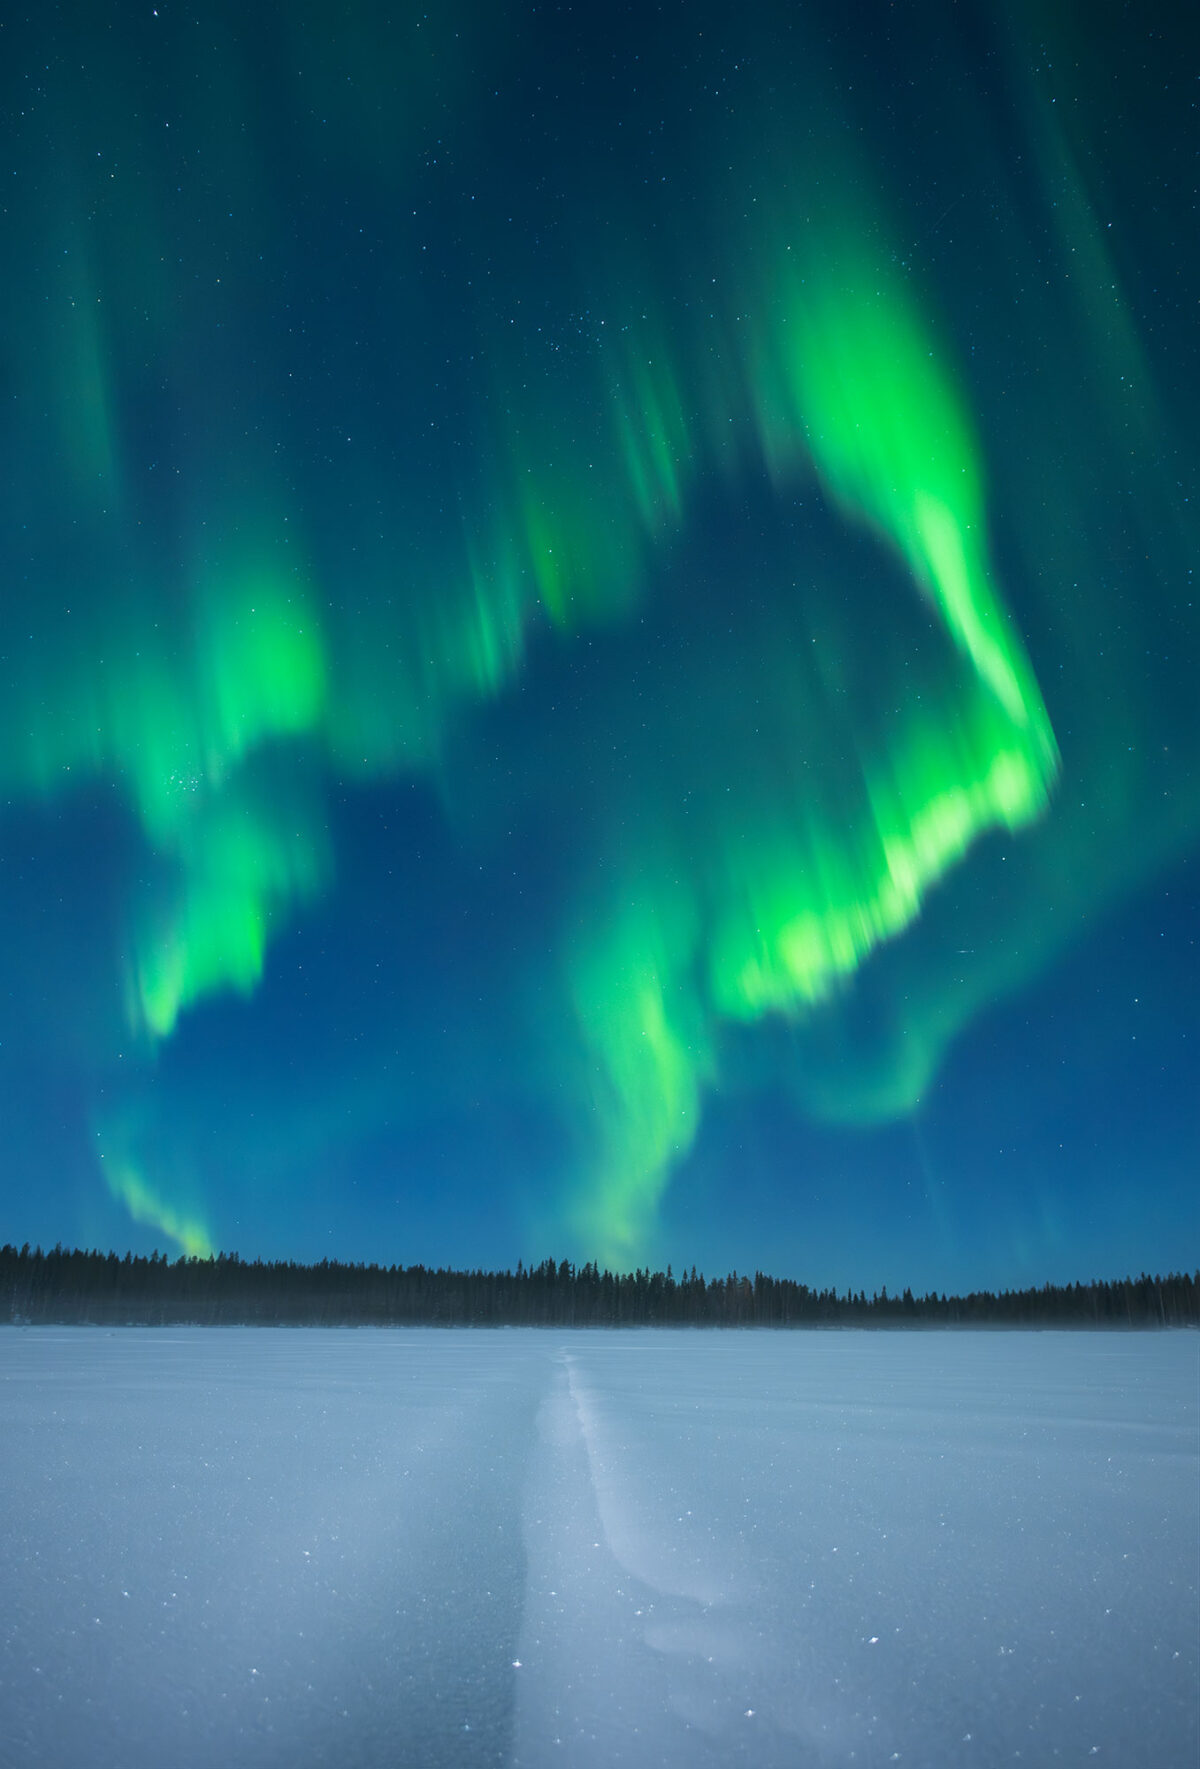
3. Gear and Camera Settings for Northern Lights Photography
Photographing the aurora requires more than simply pointing your camera at the sky. To capture its movement, colors and intensity, you need reliable gear and full control over your camera settings.
Over the years, I have photographed the northern lights in a wide range of conditions, from calm green arcs in Finland to fast-moving auroras dancing above the mountains of Norway. While every display is different, the gear and settings below have consistently helped me capture sharp and detailed images.
The essential gear
You do not need the latest camera body to photograph the northern lights. In my experience, stability, good lenses and knowing your equipment matter far more than having the newest technology. If you’re just getting started and wondering what equipment is actually worth investing in, you can also read my guide on what gear you need to start landscape photography.
Here is what I bring on every aurora photography trip:
✅ A camera with full manual controls
✅ A wide-angle lens with an aperture between f/1.4 and f/2.8
✅ A tripod for sharp long exposures
✅ Extra batteries, as cold temperatures drain them quickly
✅ Spare memory cards
The right camera settings
Unlike stars or static night landscapes, the aurora is constantly moving. Your settings should always adapt to its speed and brightness.
These are my typical starting points:
1️⃣ Aperture: f/1.8 to f/2.8
2️⃣ Shutter speed: 5 to 25 seconds
3️⃣ ISO: 800 to 3200
4️⃣ Focus: manual focus at infinity or on a distant star
5️⃣ White balance: around 4000K
6️⃣ File format: RAW
These values are only starting points. A fast-moving aurora may require shorter shutter speeds to preserve detail, while a weaker display often allows longer exposures. The key is to regularly review your images and adapt your settings to what is happening in the sky.
4. Compose Your Shot with Intention and Structure
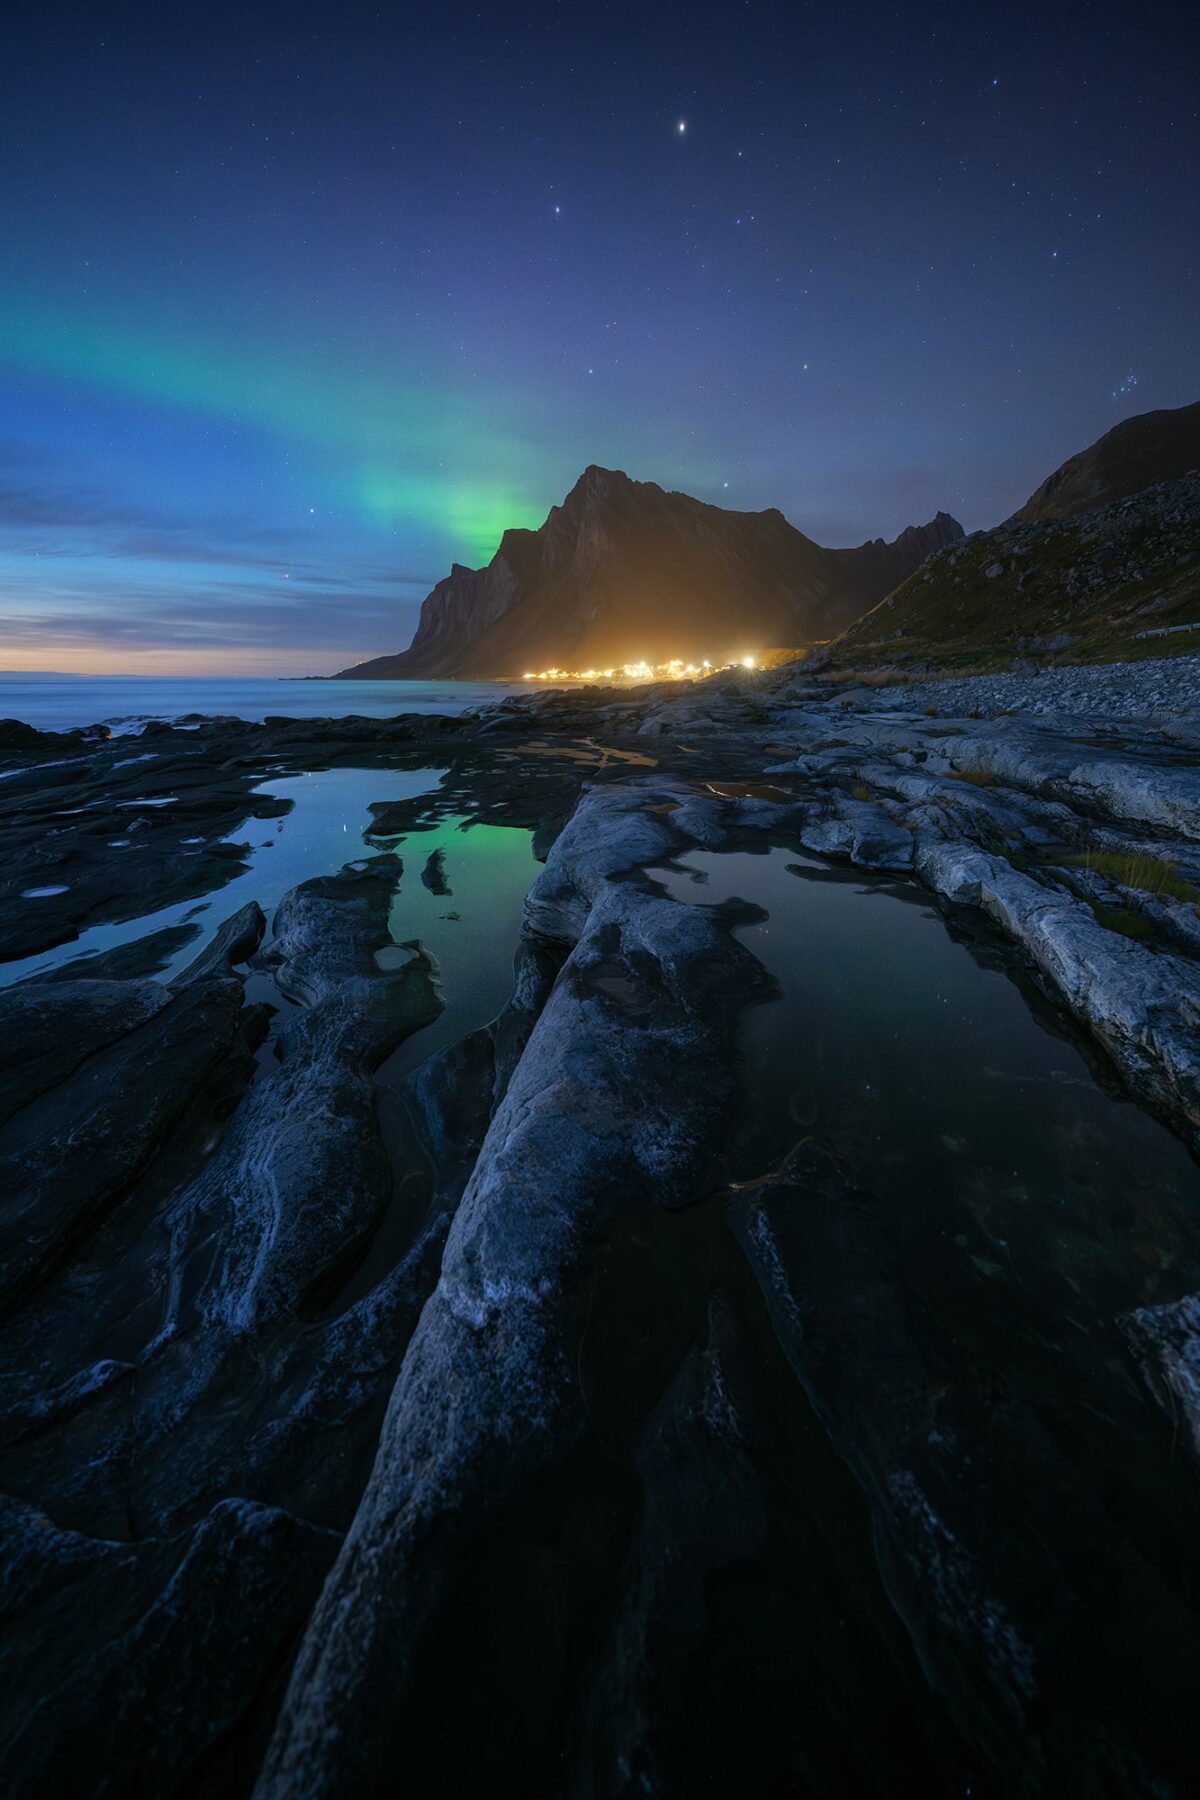
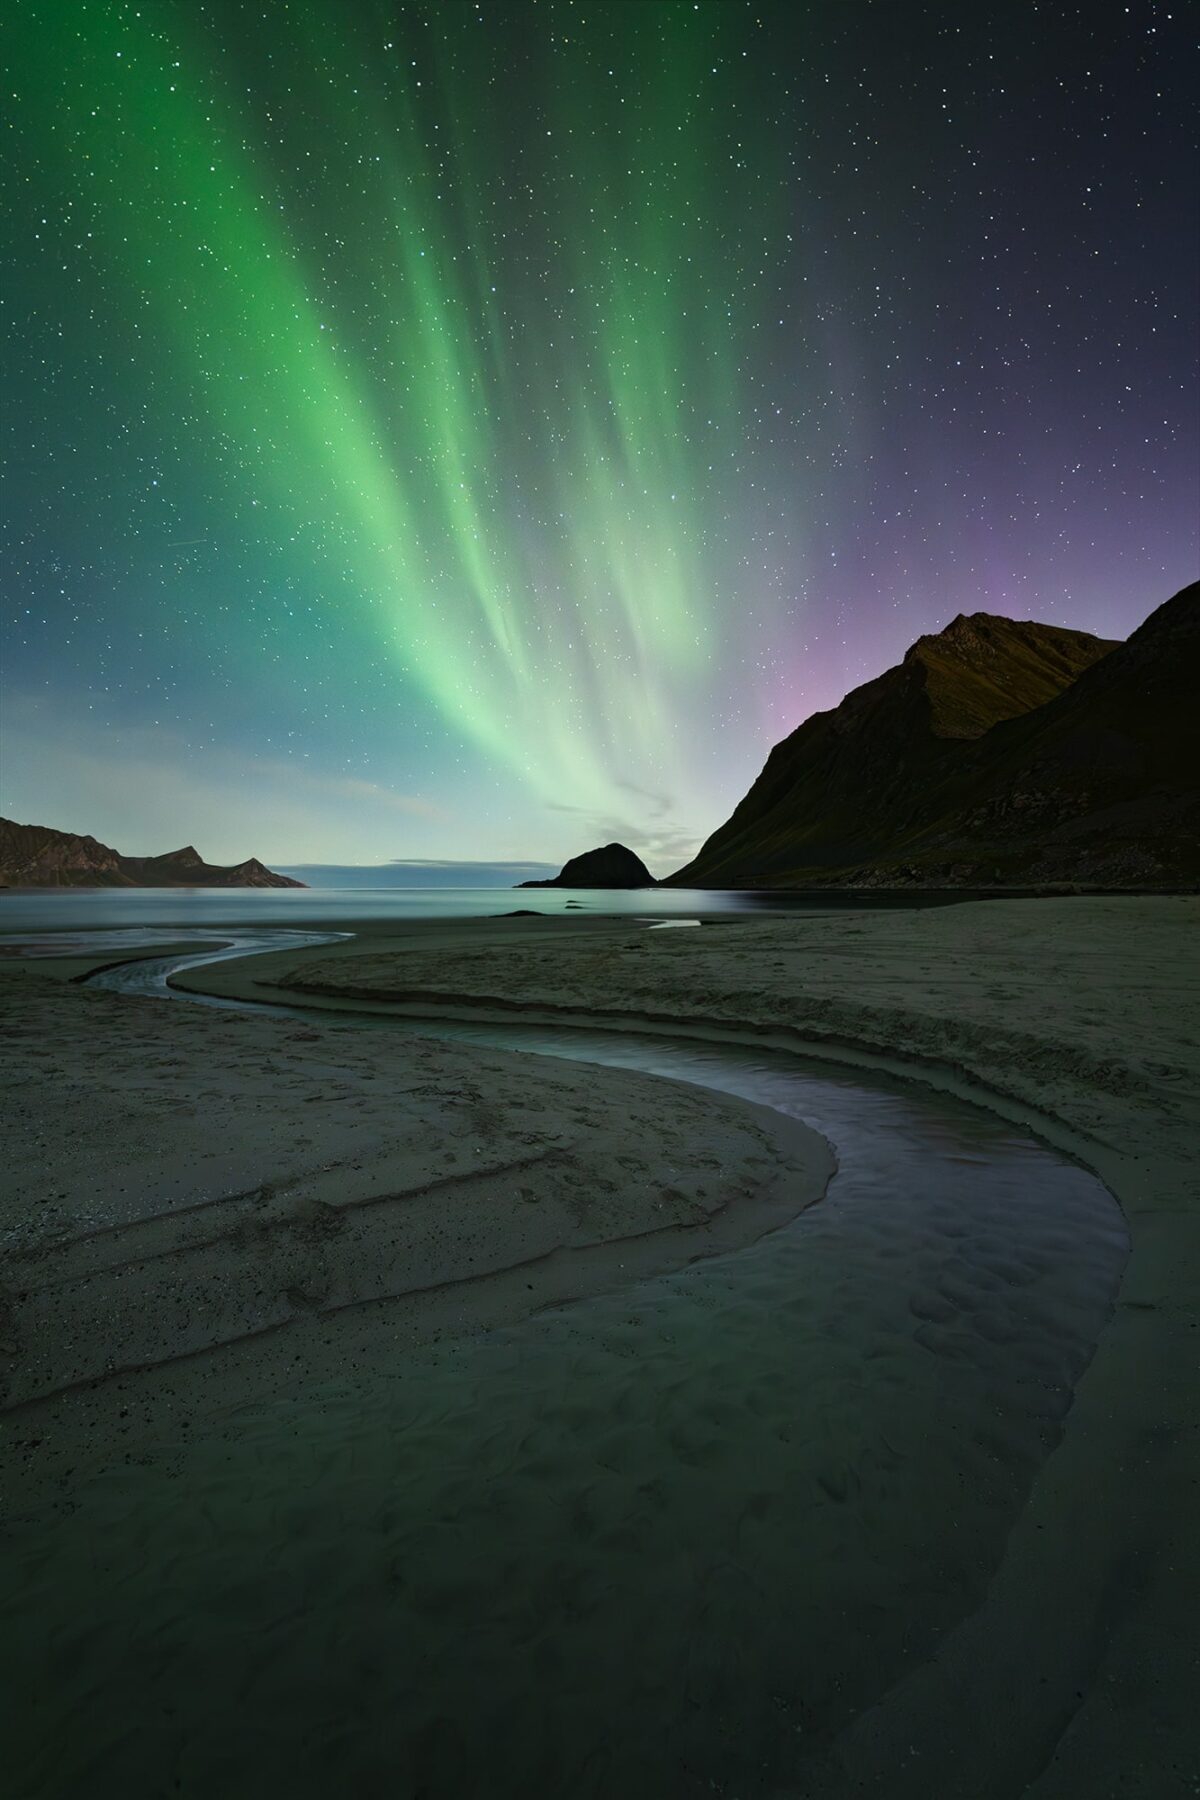
One of the biggest mistakes in northern lights photography is focusing entirely on the aurora itself. While the lights are spectacular, they are only one part of the image. The photographs I am most proud of are often the ones where the landscape plays an equally important role.
When scouting a location, I always look for elements that help create depth and guide the viewer through the scene:
✅ A strong foreground, such as rocks, rivers, snow textures or reflections
✅ A clear subject, like a mountain, cabin, tree or lighthouse
✅ Enough space for the sky to showcase the movement of the aurora
✅ Natural leading lines that connect the foreground to the northern lights
✅ A composition that has been planned before darkness falls
Scouting during daylight is one of the best habits you can develop as an aurora photographer. It allows you to identify potential compositions, check access points and avoid wasting valuable time once the northern lights appear.
I also regularly use tools such as Google Maps and Google Earth to research locations before a trip. This helps me visualize foregrounds, understand the orientation of the landscape and anticipate where the aurora may appear in relation to my composition.
The northern lights are always impressive. But when combined with a strong foreground and a sense of place, they become far more memorable than a photograph of the sky alone.
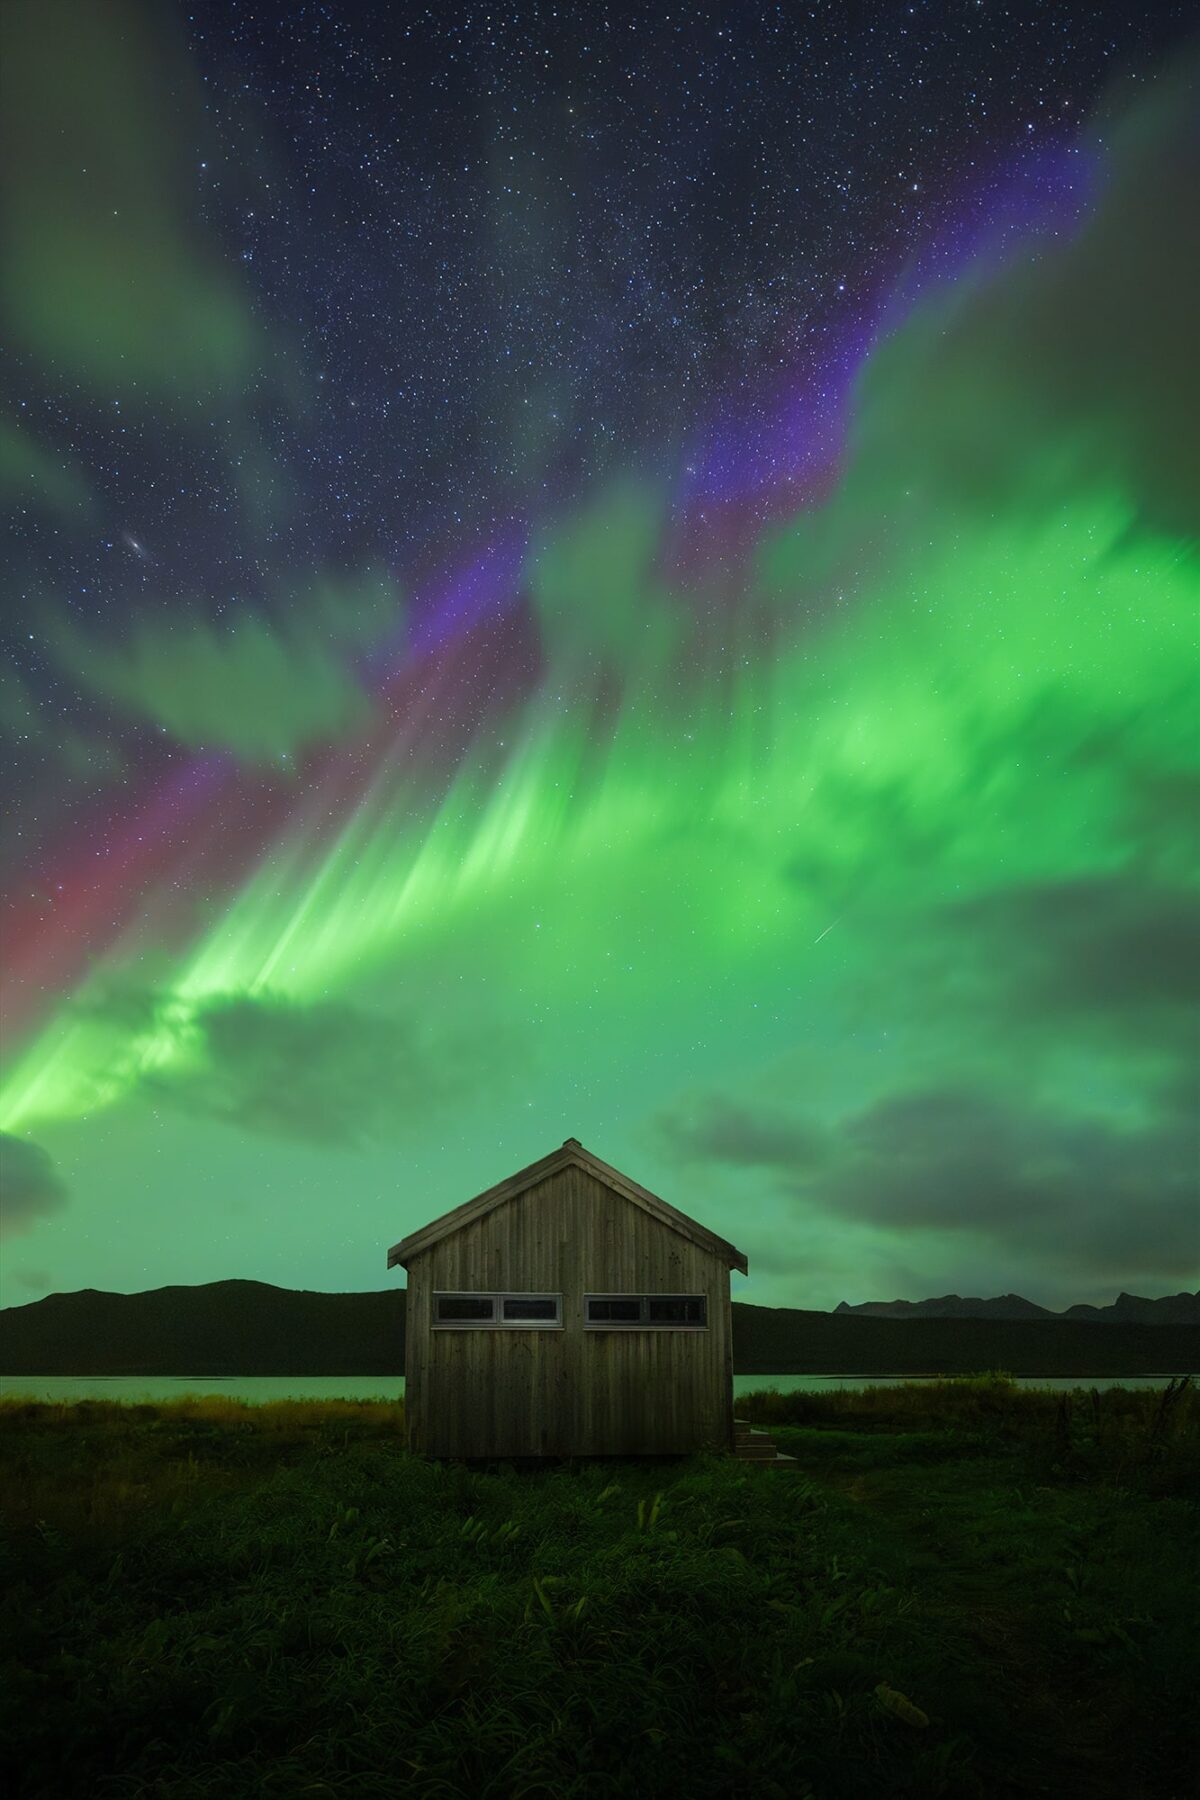
5. Stay Warm to Stay Out Longer
One of the biggest challenges of northern lights photography has nothing to do with camera settings. It is simply staying outside long enough.
Unlike many other types of photography, aurora photography often involves standing still for hours in cold temperatures while waiting for activity to appear. Once you have found your composition, movement is limited, which makes proper clothing essential.
Here is what I never leave behind during a winter aurora session:
✅ Thermal base layers to stay warm and comfortable
✅ Insulated waterproof boots suitable for snow and frozen ground
✅ Warm gloves that still allow you to operate your camera
✅ A hat to protect against wind chill and heat loss
Depending on the conditions, I also bring additional layers, hand warmers and a hot drink. Staying warm is not just about comfort. It allows you to stay focused, patient and fully present when the aurora finally appears.
The longer you can comfortably remain outside, the more opportunities you give yourself to witness and photograph memorable displays.
6. Wait, Watch and Don’t Give Up
One of the biggest lessons I have learned from photographing the northern lights is that patience often matters more than the forecast.
The aurora is incredibly unpredictable. You can spend hours under a quiet sky wondering if anything will happen, only to witness an incredible display a few minutes later. Some of my most memorable aurora experiences happened on nights when I almost decided to pack up and leave.
When photographing the northern lights, I always try to keep my gear ready and stay alert. Activity can increase suddenly, colors can intensify and the entire sky can transform in a matter of minutes.
Patience is also what makes aurora photography so rewarding. The waiting, the anticipation and the uncertainty are all part of the experience. And when the sky finally comes alive above you, those long hours in the cold quickly become worth it.
The northern lights do not follow a schedule. Sometimes they appear immediately, sometimes they take hours. But if conditions are promising, I have learned that staying a little longer is often one of the best decisions you can make.

When the Sky Begins to Move
Northern lights photography is not only about camera settings and gear. It is about being there, fully present, when the sky suddenly comes alive with color. Every aurora is different. Every display is unique. That is what makes the experience so unforgettable.
Over the years, I have learned that patience matters more than perfection. Standing beneath the northern lights teaches you to slow down, observe and appreciate moments that cannot be planned or repeated. Even the quiet nights have their own kind of beauty.
I hope this guide helps you prepare for your own northern lights photography adventure. Not only to capture beautiful images, but also to experience the wonder of watching the sky dance above you.
And most of all, enjoy the moment. Happy shooting.
Published on July 31, 2024 by Jennifer Esseiva
Updated on February 8, 2026