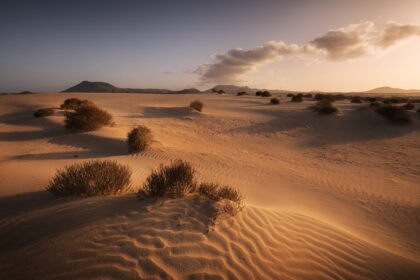
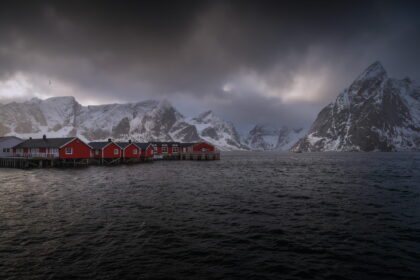
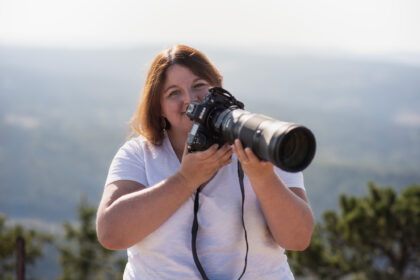
In September, we spent eight days in Northern Norway, with two nights in Bodø and six days exploring the Lofoten Islands. We flew from Zürich to Bodø with Edelweiss, which is a very convenient option if you are travelling from Switzerland and want to start a road trip in the north of Norway.
From Bodø, you can easily take the ferry to Moskenes and begin your Lofoten adventure. This route worked really well for us and allowed us to combine a first stop near Bodø with several days in the Lofoten, where we focused entirely on landscape photography.
September turned out to be a beautiful time to visit. We experienced the first autumn colors, mild temperatures, very few tourists, and we were even lucky enough to see the northern lights several times during the trip. For landscape photography, it was the perfect combination.
In this article, I share our full photography itinerary, including the locations we photographed, useful parking spots, short hikes, and the best moments of the day to shoot. If you want to see what the Lofoten look like through my lens, you can also explore my Norway photo gallery here.
Quick recap: key locations and useful links
Top landscape photography spots in the Lofoten
➜ Uttakleiv Beach and the Dragon’s Eye
➜ Haukland Beach
➜ Vik Beach
➜ Skagsanden Beach
➜ Ramberg Beach
➜ Fredvang Bridges
➜ Ryten and Kvalvika Beach viewpoint
➜ Hamnøy and Reine
➜ Unstad Beach
➜ Nusfjord village
Northern lights in the Lofoten
➜ Read my northern lights photography guide for all my tips and camera settings
➜ My Aurora Forecast: a must-have app for chasing auroras
Useful links for this Lofoten itinerary
➜ Bodø–Moskenes ferry timetable
➜ Book the Bodø–Moskenes ferry
➜ Norwegian drone map
Accommodation ideas in the Lofoten
➜ Rorbu cabin in Sørvågen (great base for Reine, Hamnøy and Sakrisøy)
➜ Apartment around Gravdal (very central for exploring the islands)
Day 1: Bodø and Mjelle Beach, a pink sand beach near Bodø
Planning the first day in Bodø before the ferry to Lofoten
We landed in Bodø around midday after an early morning flight from Zürich. Since we were taking the ferry to Moskenes the next day, I decided to keep this first day simple and focus on logistics and one photo location nearby.
For this trip, we always chose accommodation with a kitchen. For a photography road trip, this honestly makes a huge difference. Instead of spending time looking for restaurants in the evening, we could fully focus on sunset, blue hour and sometimes northern lights, and simply cook when we came back. It gave us a lot more flexibility and allowed us to plan our days around light conditions rather than around restaurant opening hours.
Staying close to the ferry terminal was also very practical, especially because we had an early ferry the next morning. We also took the opportunity to do our first grocery shopping in Bodø so everything was ready before arriving in the Lofoten. If you are planning to take the ferry from Bodø to Moskenes, it is important to know that the timetable and the booking system are on two different websites. One website shows the ferry schedule, and another one is used to book a spot for your car. I highly recommend booking in advance, especially if you are travelling with a car, because the ferry can fill up quickly, even in September.
➜ Ferry timetable
➜ Book your ferry ride
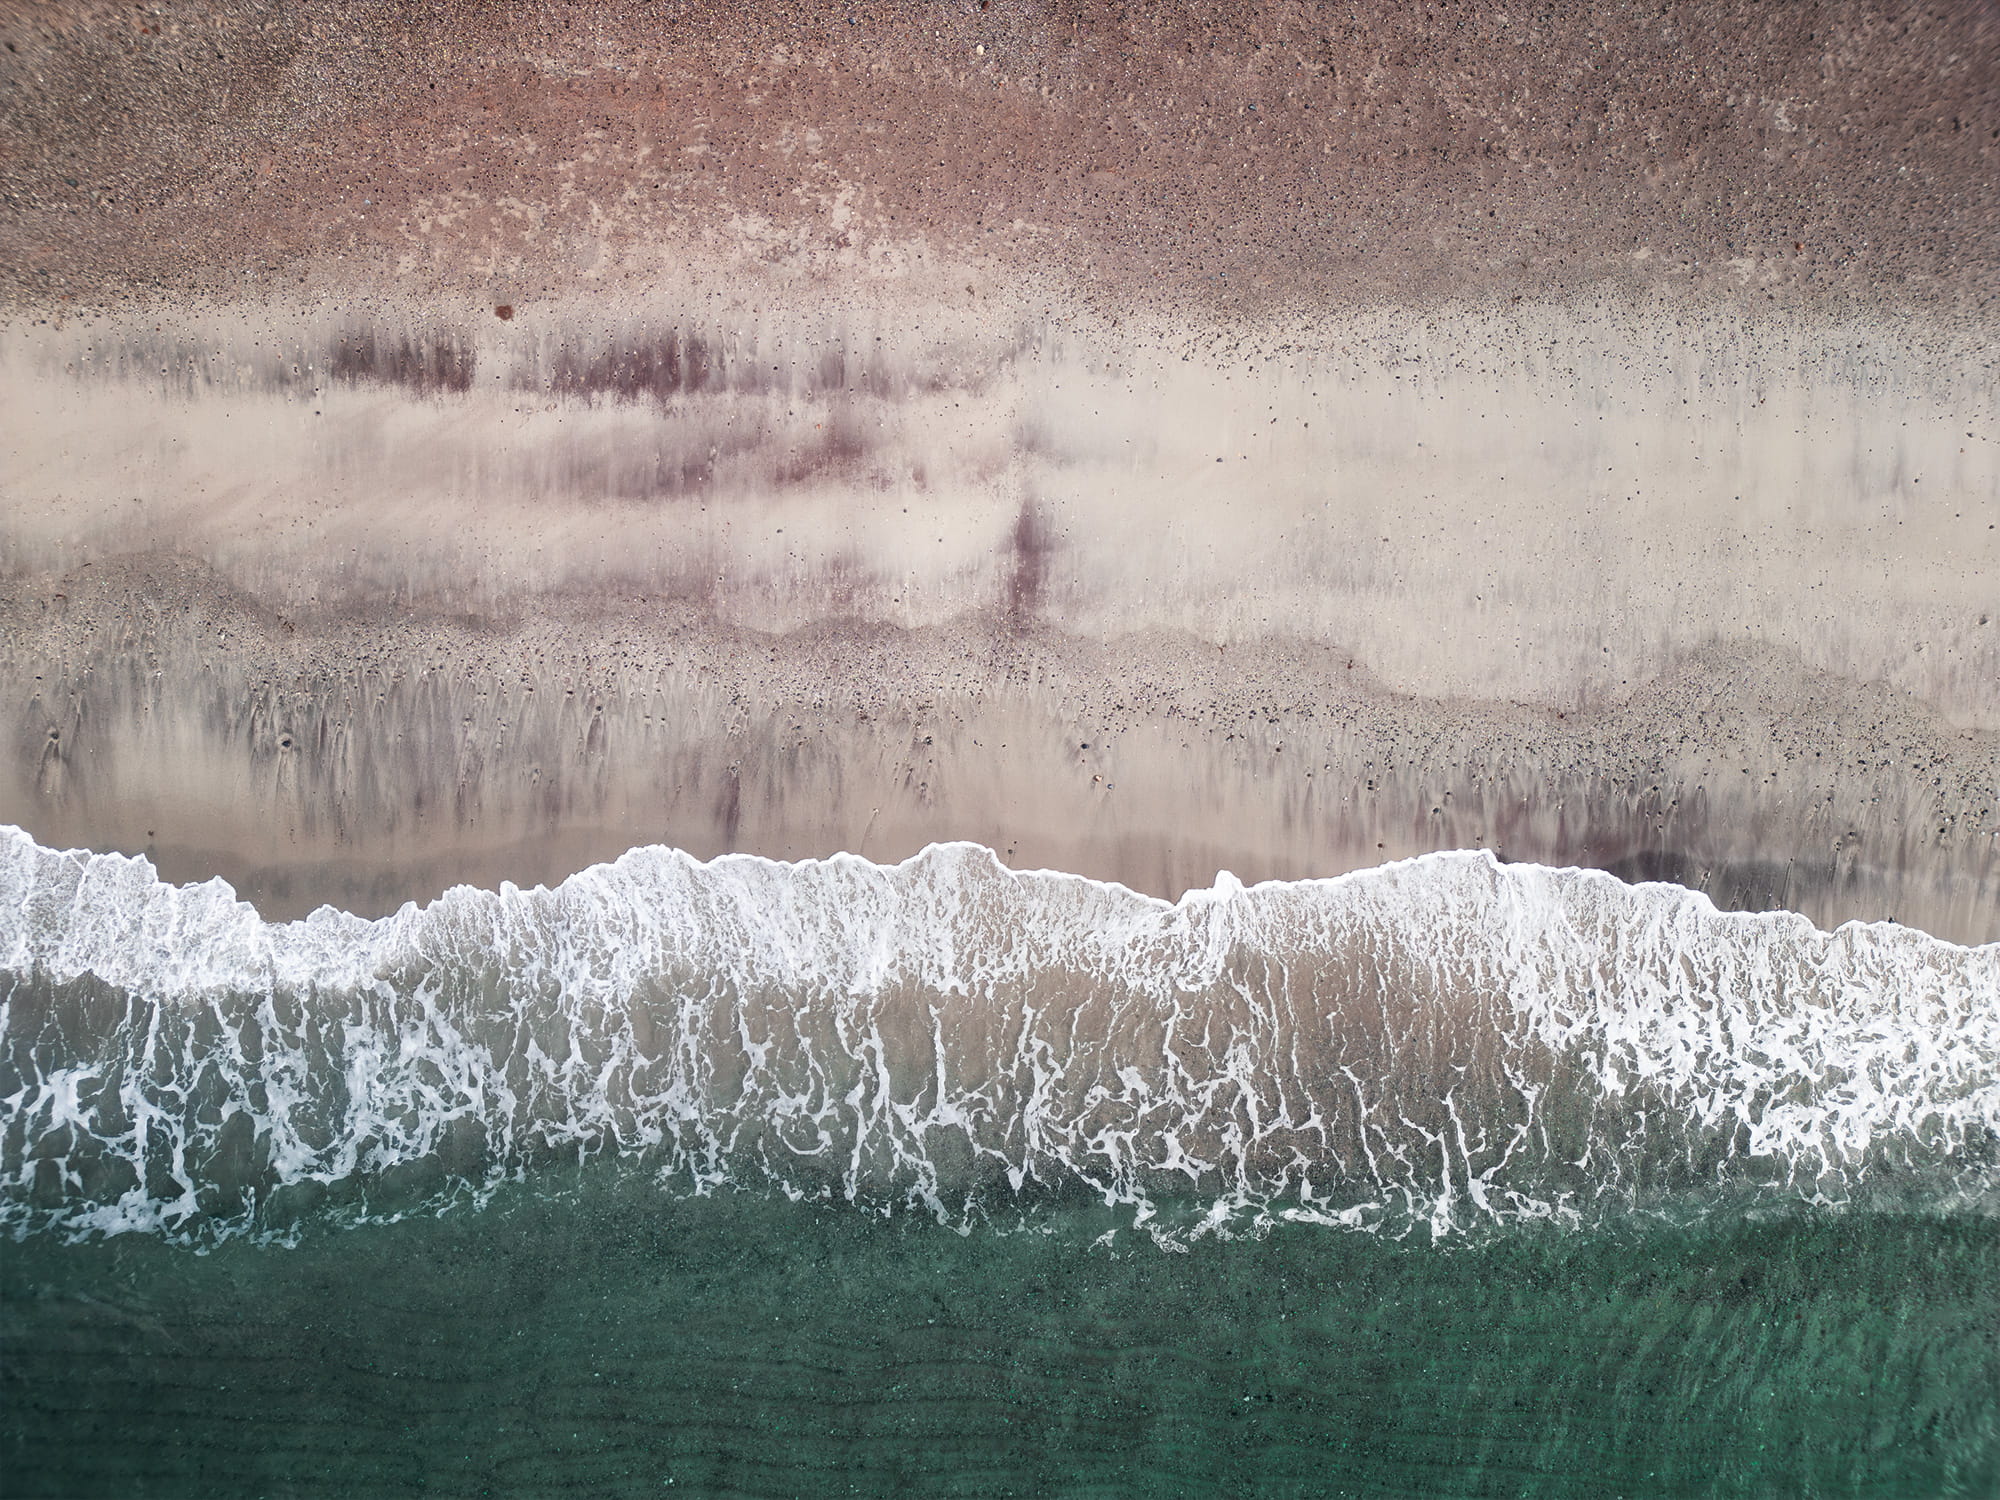
Mjelle Beach, a pink sand beach near Bodø
For our first photo session in Northern Norway, I chose Mjelle Beach, located about 30 minutes from Bodø. The walk to the beach takes around 20 minutes and is quite easy, which makes it a perfect first stop after a travel day.
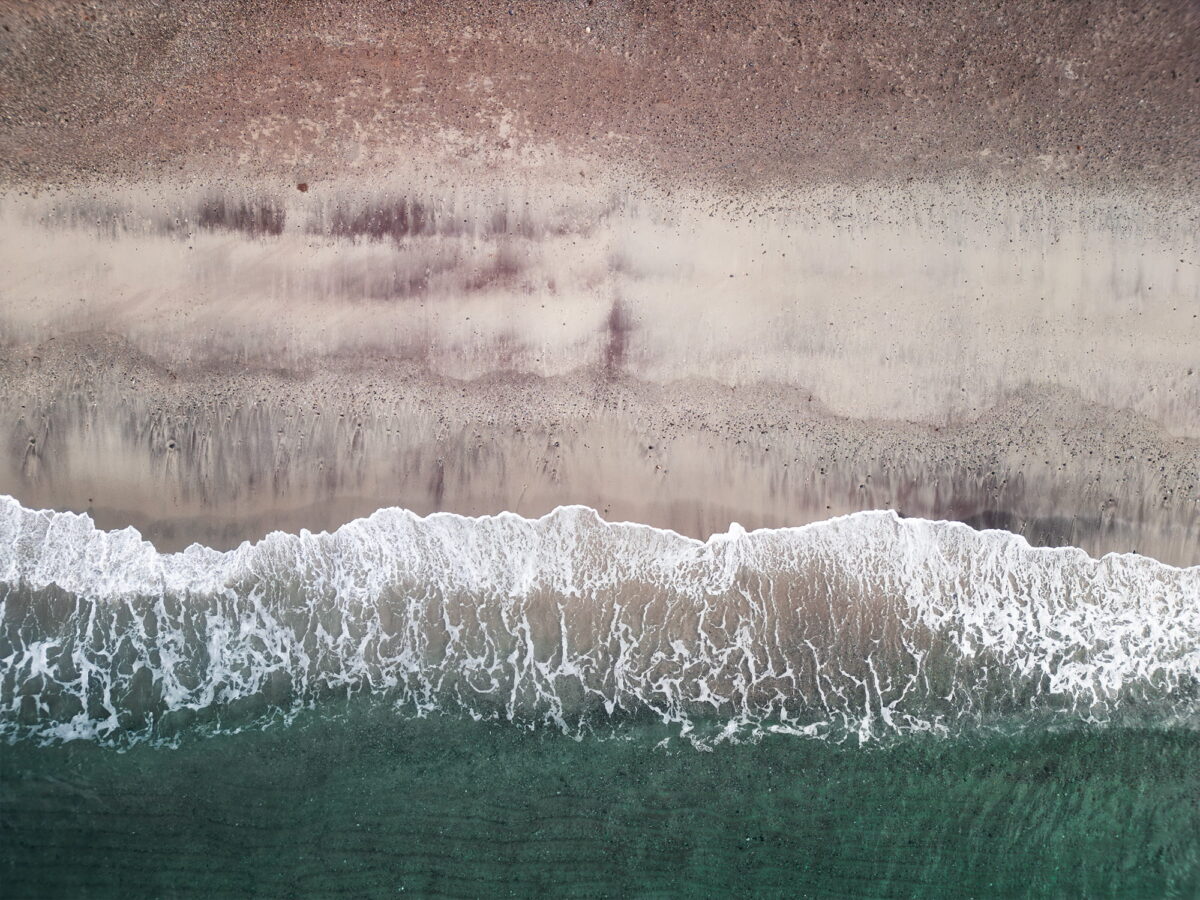
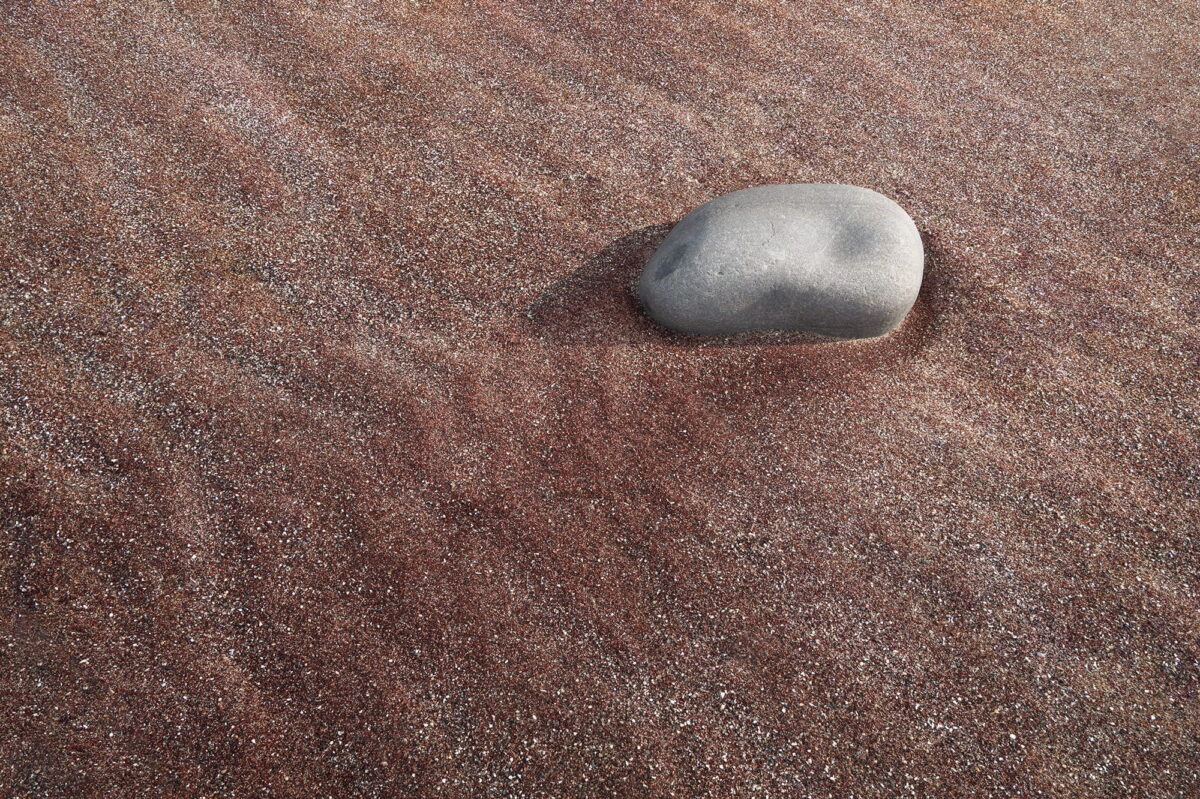
But the reason why Mjelle Beach is so special is its sand. It has a very subtle pink tone that becomes more and more visible as you walk along the shore. From the ground, the color is quite soft, but from above, with a drone, you can really see the different shades and natural patterns in the sand. This makes it a very interesting location for drone photography and abstract compositions.
When we arrived, the beach was completely empty. No wind, no people, just a very calm atmosphere. A really beautiful and peaceful way to start this photography road trip in Northern Norway.
Before flying my drone in Norway, I always check the official Norwegian drone map where you can see all the areas where flying is restricted. The rules can change, so it is always a good idea to check before every flight.
➜ Norwegian Drone map
➜ Mjelle Beach
➜ Parking location
Day 2: Ferry to Lofoten and first Arctic light
The next day, we took the ferry from Bodø to Moskenes to reach the Lofoten Islands. I had booked the ferry for the car well in advance because I had heard that it can get quite busy. The ferry crossing takes around three hours, but keep in mind that schedules can change, especially later in the season. A few days before our arrival, the ferry was not running due to an accident at the quay, and of course the weather can also impact departures. So if you are planning a Lofoten photography itinerary, I would definitely recommend checking the ferry status in advance and not planning a very tight schedule on that day.
We arrived in Moskenes at the end of the afternoon and drove straight to our accommodation in Gravdal. I had chosen this location specifically because it is quite central in the islands, which makes it easy to reach both the northern and the southern photography spots.
Where we stayed in the central Lofoten
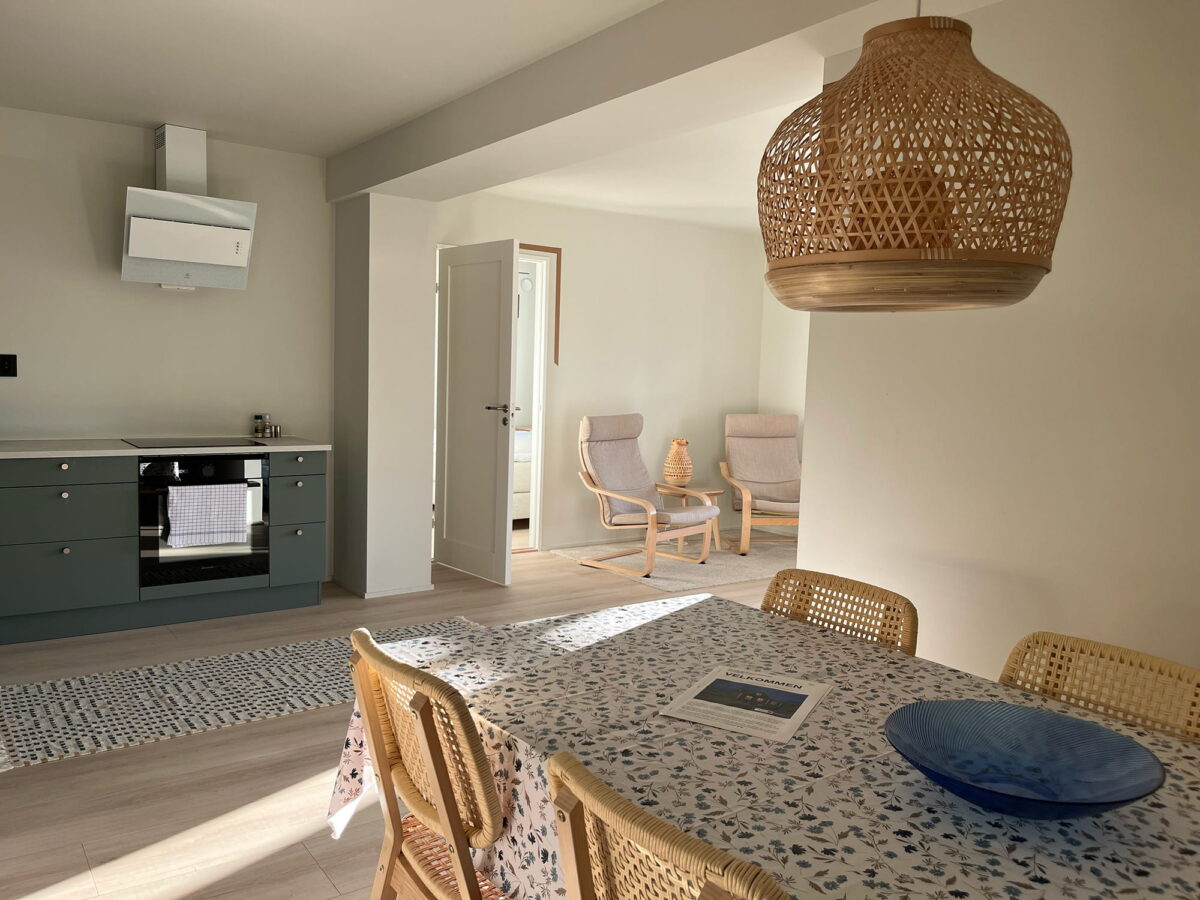
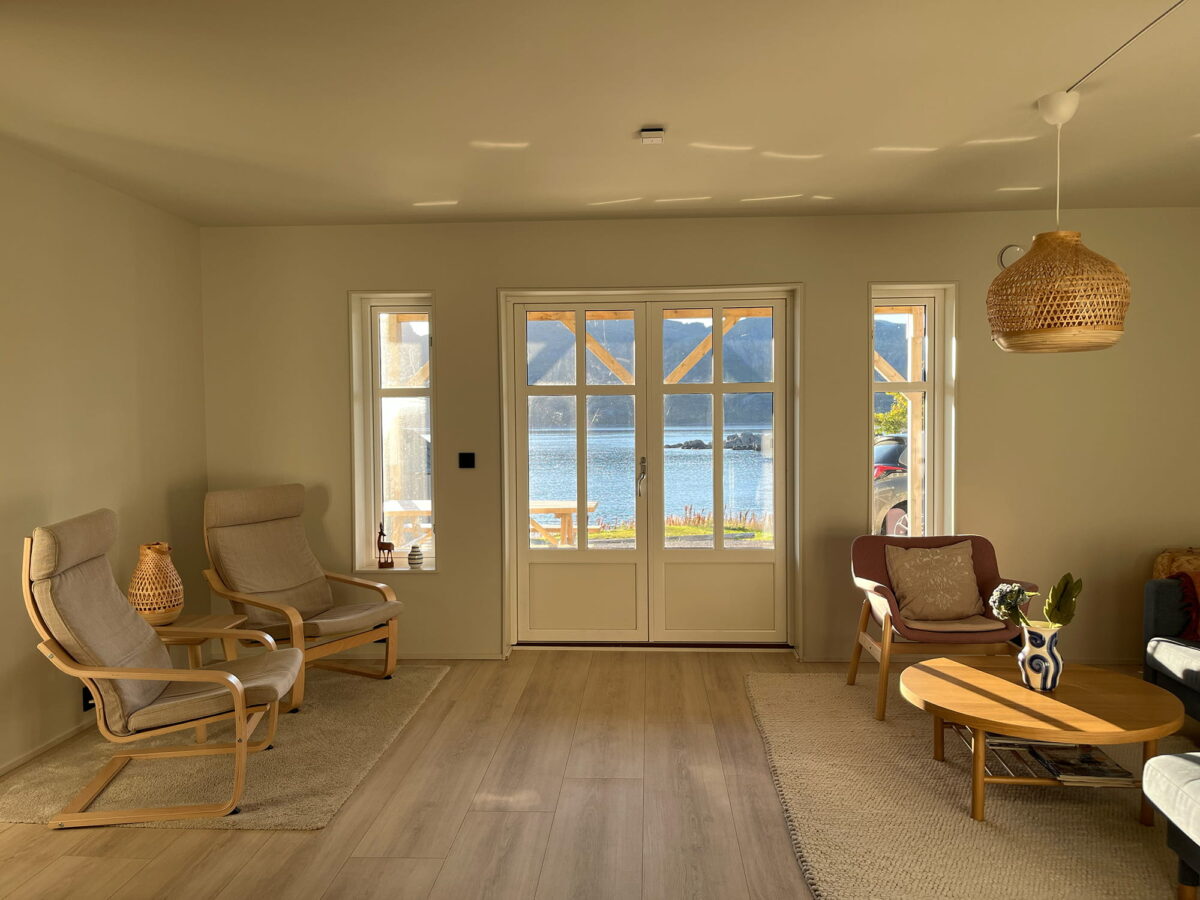
For the first part of the trip, we stayed in an apartment in the Gravdal area, which turned out to be a very convenient base to explore the Lofoten. The location is quite central, so it was easy to reach places like Uttakleiv, Haukland, Vik or Skagsanden, but also to drive further south on longer days towards Reine and Hamnøy.
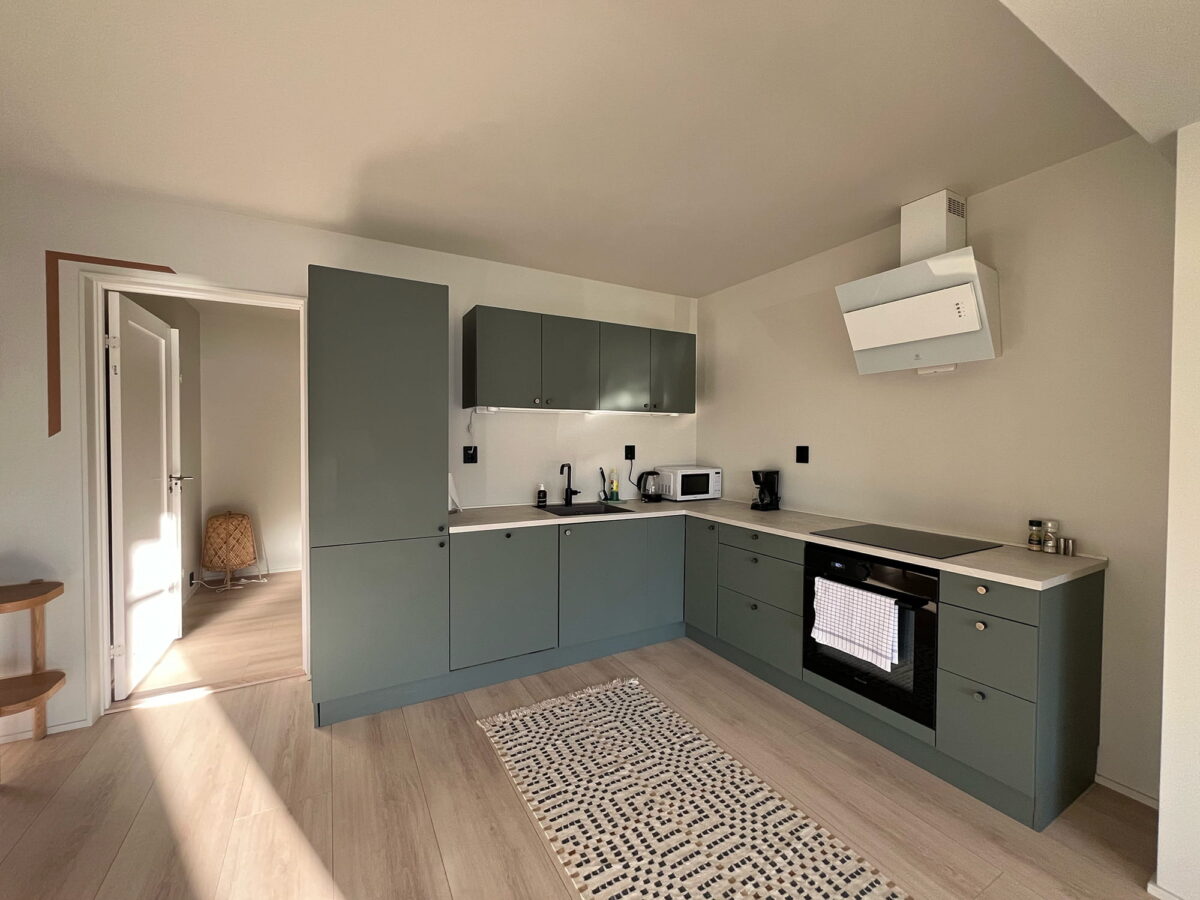
The apartment had a kitchen and enough space for all our camera gear, which made a big difference on a photography trip. After long days outside in the wind and rain, it was really nice to come back, cook, dry our clothes and batteries, and plan the next day according to the weather and light conditions.
If you are planning a photography road trip in the Lofoten, I would definitely recommend staying in the central part of the islands for a few days. It makes it much easier to adapt to the weather and drive either north or south depending on the light conditions.
First sunset in Lofoten: Uttakleiv Beach and the Dragon’s Eye
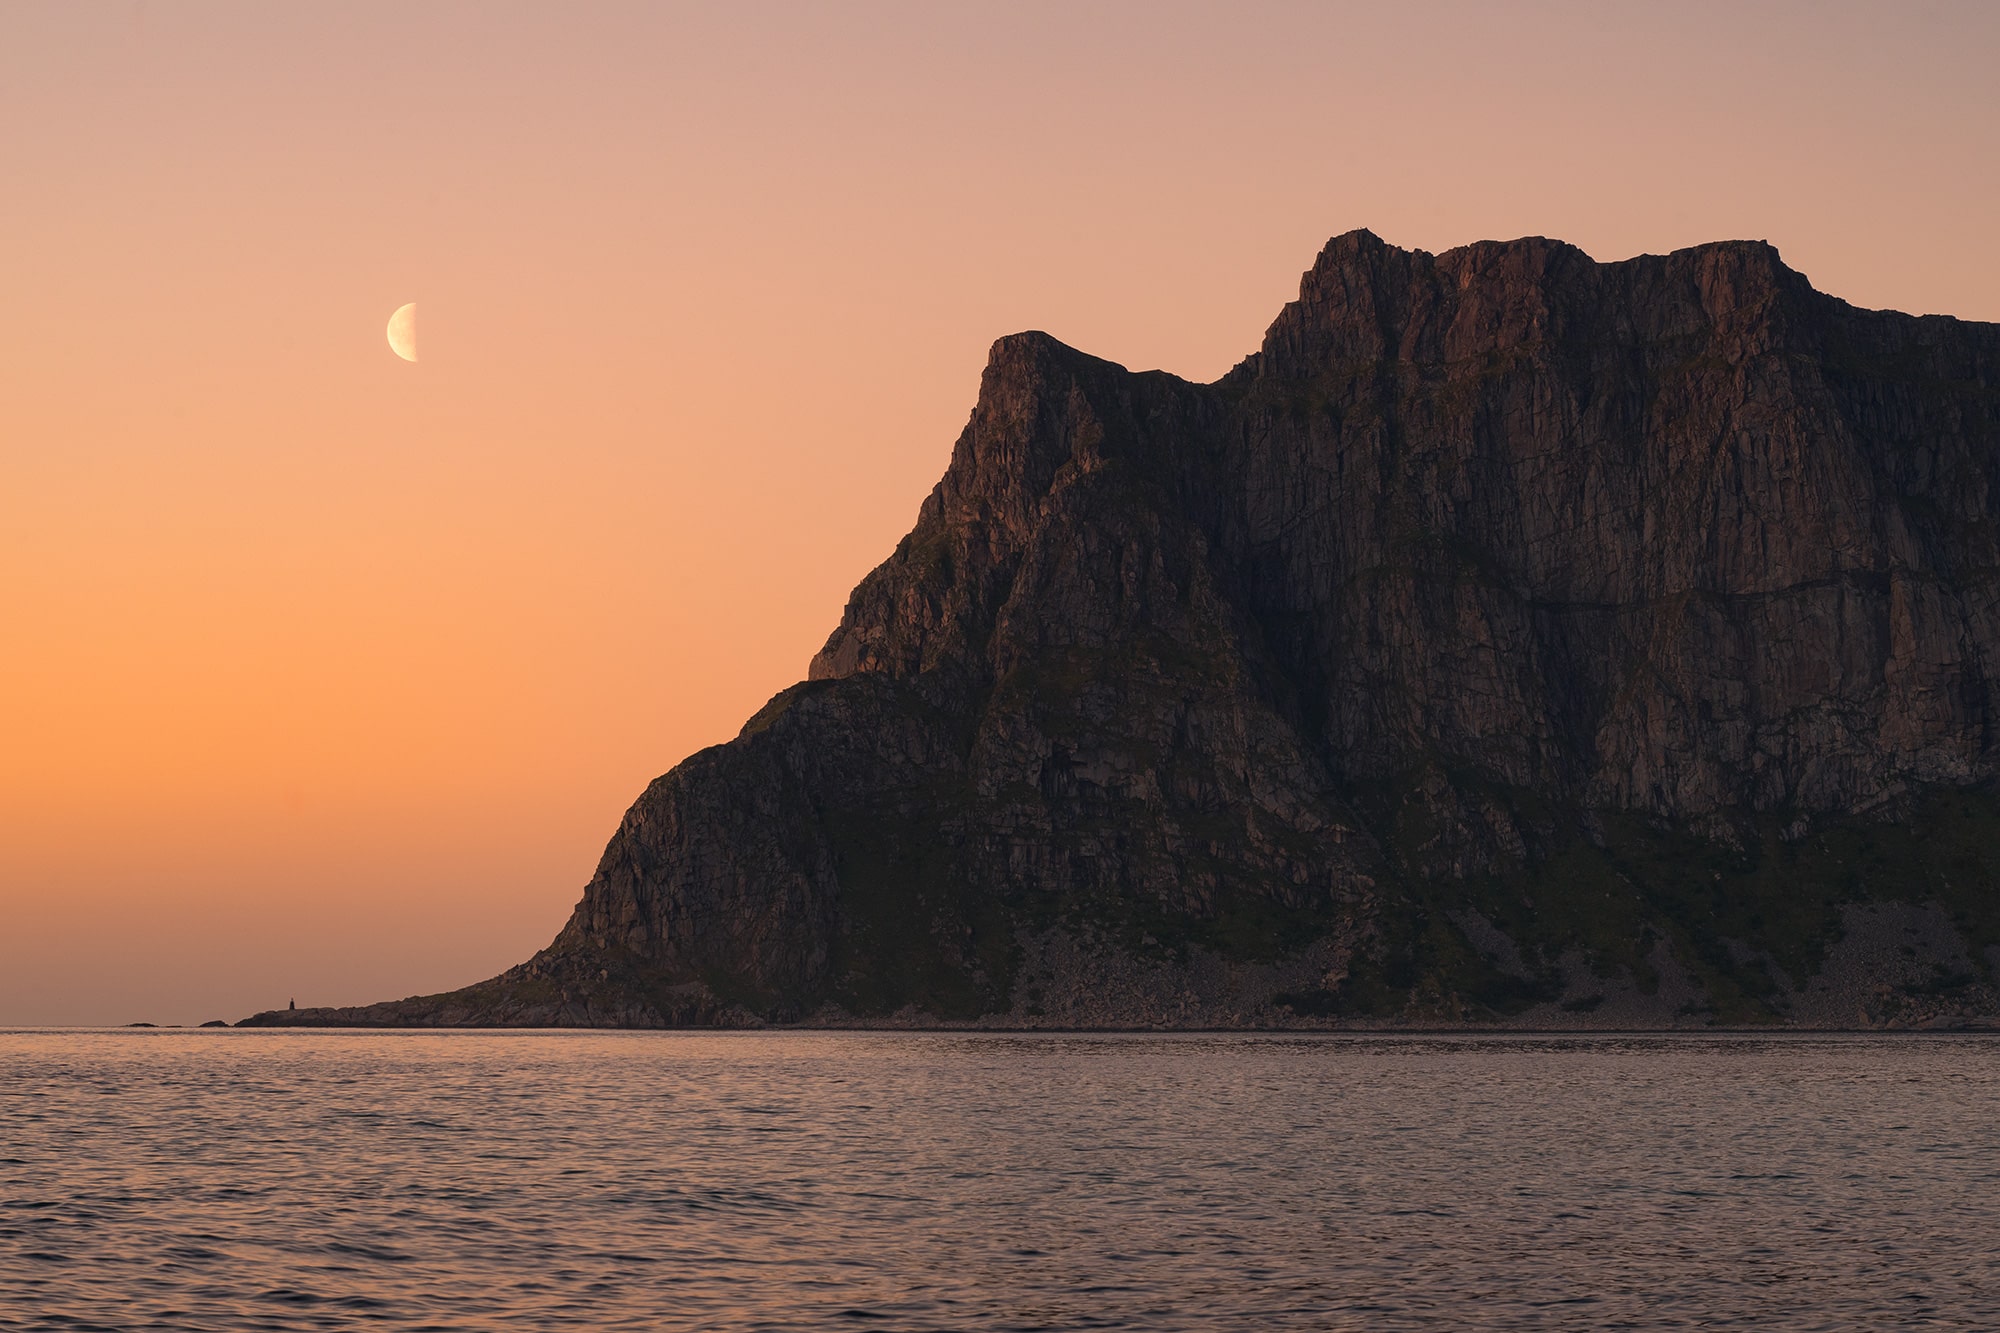
On our way to our accommodation, the light was already getting really interesting, and I did not want to miss it. We dropped our bags and immediately headed to Uttakleiv Beach for sunset, as it was only a 20 minute drive from where we were staying.
At the parking lot, we lost a few minutes because an agent stopped us to explain how the parking system works and how to pay when leaving. And I remember standing there thinking: I really need to get to the beach, the light is changing fast. We will figure out how to pay later.
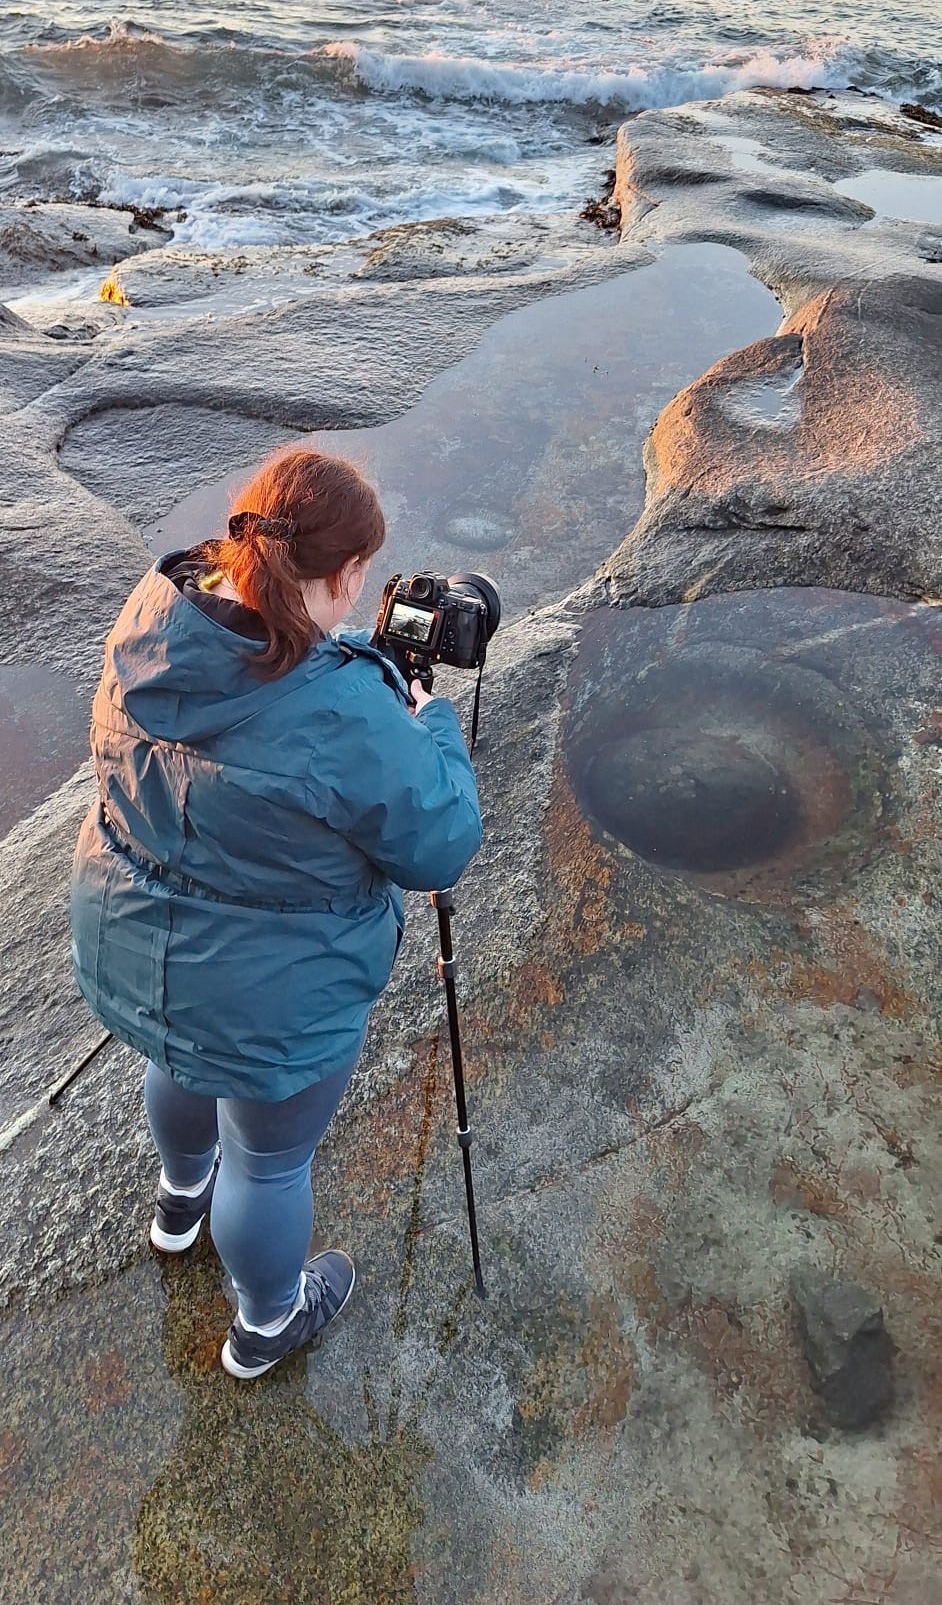
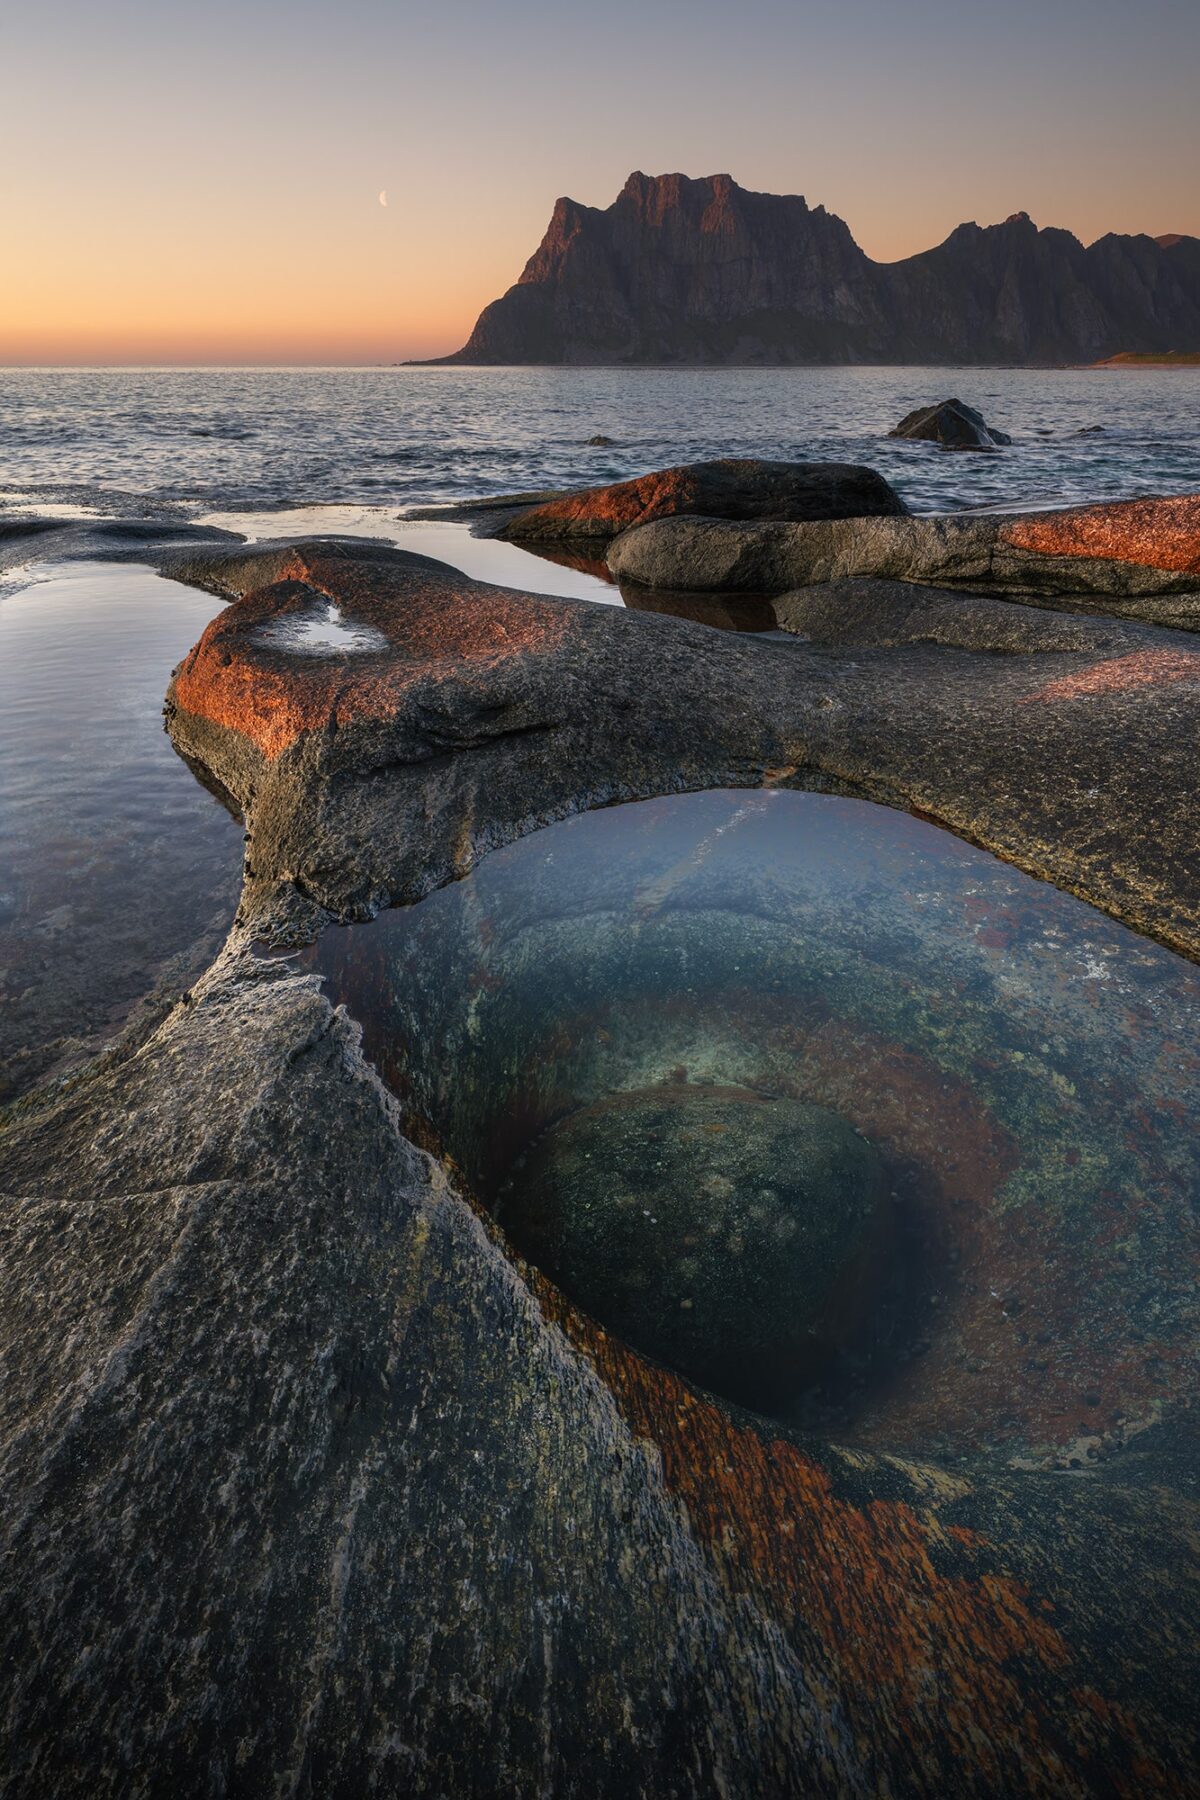
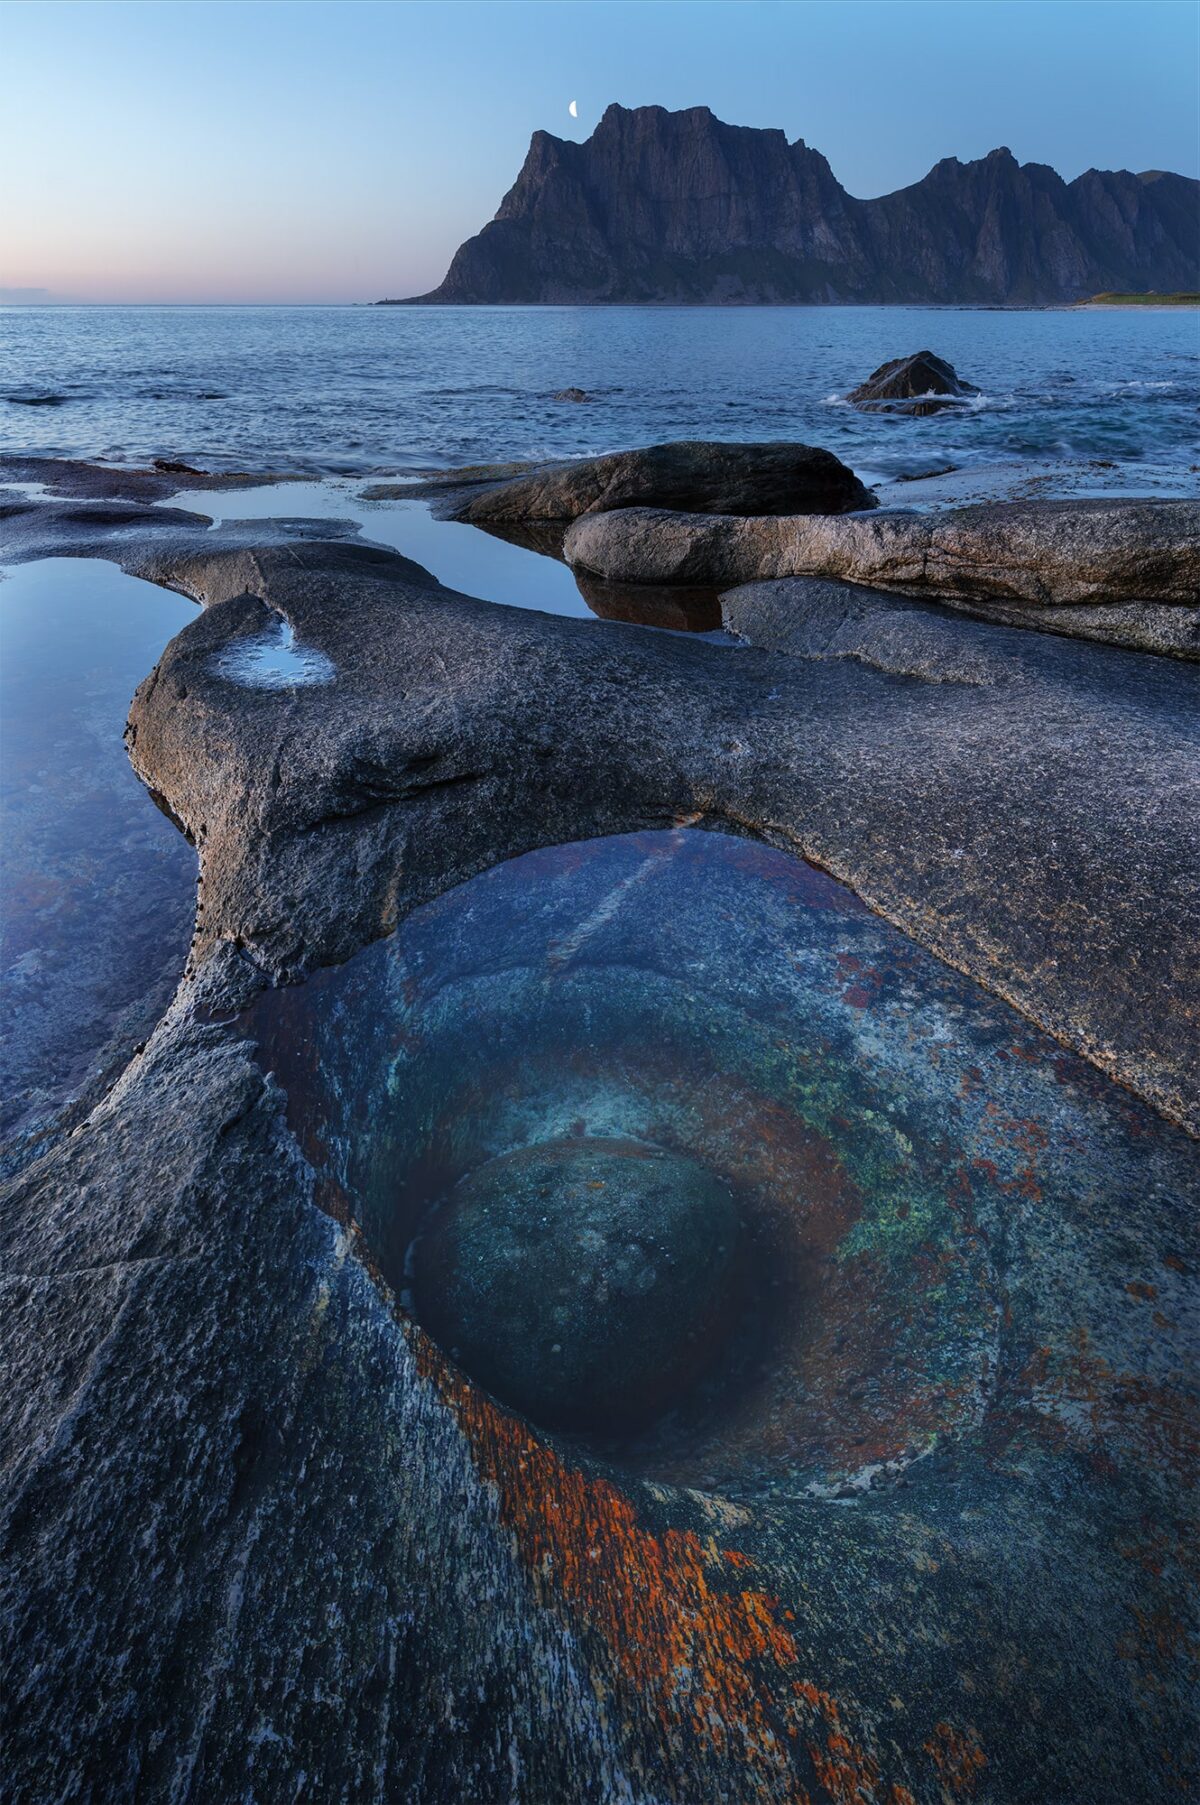
Once on the beach, we started looking for the famous Dragon’s Eye. And honestly, it is not that easy to find if you have never been there before. You really have to walk between the rocks and search for it. I guess some people will say that you can see it from far away because people are usually queuing to photograph it, but when we were there, I was actually the only one.
But then everything came together. The moon was rising, and some sun rays were hitting the rocks around the Dragon’s Eye. It was exactly the kind of scene I was hoping to capture. We stayed for sunset and continued shooting during blue hour.
➜ Uttakleiv parking location (paid parking)
➜ Dragon’s Eye location
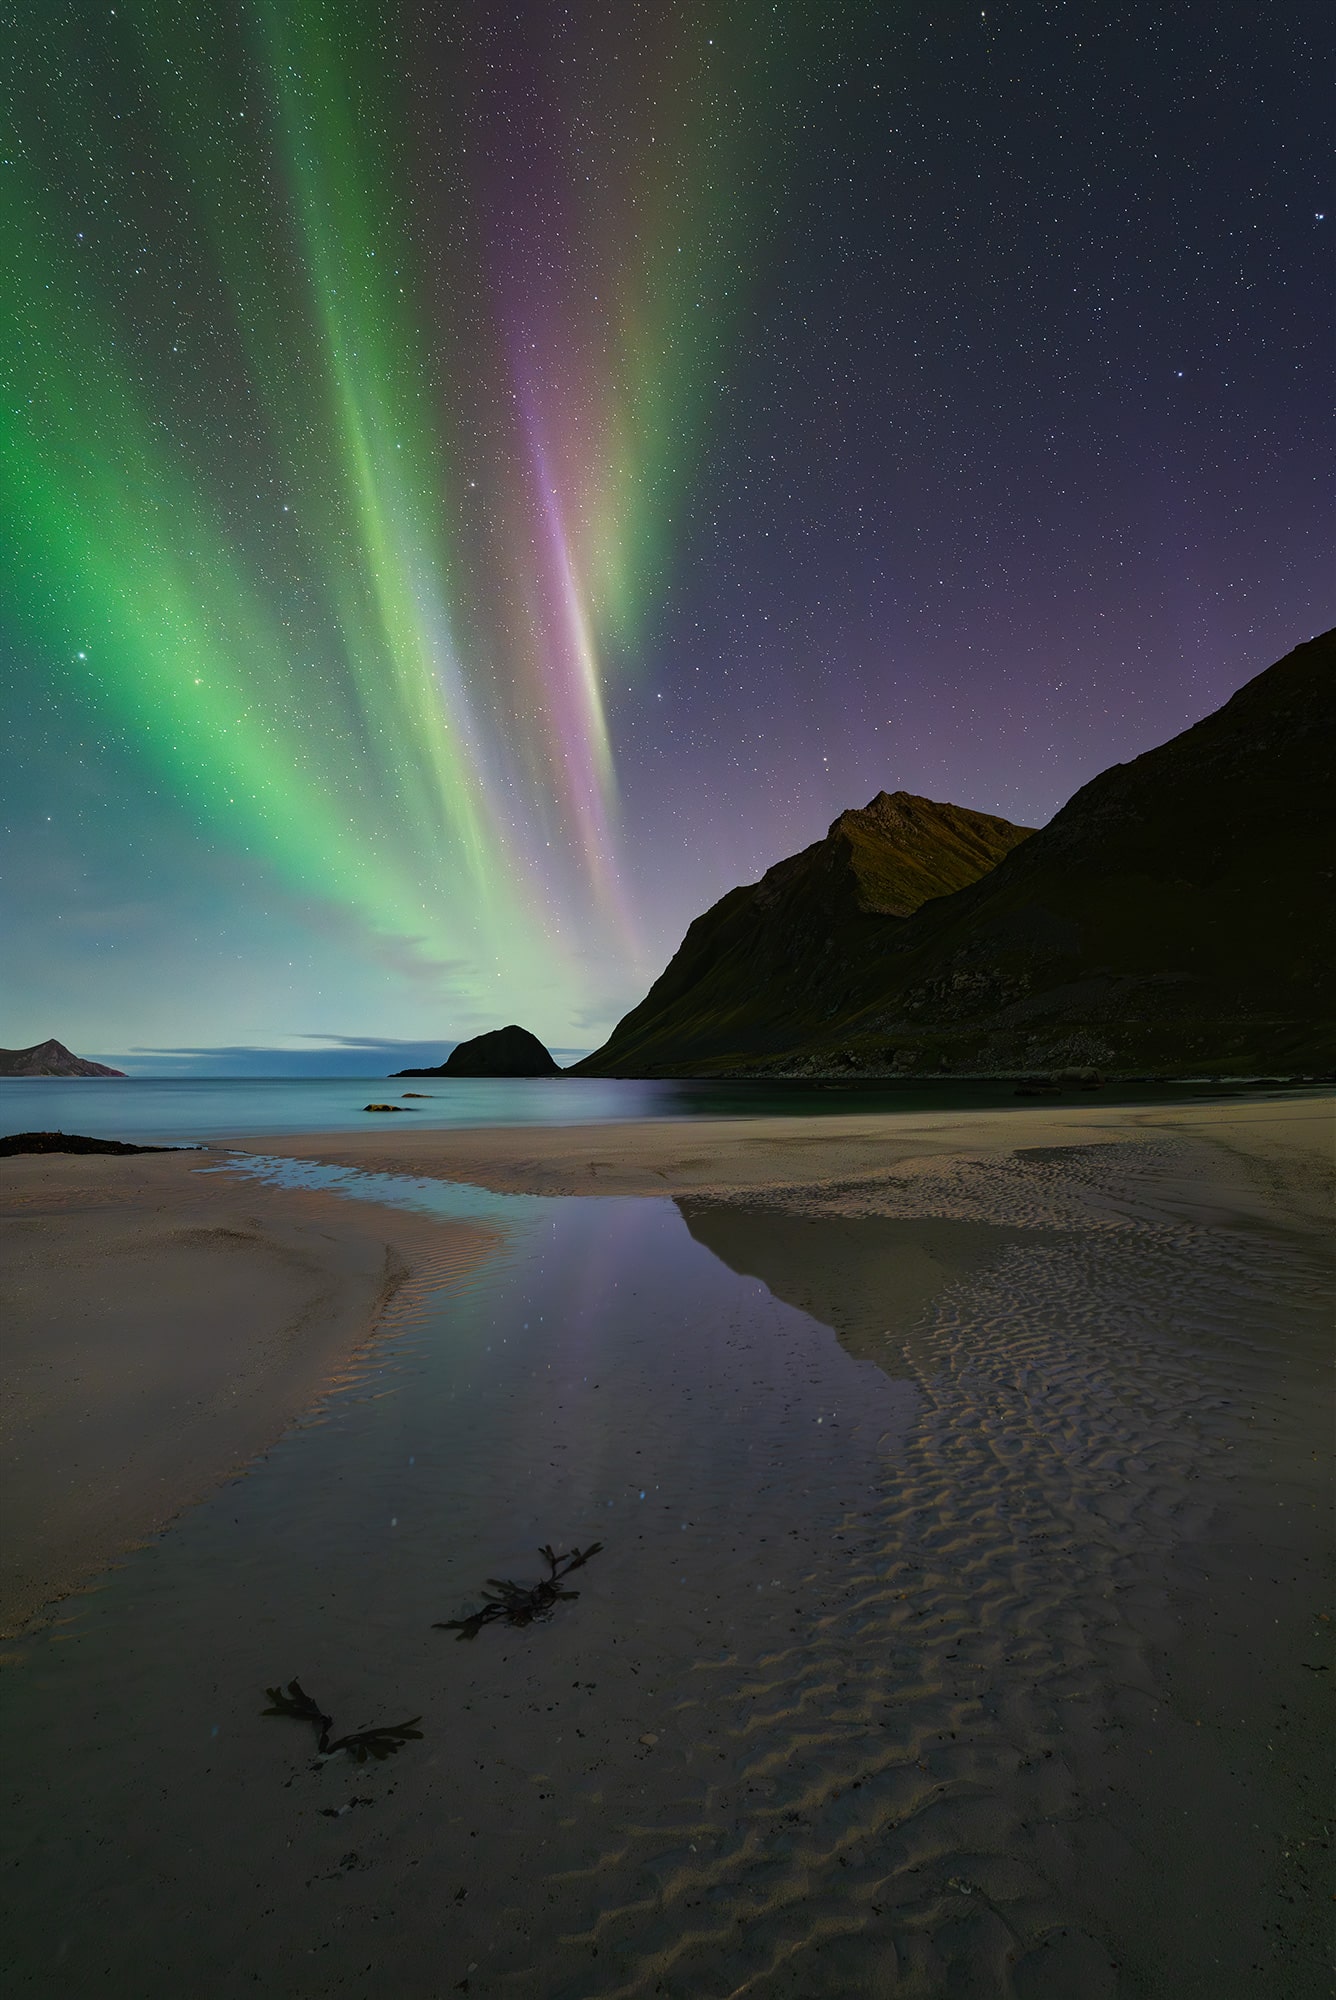
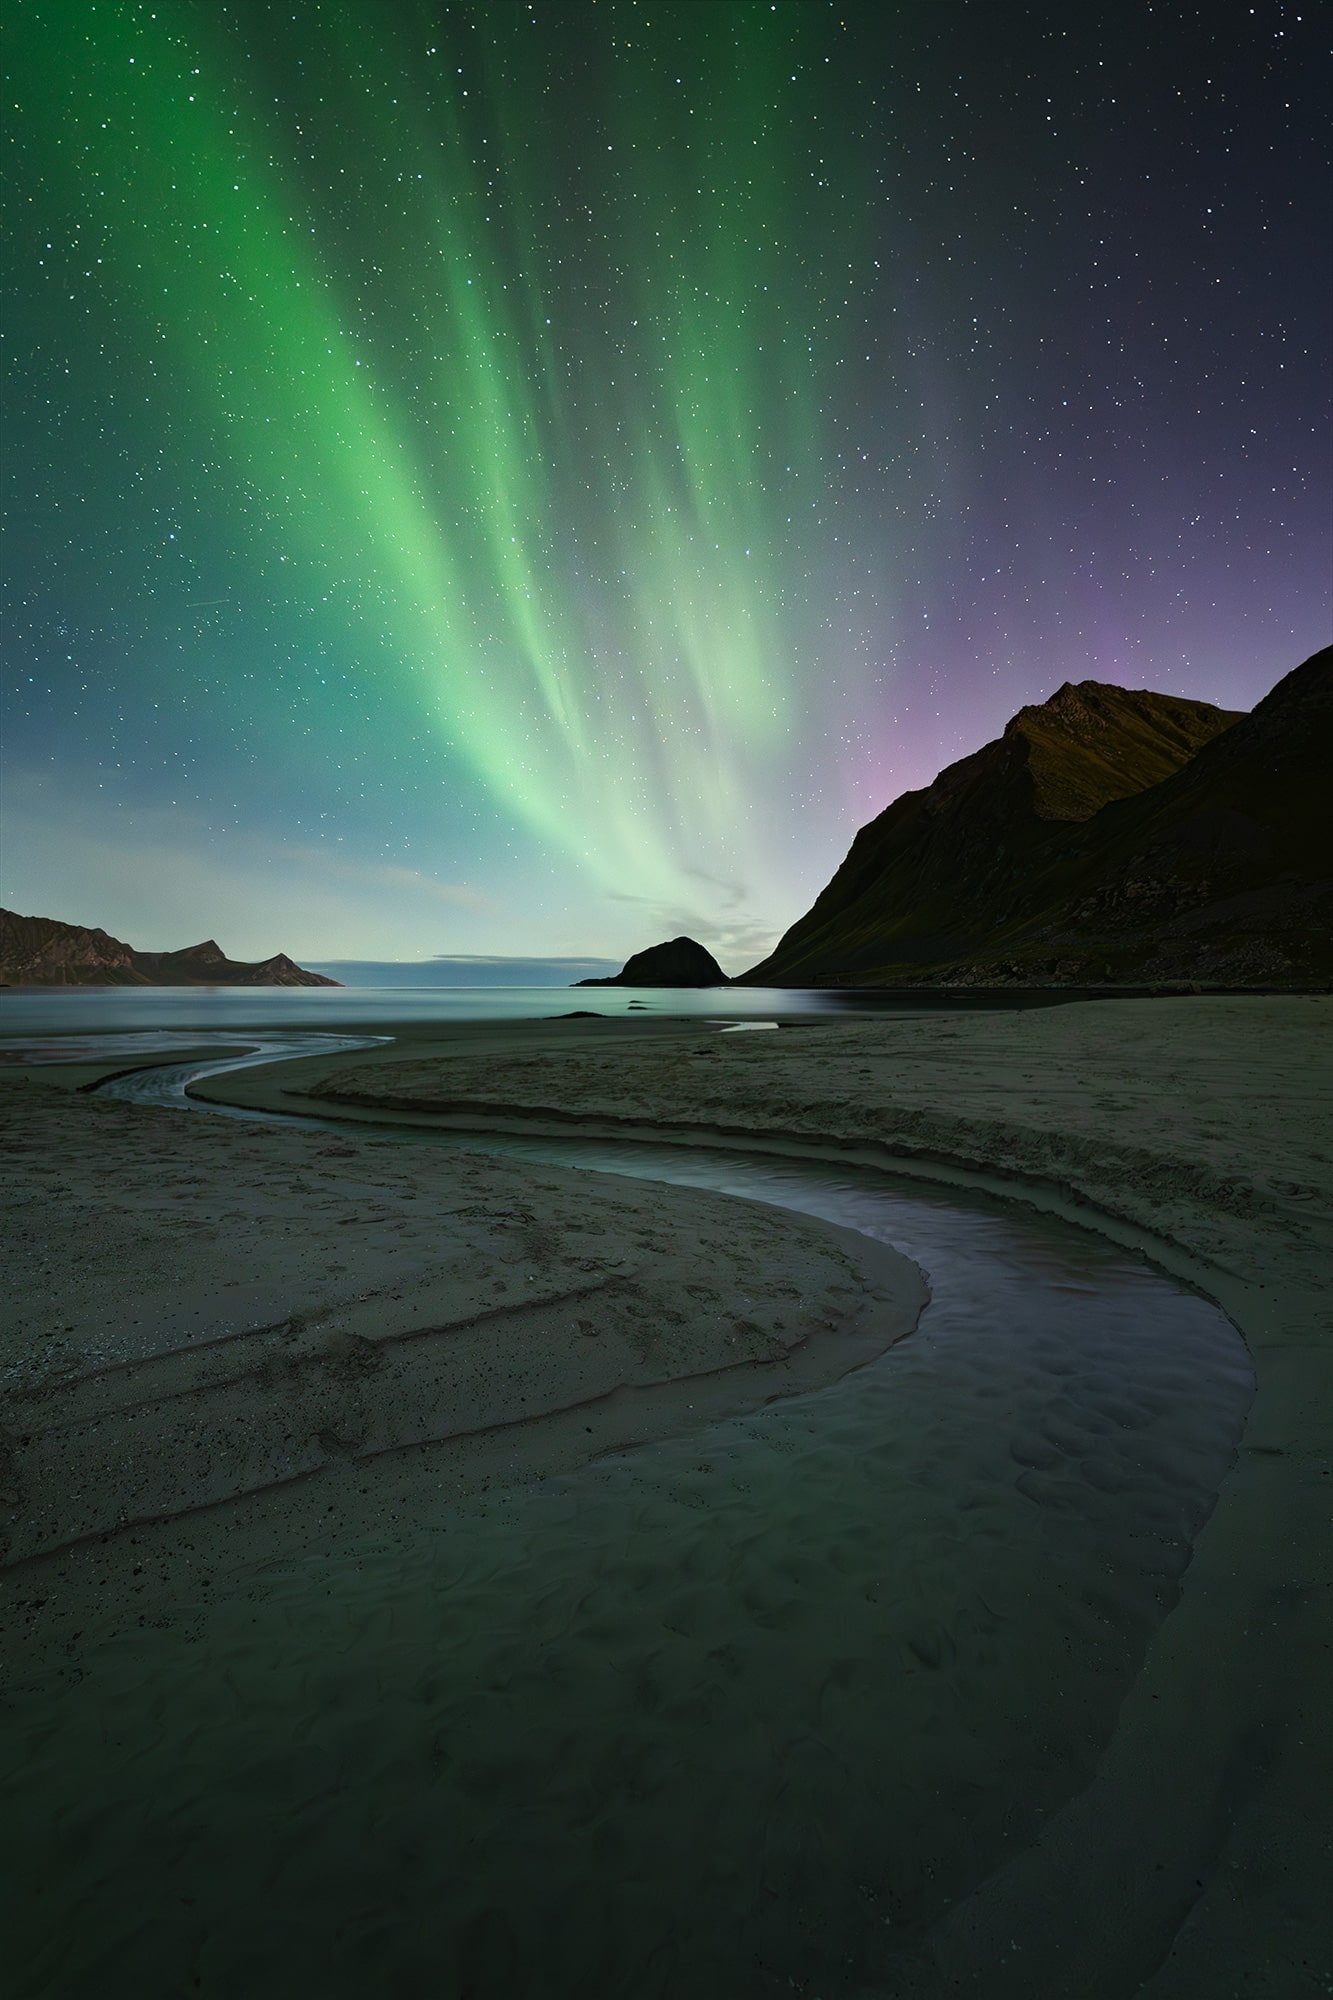
Northern lights at Haukland Beach
That night, the sky was completely clear, so I was really hoping to see the northern lights at Uttakleiv. But when they appeared, they were in the wrong direction for the composition I had in mind.
I knew that Haukland Beach could be a good alternative, especially because of the small river that sometimes flows across the beach and creates a beautiful foreground. Since Haukland is only about five minutes by car from Uttakleiv, we decided to try.
And honestly, it was a bit chaotic. It was around 10 pm, completely dark, with northern lights in the sky, and I had never been to Haukland Beach before. Finding the river in the dark took much longer than expected. I definitely do not recommend discovering a new location for the first time at night, but in this case, I did not really have a choice.
In the end, it was totally worth it. I managed to find a composition with water in the foreground, which added depth and reflections to the image. Considering the situation, I was really happy with what I managed to capture that night.
➜ Haukland parking location (paid parking)
Day 3: Ryten hike, rainbows and Skagsanden Beach
That day was probably one of the most complete days of the trip. We had planned the Ryten hike, but I was also in contact with a local photographer from the Lofoten and we had decided to meet in the evening for a sunset session. I always think it is a great opportunity to meet local photographers when I travel. They know the area much better than we do and it is always inspiring to photograph with someone who has a different eye.
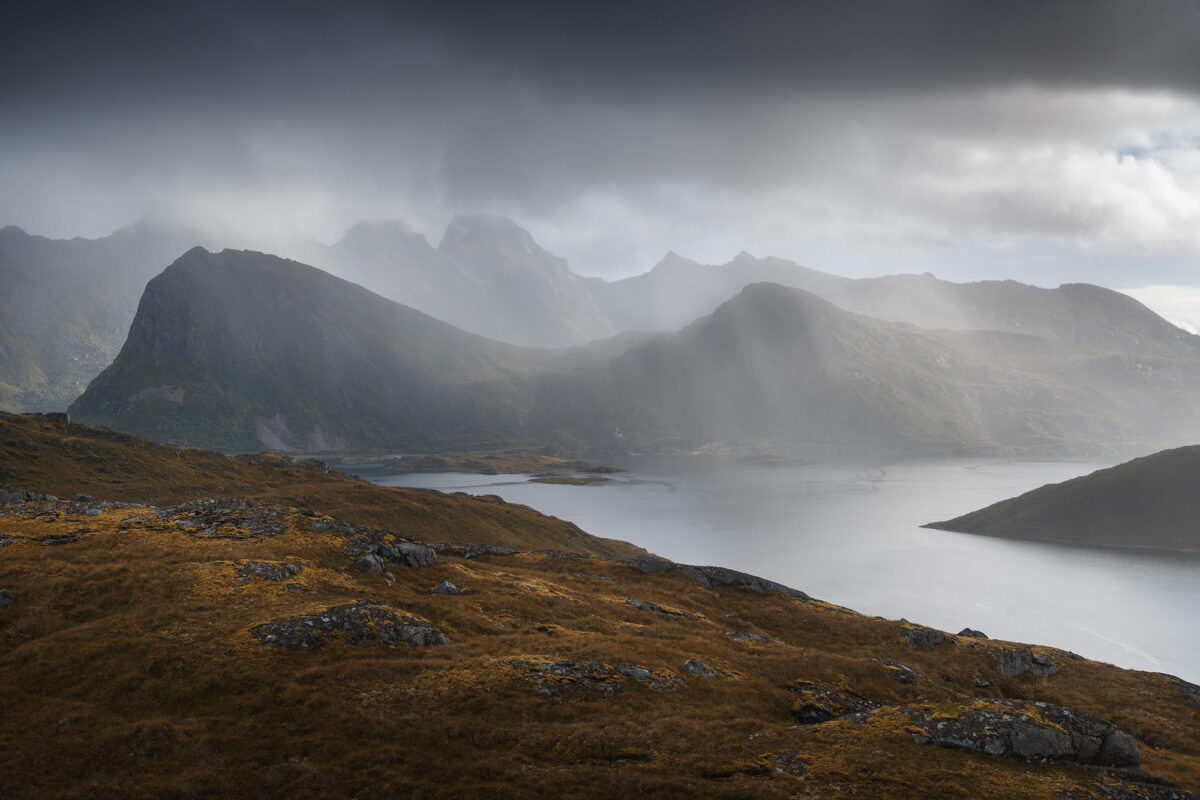
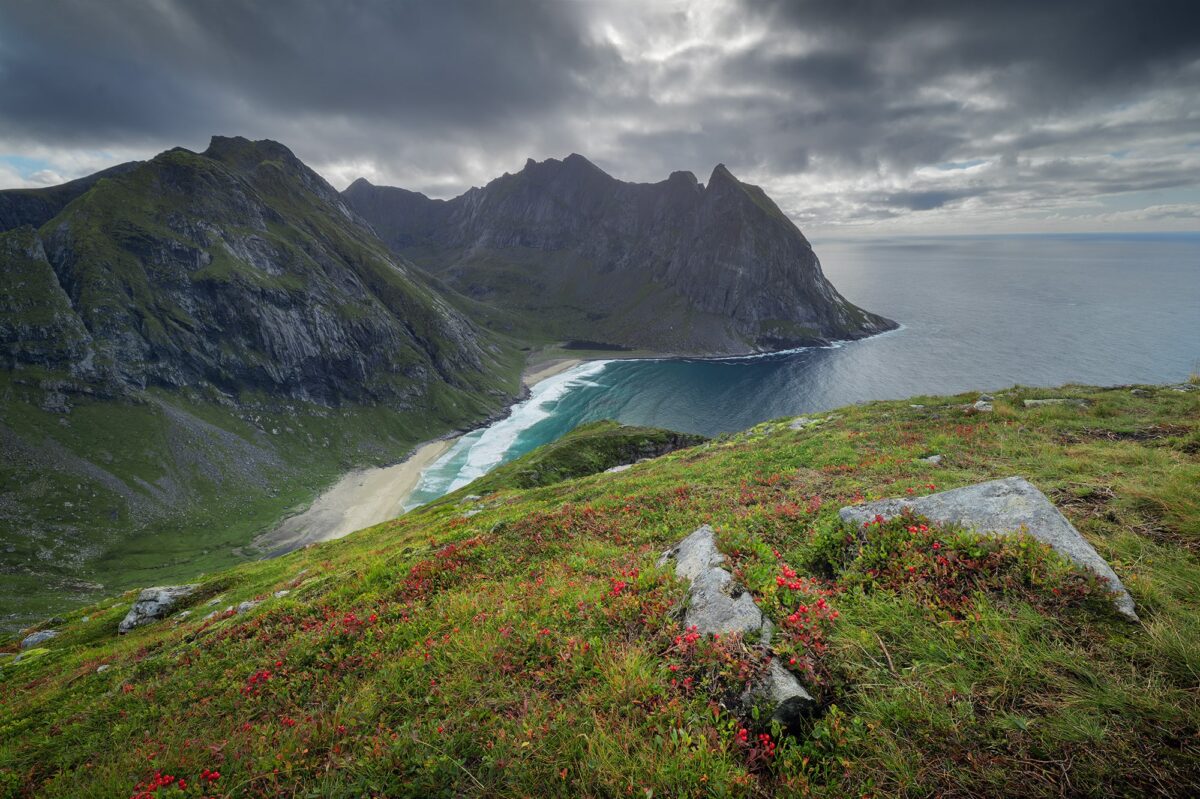
During the day, we hiked to Ryten and got incredibly lucky with the weather. We experienced everything: rain, sun, dramatic clouds and even rainbows over Kvalvika Beach. It was one of those days where the weather keeps changing every 10 minutes, but for photography, these are often the best conditions.
After the hike and the rainbows we saw during the day, we still had energy for one more photography session in the evening, so we headed to Skagsanden Beach to meet the local photographer for sunset.
Chasing rainbows on the road to Ryten
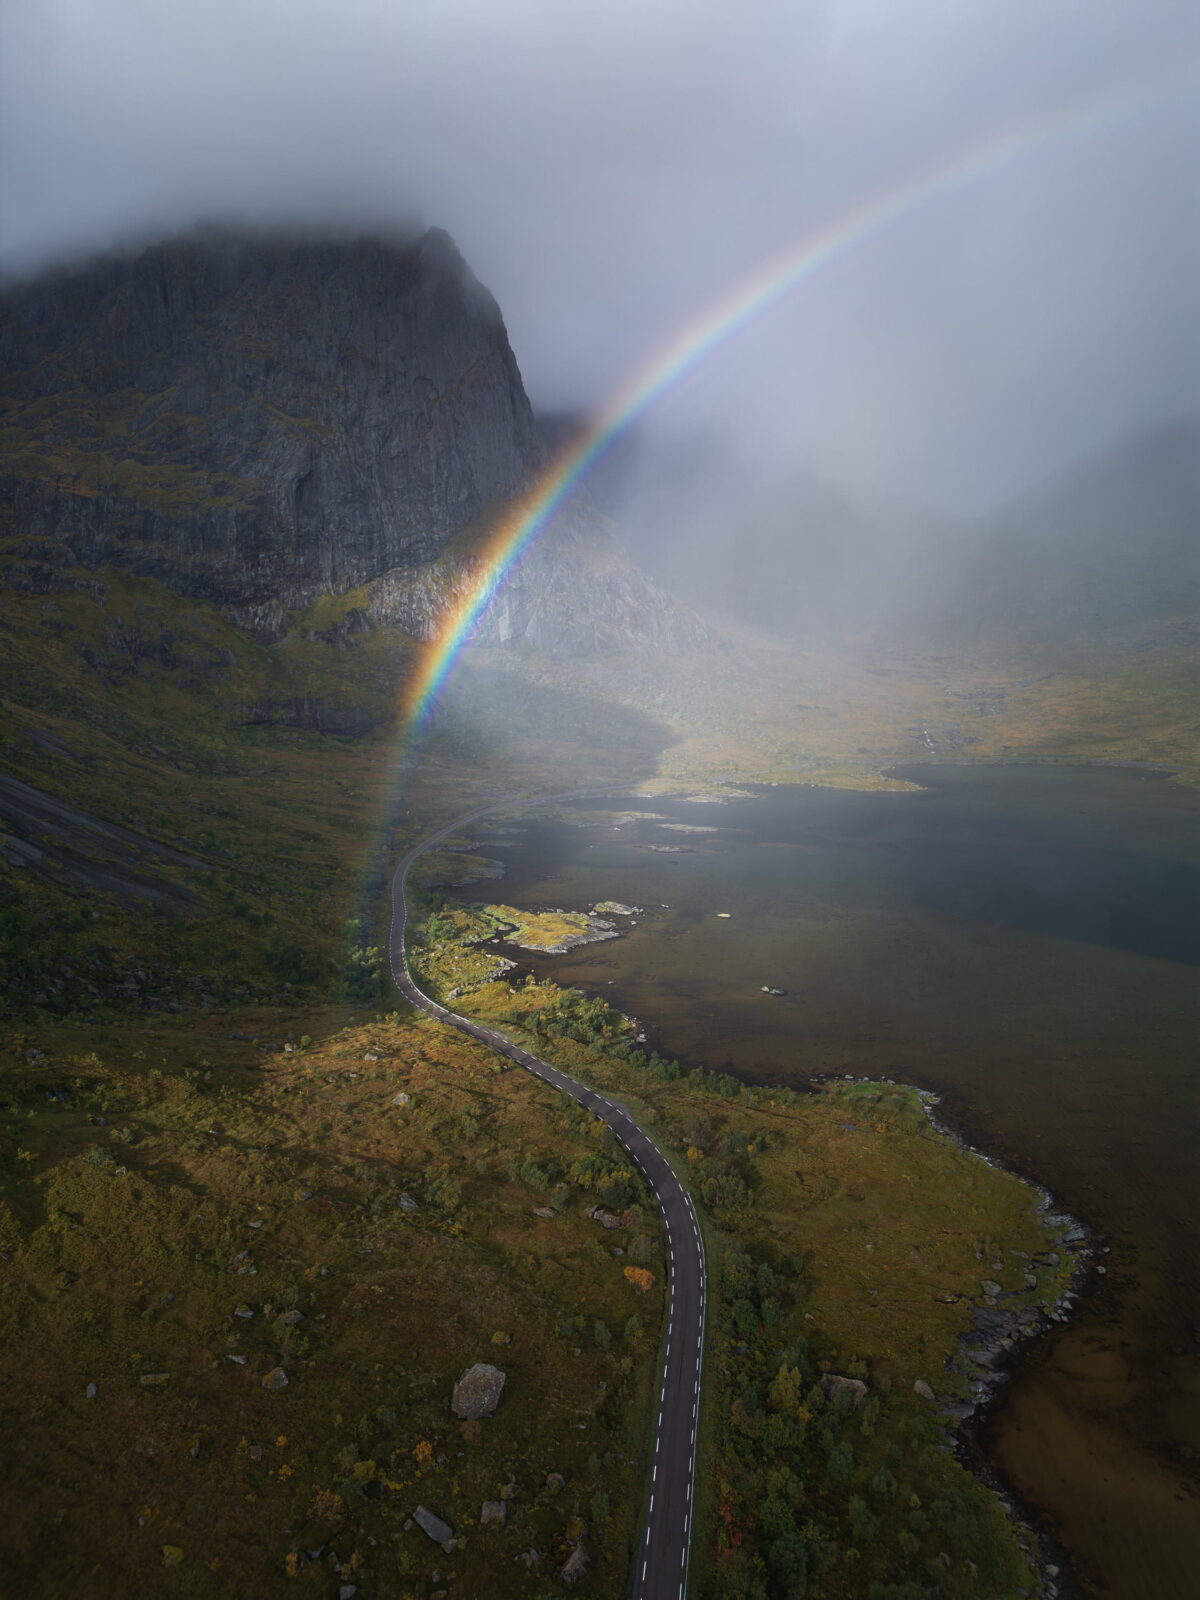
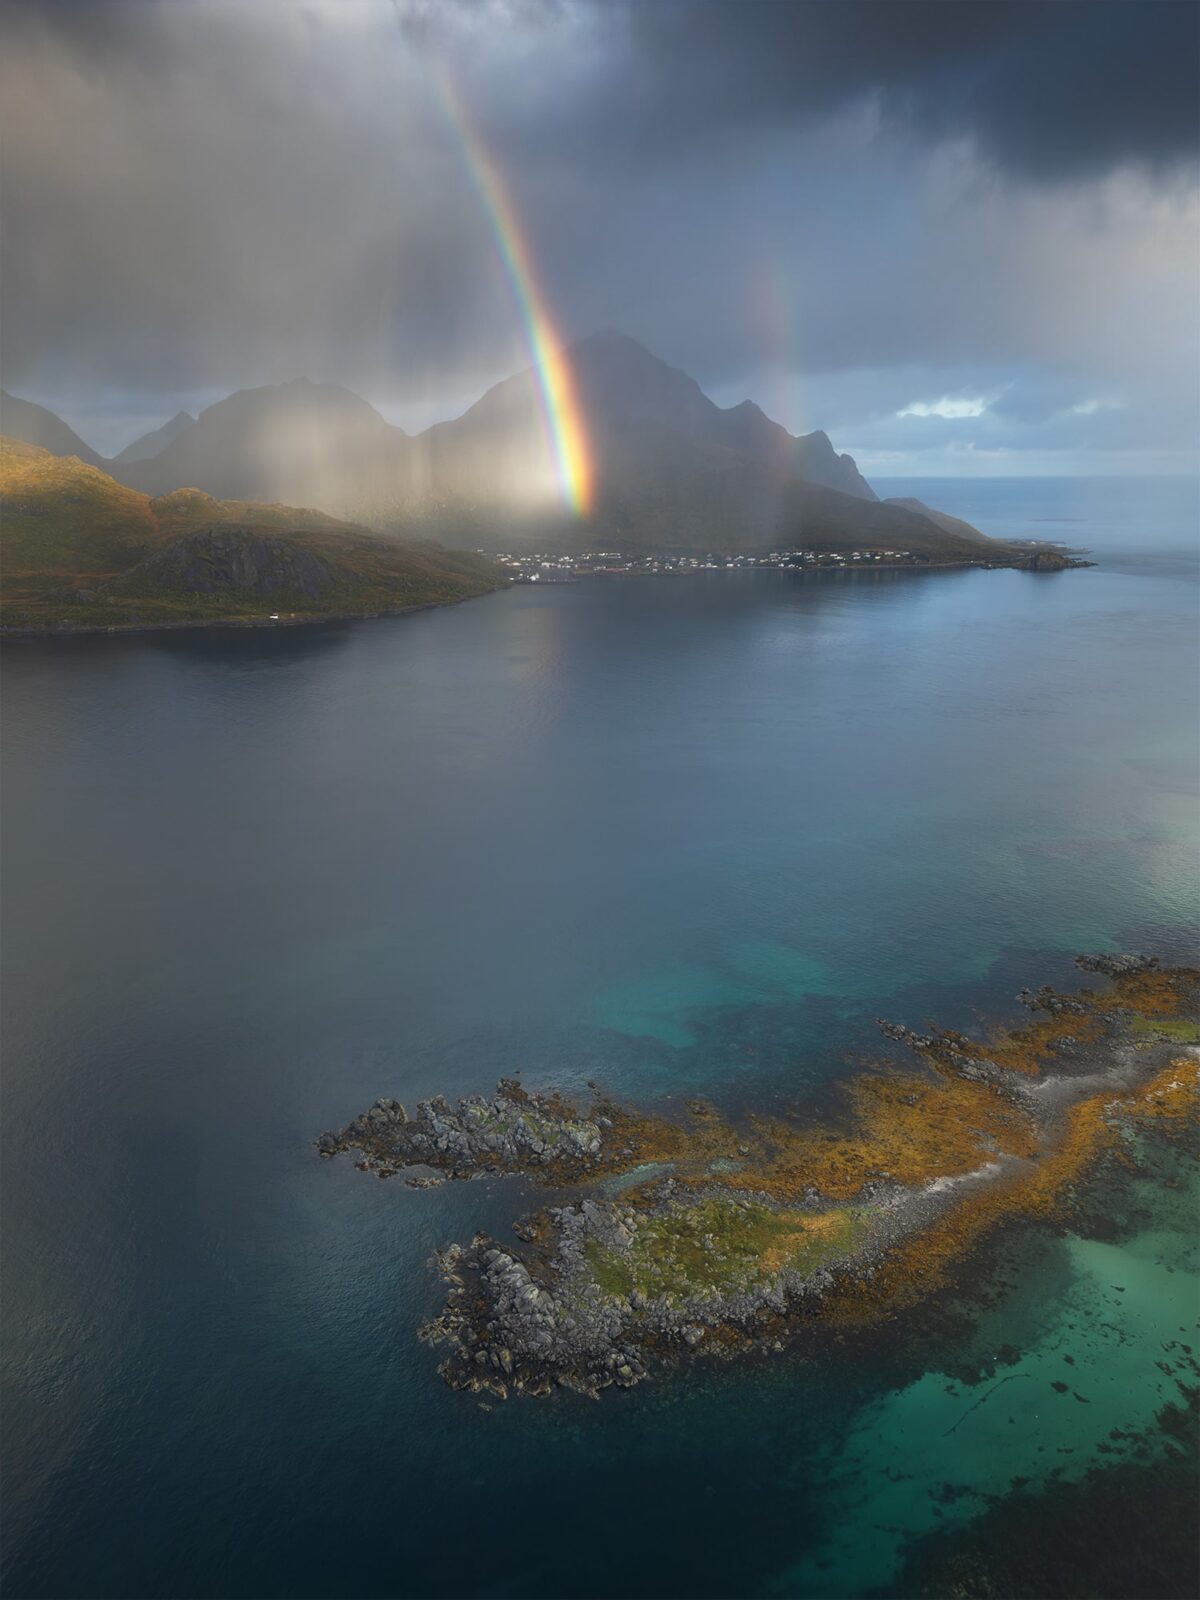
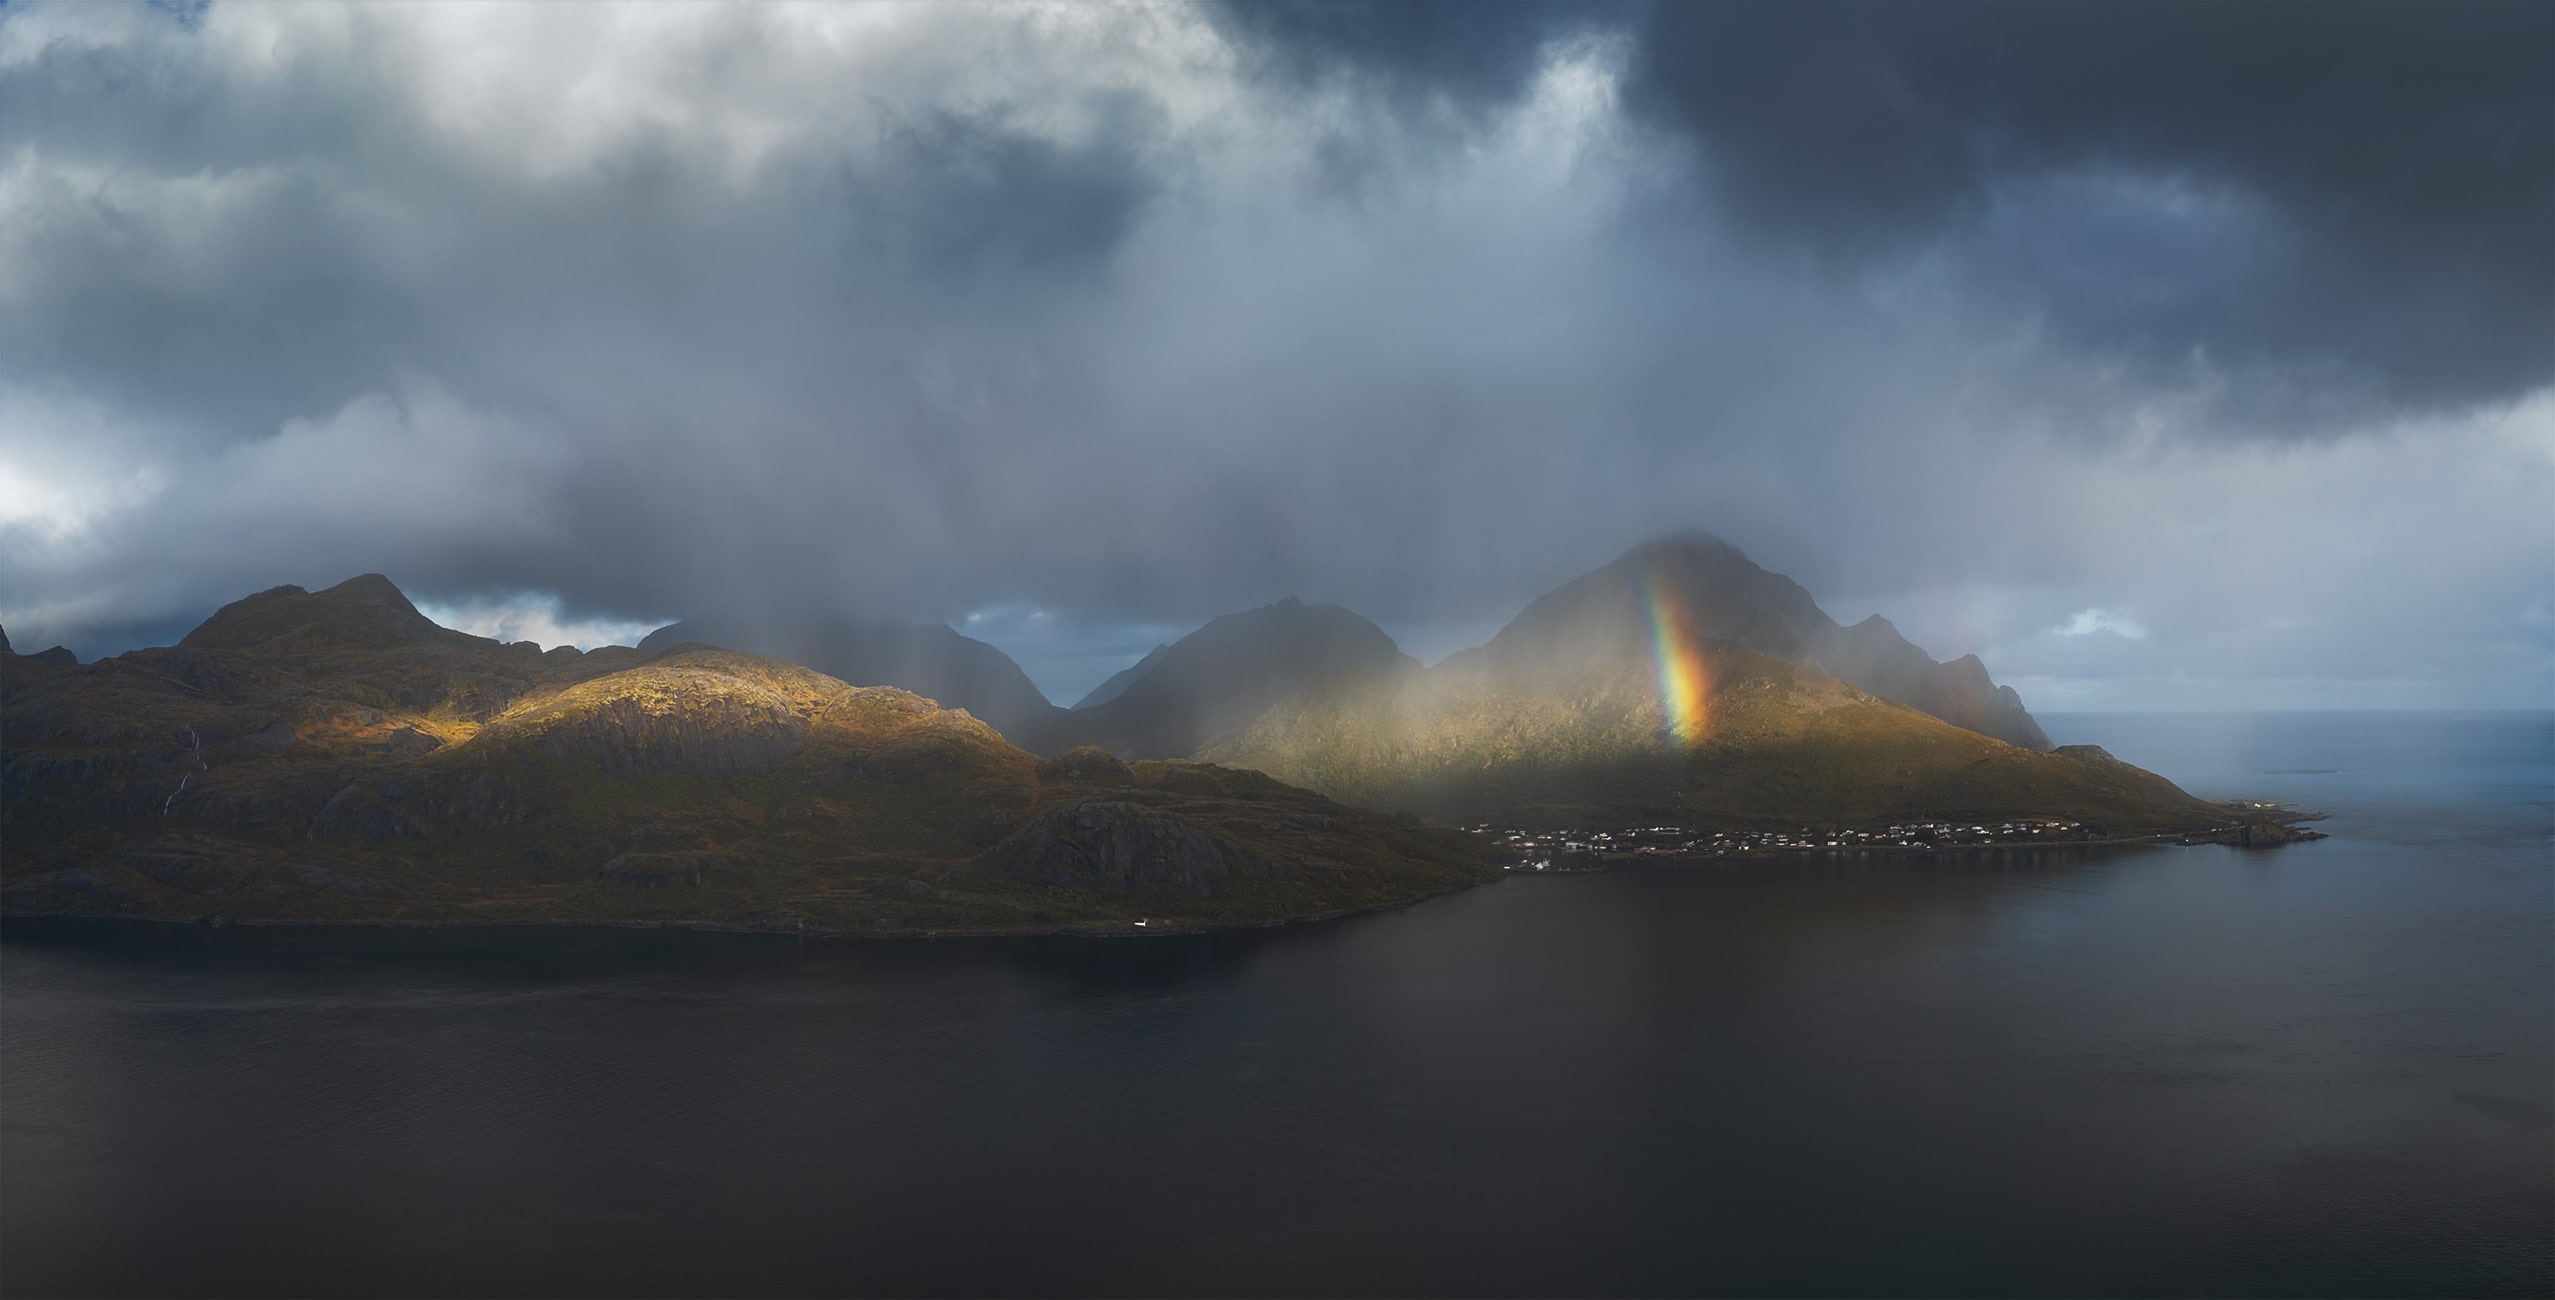
On our way to Ryten, we saw three rainbows. Three. The light was completely unreal. I was hoping to see one rainbow during the trip, but I never imagined experiencing so many in such a short time.
As you can imagine, the drive took much longer than expected because I stopped several times to take photos and even launched the drone twice. I just could not miss those moments.
I quickly realized that the best way to photograph these rainbows was actually with the drone. They always seemed to appear at the “wrong” moment, when we were driving and could not find a good foreground from the ground. From the road, the composition was often messy or blocked by terrain, but with the drone, I could gain height, simplify the scene and really show the scale of the landscape with the rainbow. It gave a much stronger and more dramatic result.
This is also something I love about drone photography in the Lofoten. It allows you to react very quickly to changing light and weather conditions and to capture moments that would be very difficult to photograph from the ground.
Fredvang Bridges, one of the most iconic photography spots in Lofoten
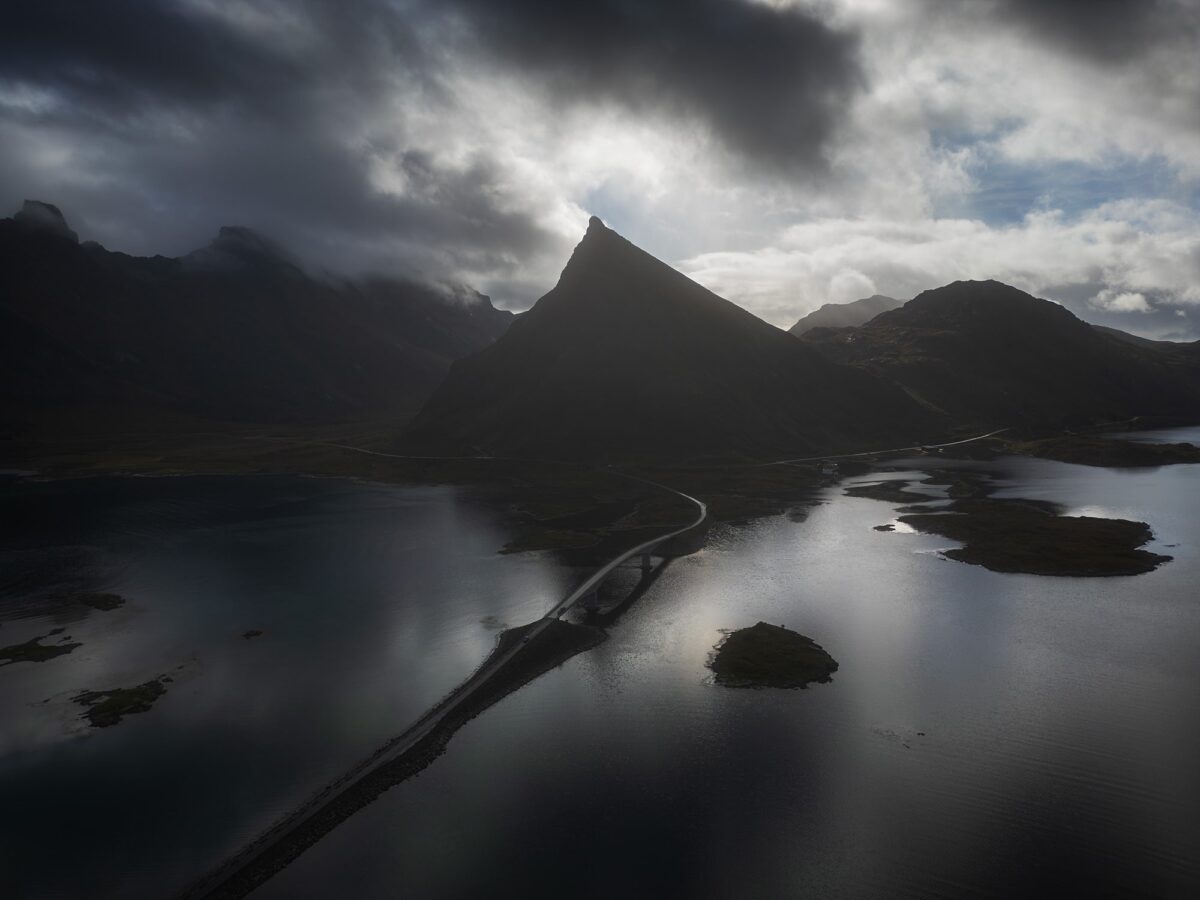
To reach the Kvalvika hike parking, you need to cross the famous Fredvang Bridges. And the light at that moment was just too good to ignore, so of course, I stopped.
The atmosphere was moody and dramatic, with clouds moving quickly across the sky. I first took a few photos from the ground, but I also launched the drone to capture the full scene from above. From the air, you really understand how the bridges connect the islands and how small the road looks compared to the surrounding mountains and ocean.
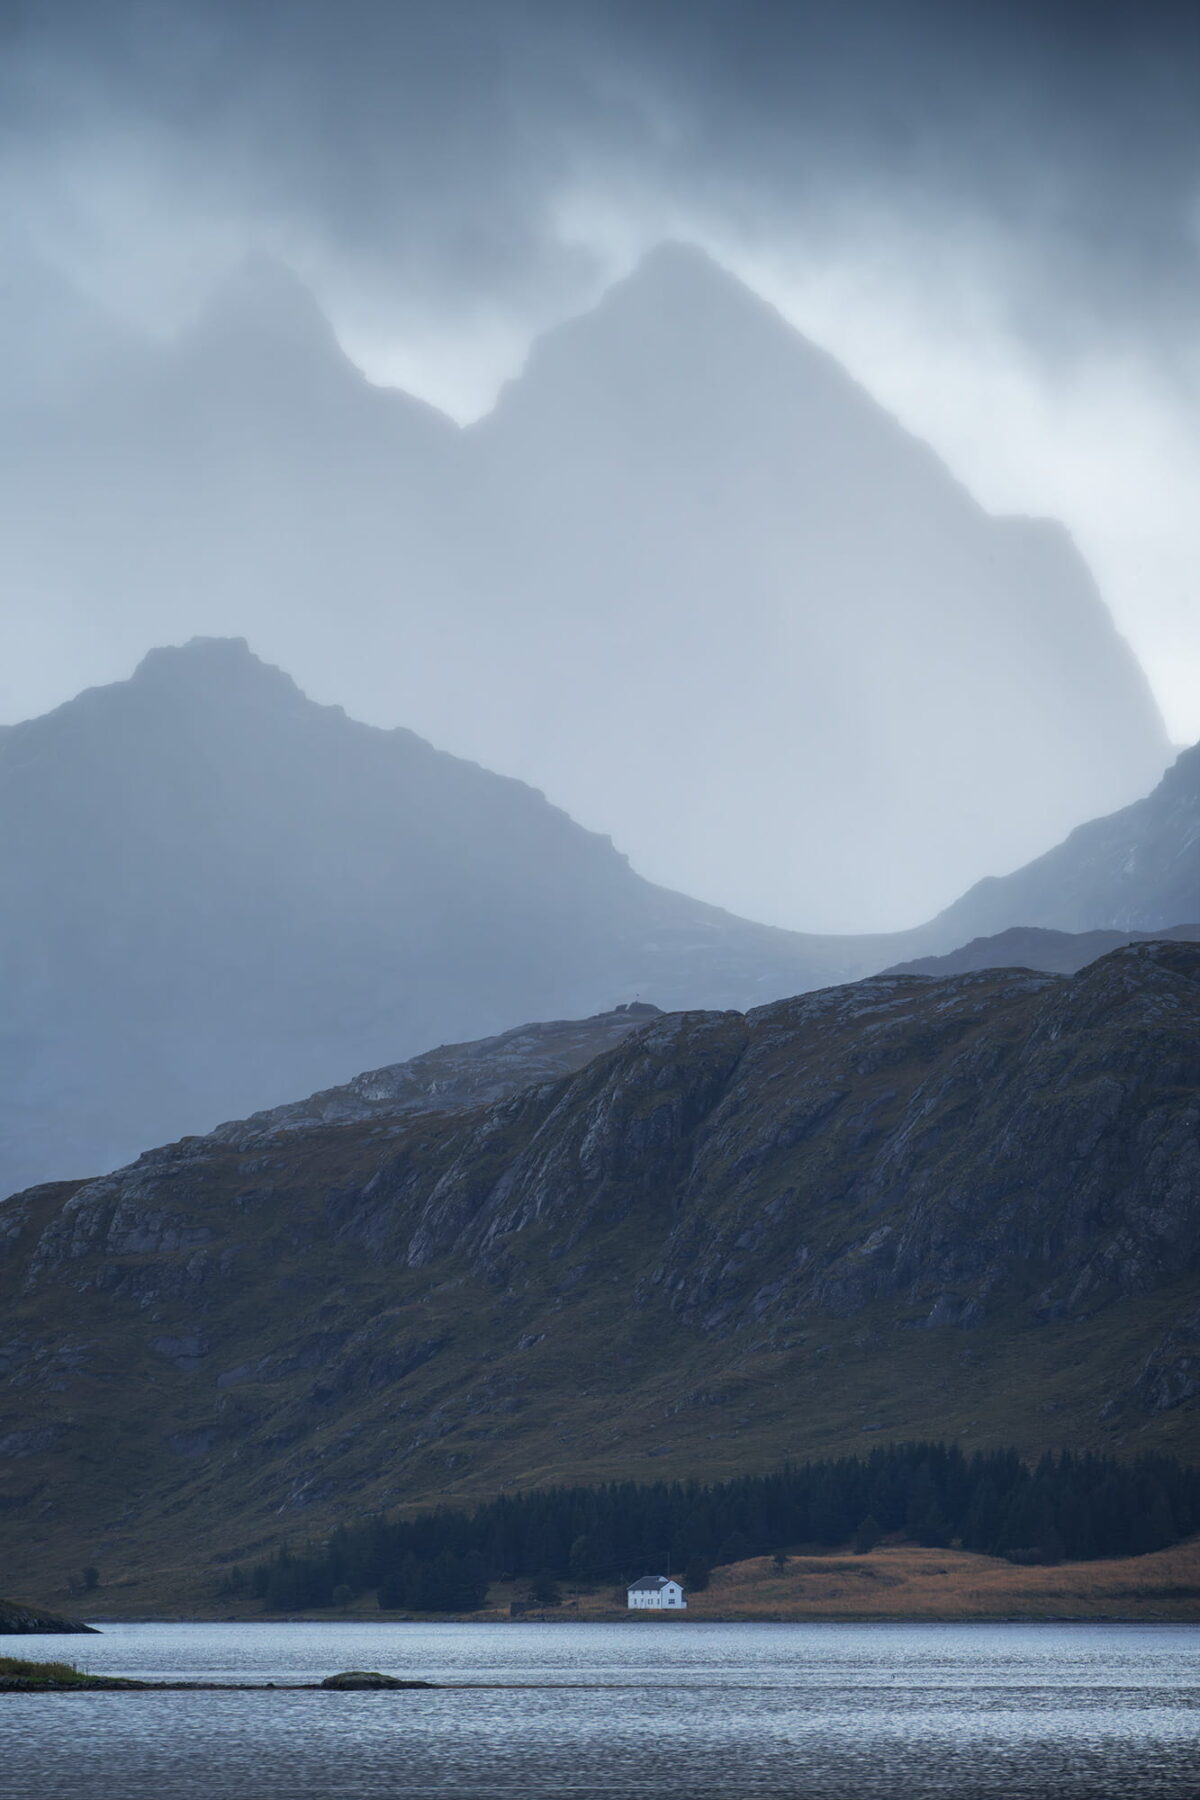
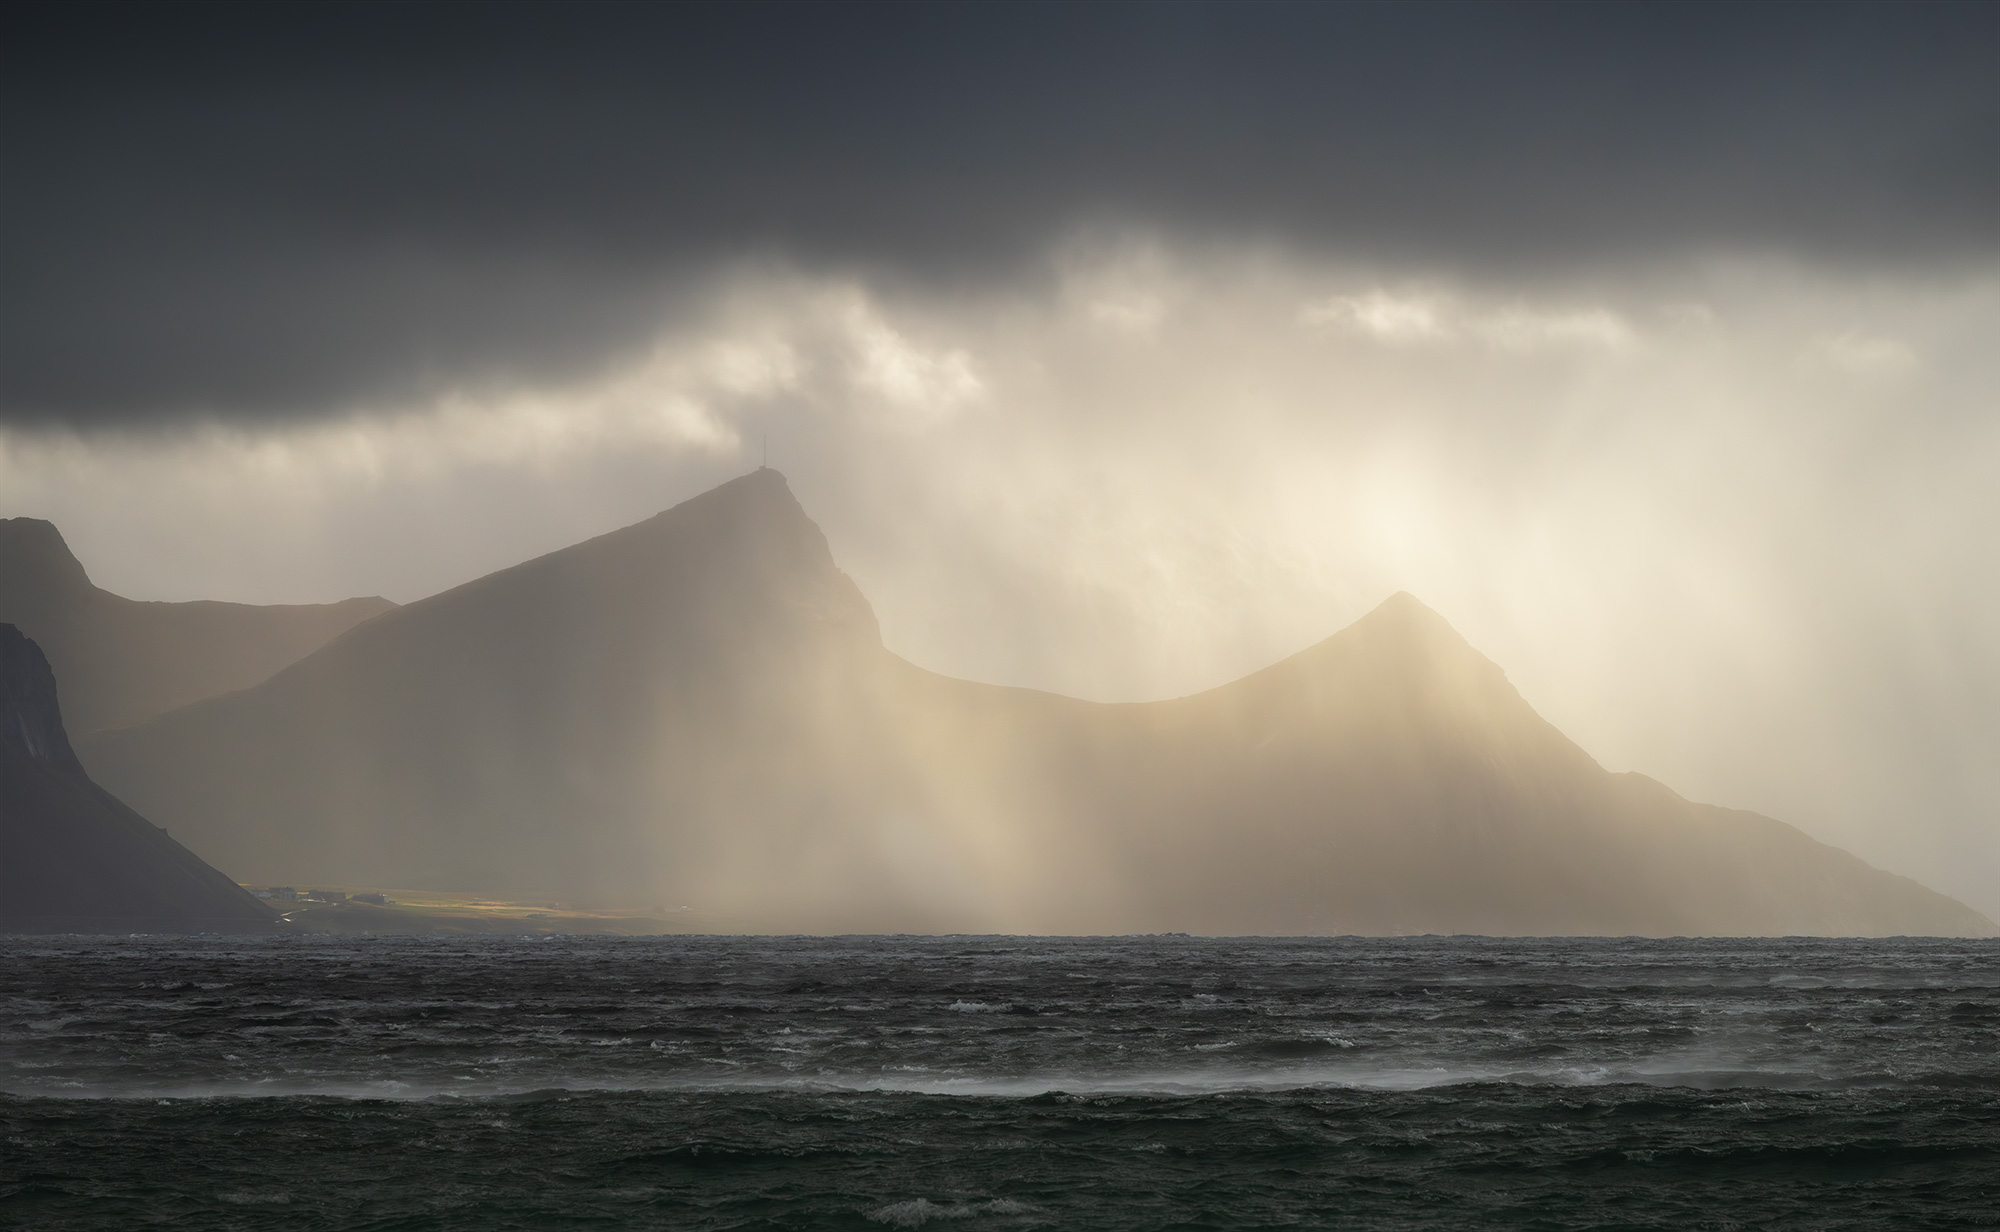
At some point, I noticed a rain shower hitting the mountains in the distance, with a small white house at their base. I had my 200–500mm lens with me, and it was the perfect opportunity to capture a more minimal and compressed composition. This is something I really enjoy in the Lofoten: not only wide landscapes, but also small scenes and details in the distance.
➜ Fredvang Bridges parking location
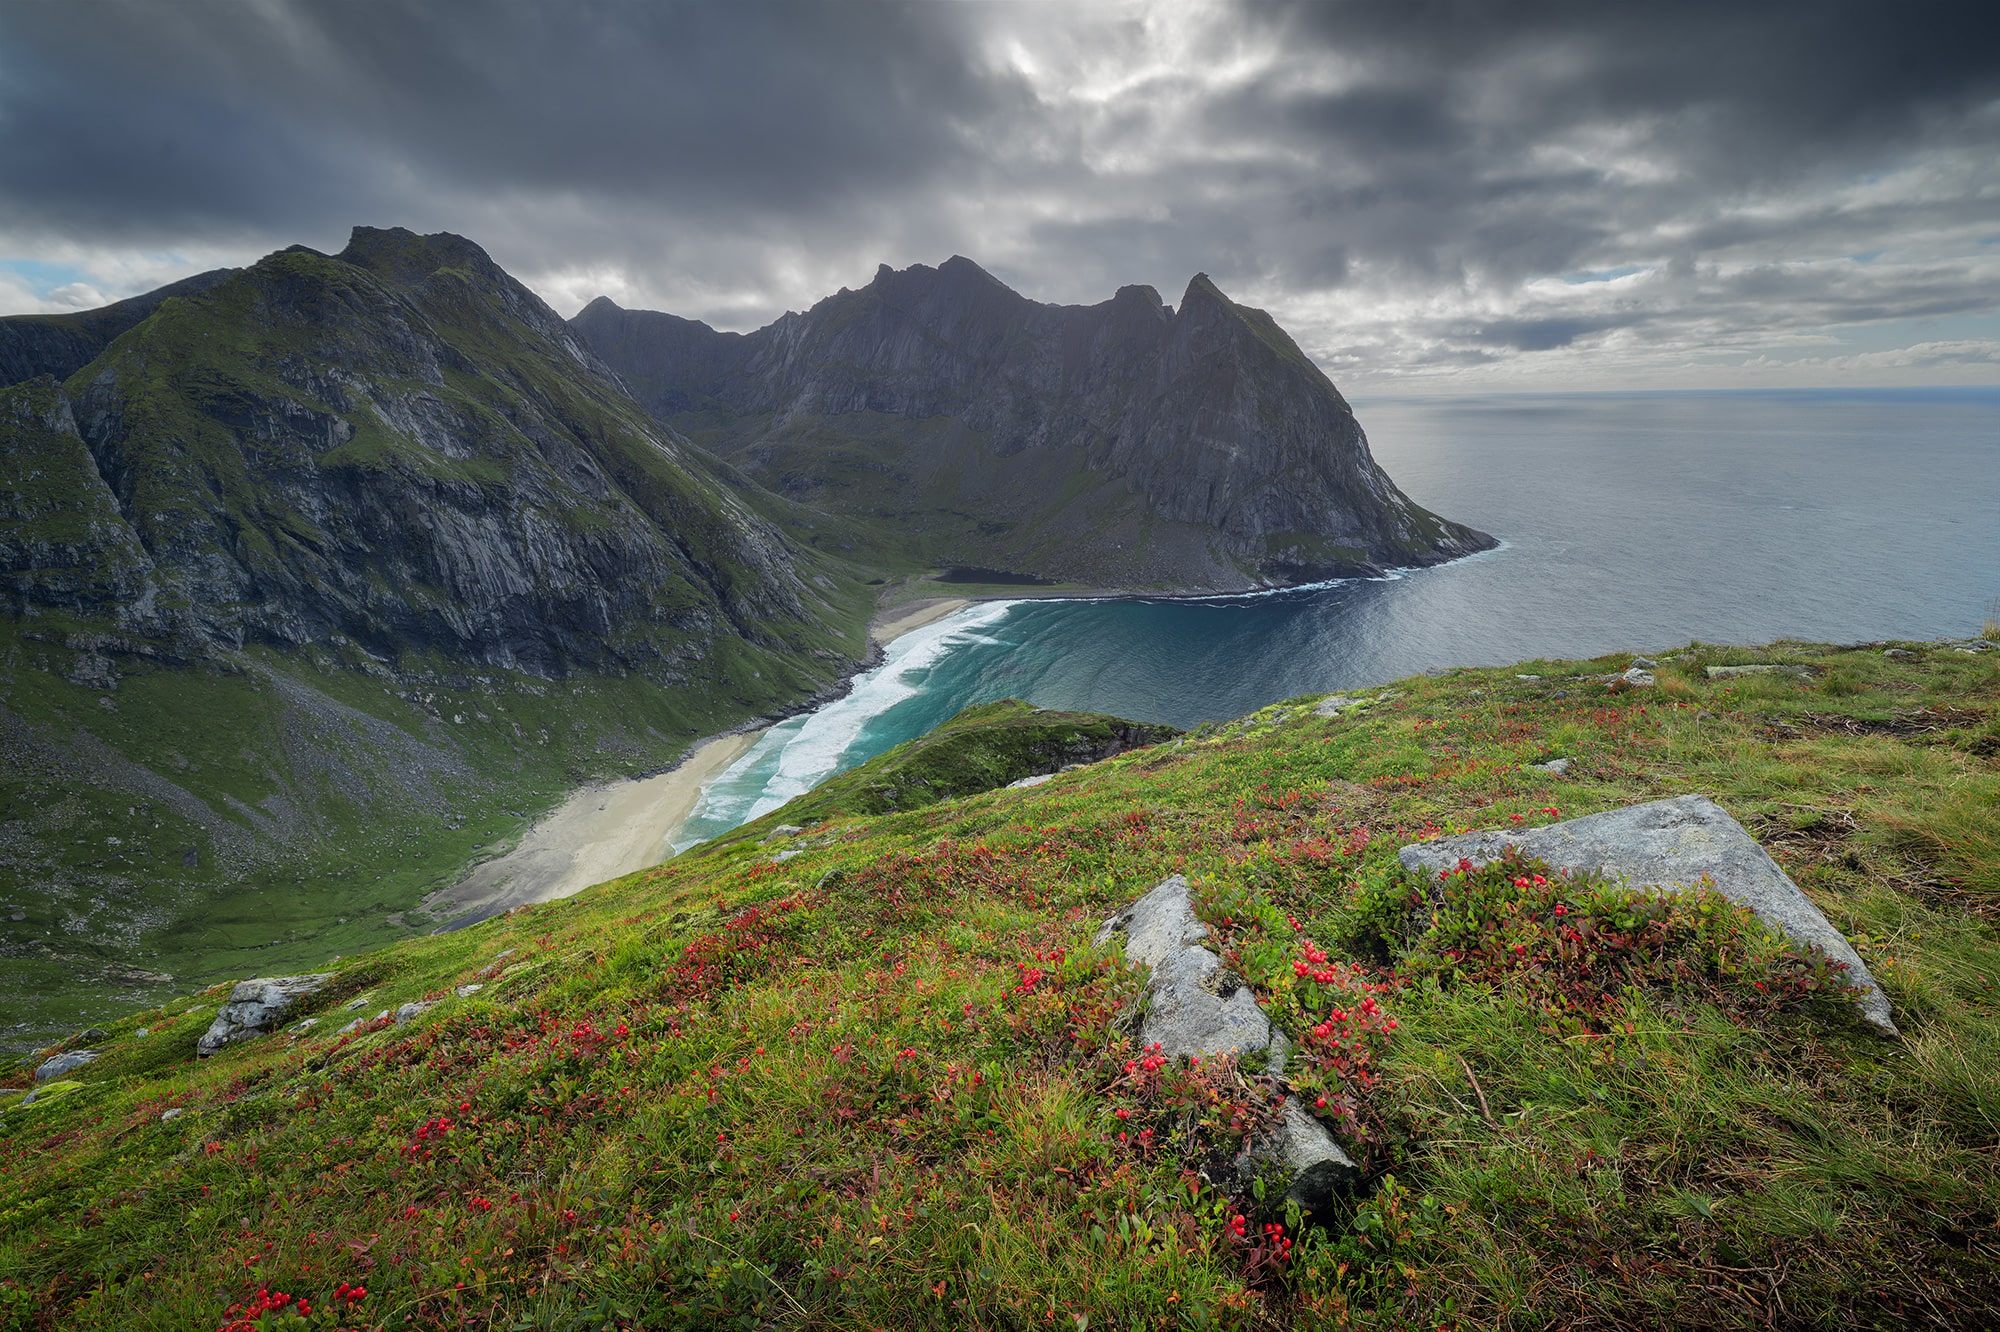
Ryten hike and Kvalvika Beach viewpoint
This was one of the hikes I really wanted to do during this trip, but only if the weather was good enough. In the Lofoten, conditions change very quickly, so you really need to stay flexible.
That day, we had a mix of sun and clouds, which felt like the perfect moment to go. I would classify this hike as moderate. There are a few steeper sections, and in some places you need to hold onto ropes. I have a bit of vertigo, so it felt more challenging for me, but overall it is absolutely doable.
We chose to hike up to Ryten to get a higher viewpoint over Kvalvika Beach. For me, this perspective makes a big difference. You do not just see the beach, you see the entire landscape, the curves, the scale and the isolation. That is exactly what makes this one of the best photography spots in the Lofoten.
➜ Ryten hike information
➜ Ryten parking location
First visit to Skagsanden Beach with a local photographer
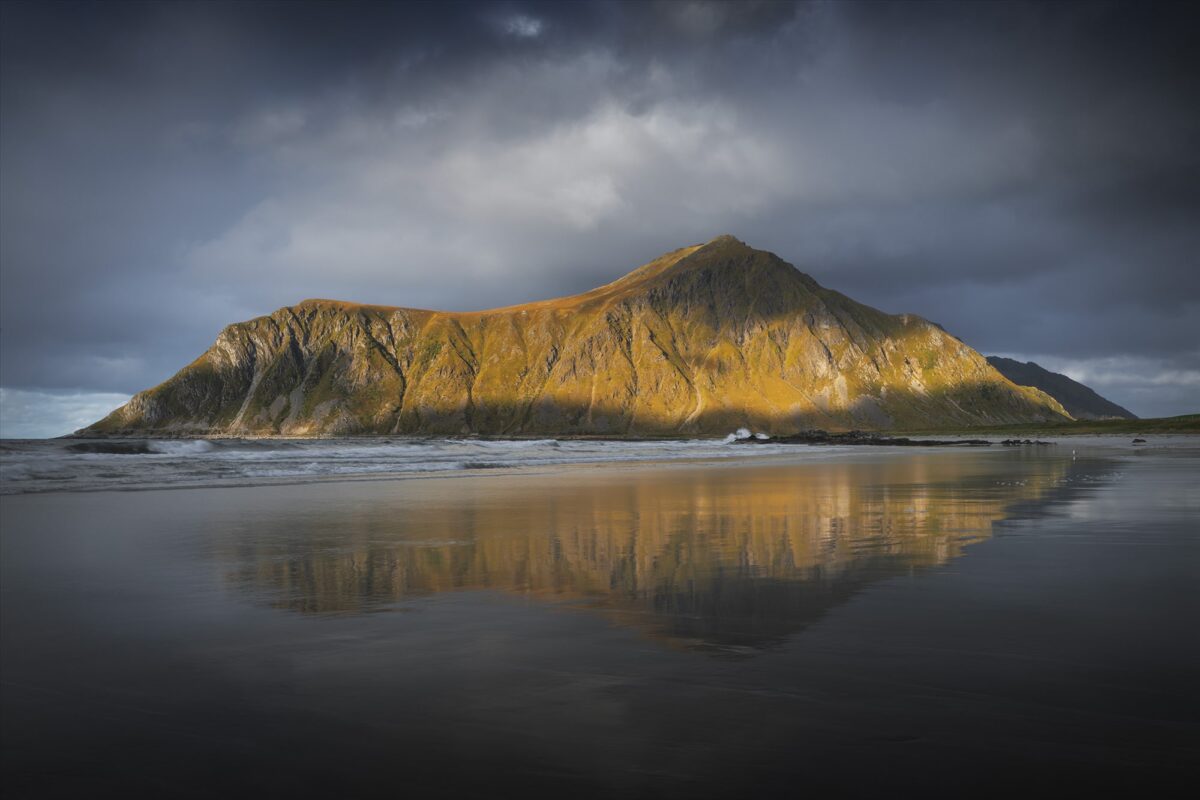
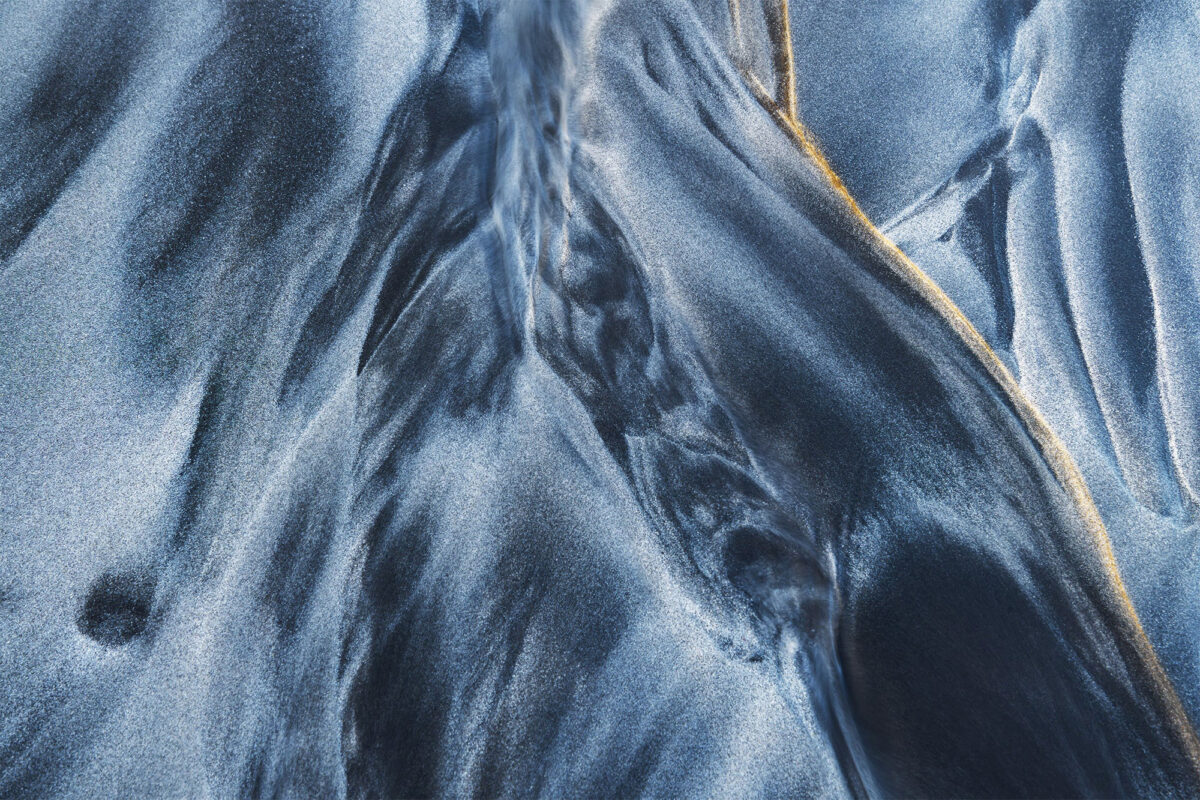
After the hike to Ryten, we headed to Skagsanden Beach to meet the local photographer for a sunset session. Skagsanden is known for its black and white sand that creates beautiful natural patterns, especially at low tide. We spent a lot of time walking along the beach, searching for small details, lines and abstract compositions in the sand.
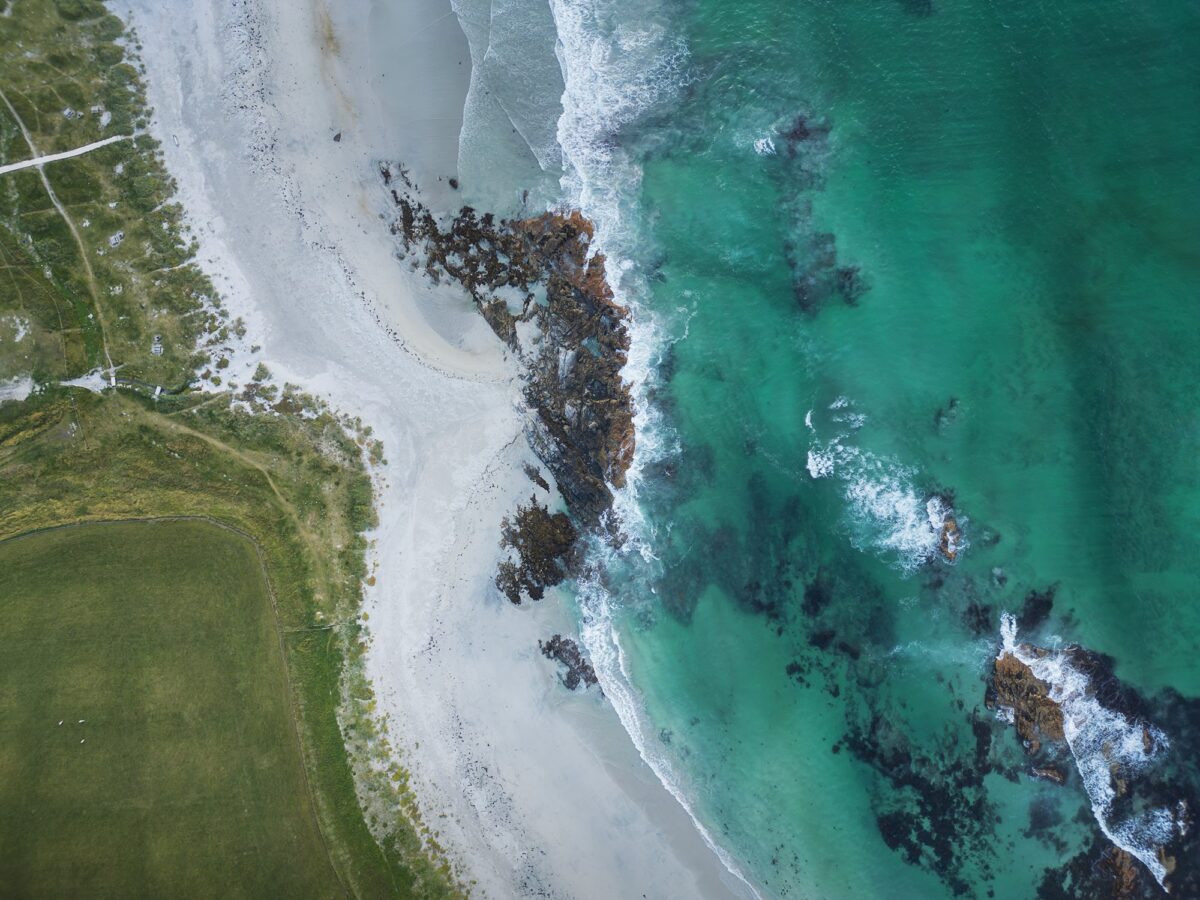
The light was also very nice and the reflections were beautiful. After working a bit on textures and details, I also took some wide angle shots of the landscape. Since there was almost no wind, I also tried some top down drone shots of the beach, and it looked completely different from above.
Sunset textures and northern lights in the Lofoten
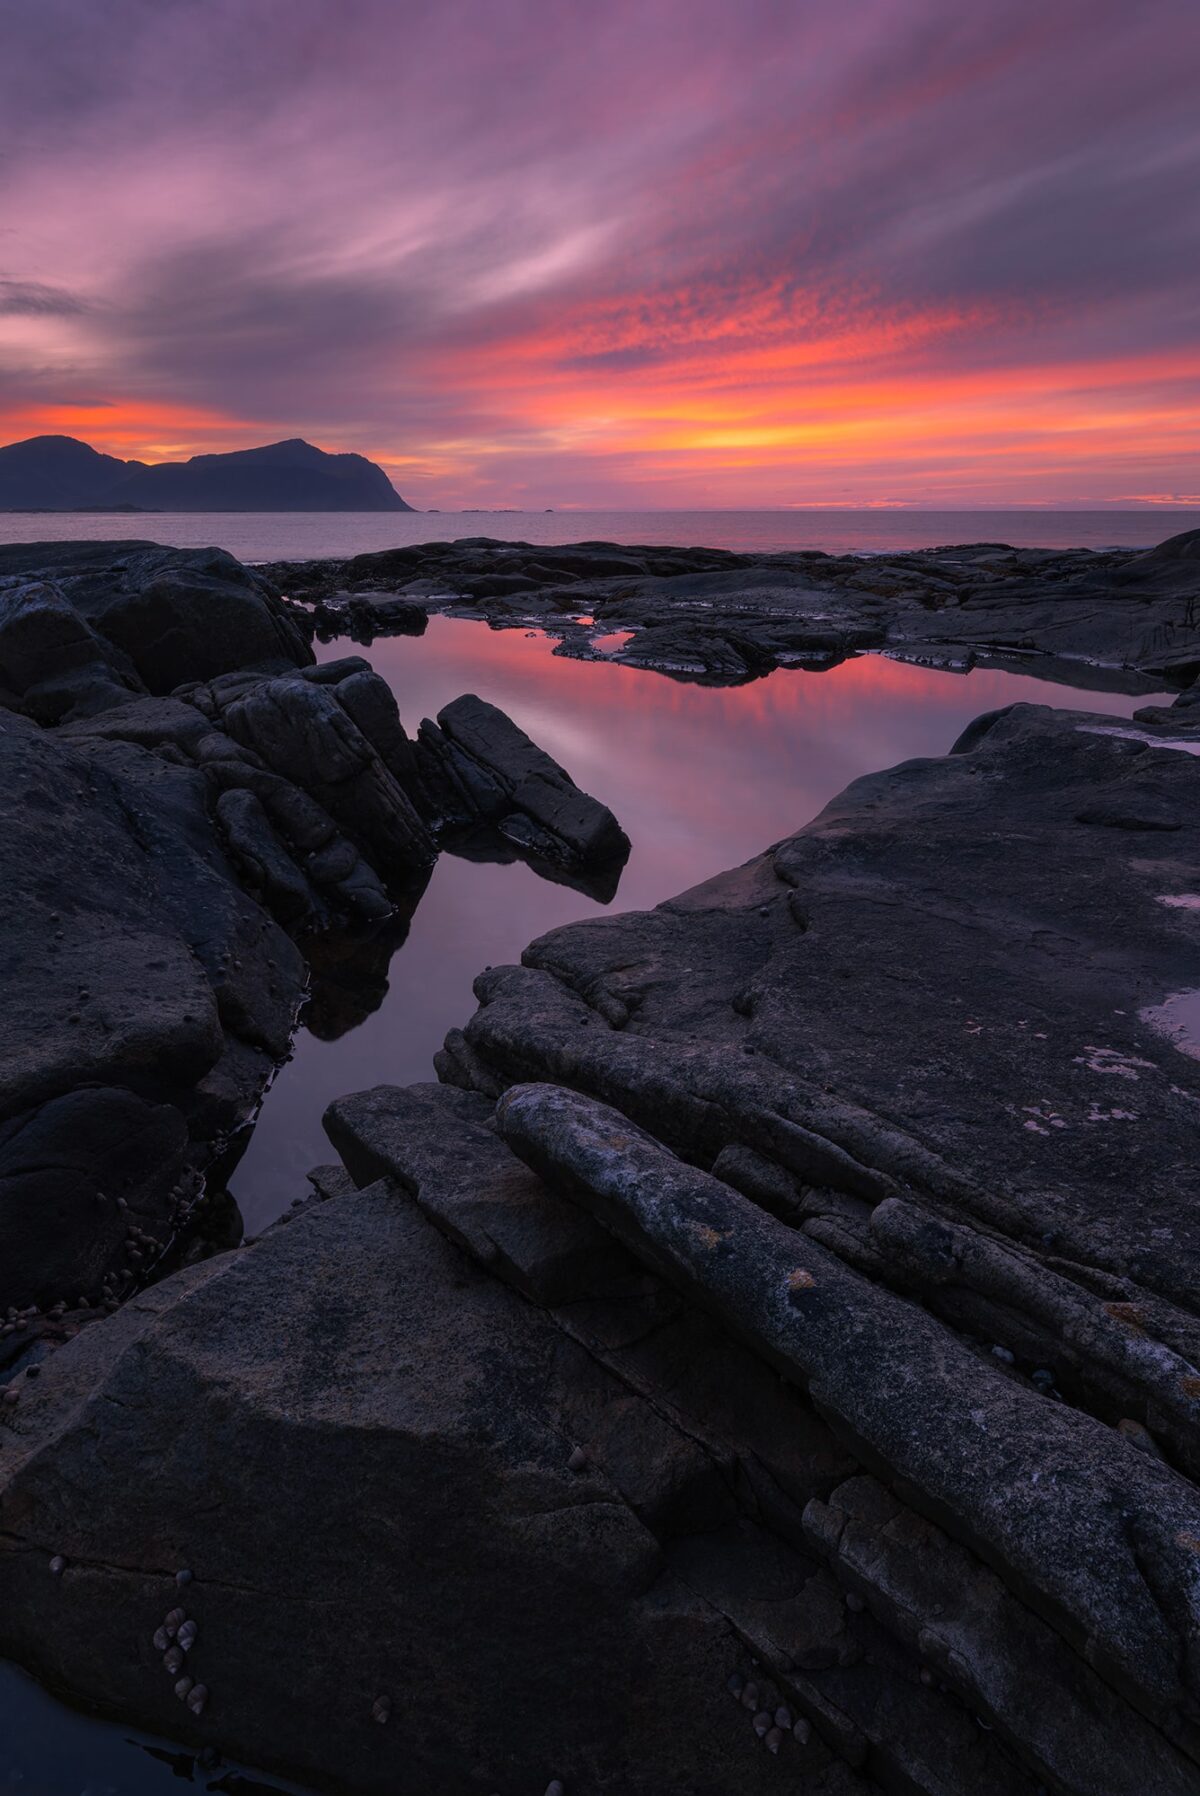
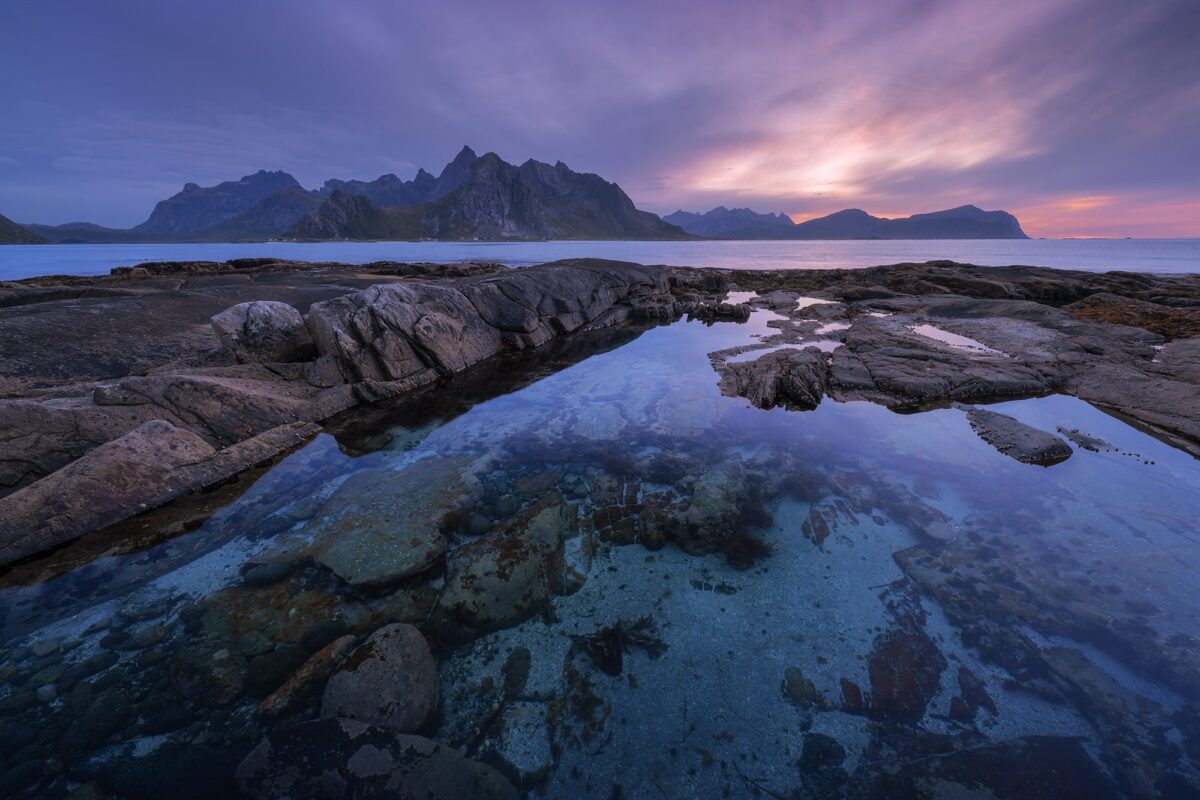
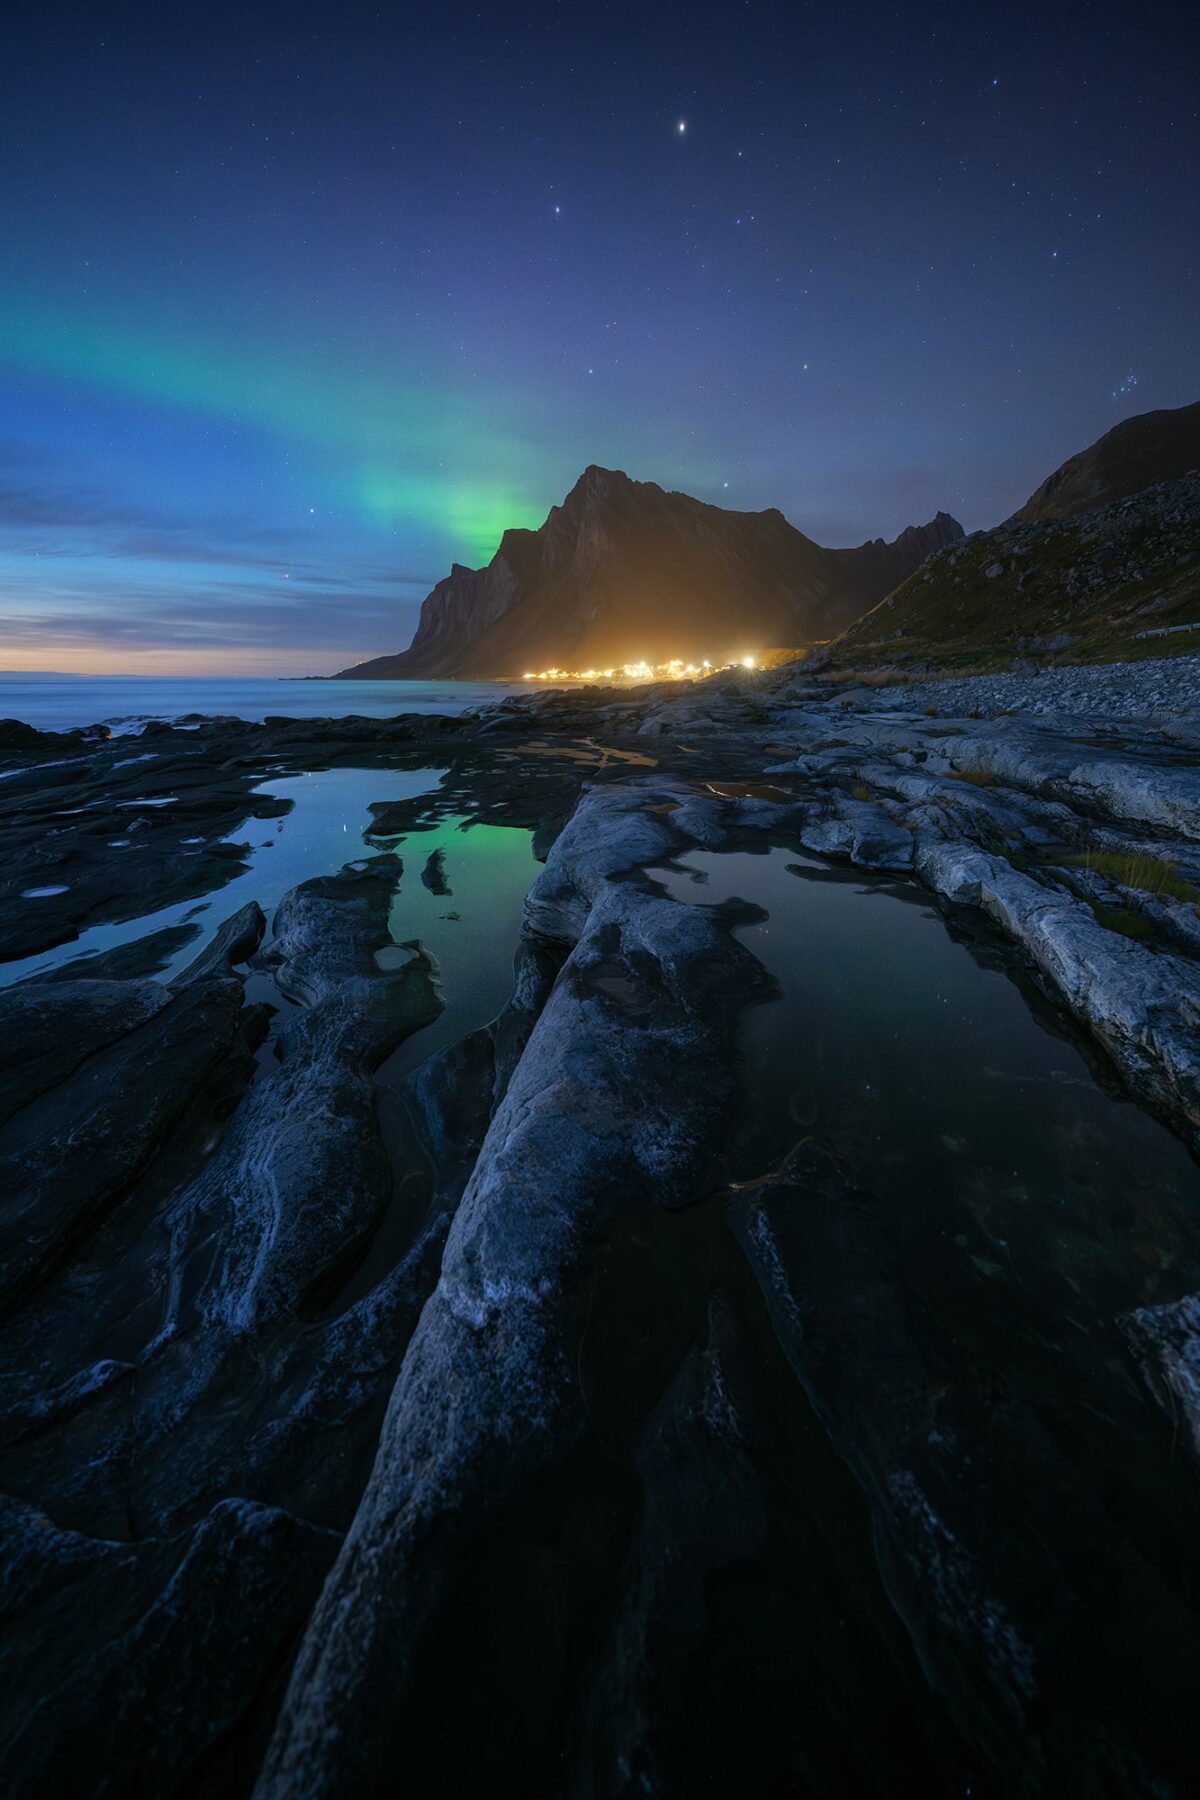
After Skagsanden, we continued exploring the area and spent some time looking for less known spots. My photographer friend knew a few places that offer very interesting foregrounds at low tide, so we walked on the rocks near the sea, searching for small water pools, textured rocks and shapes that could work well in the foreground.
I really enjoy these moments. Not necessarily photographing a famous location, but just walking, observing, and looking for small details that can make a composition more interesting and unique.
That night, the sky was clear again, so we decided to try our luck with the northern lights. The Lofoten are an amazing place for aurora photography because you can often include mountains, beaches or interesting foregrounds in your composition, which makes the images much more dynamic.

Day 4: Moody Lofoten: Nusfjord, waterfalls and the beaches of Ramberg and Skagsanden
The next day was completely different. The weather was grey, rainy and much moodier, but honestly, these are some of my favorite conditions for landscape photography. Colors become softer, contrasts are lower, and waterfalls look much better after rain.
Instead of chasing dramatic light like the day before, we decided to visit a few locations that work well in cloudy and rainy conditions: a traditional fishing village, a waterfall, and two beaches with very different atmospheres, Ramberg and Skagsanden.
Nusfjord in the rain, a traditional fishing village in the Lofoten
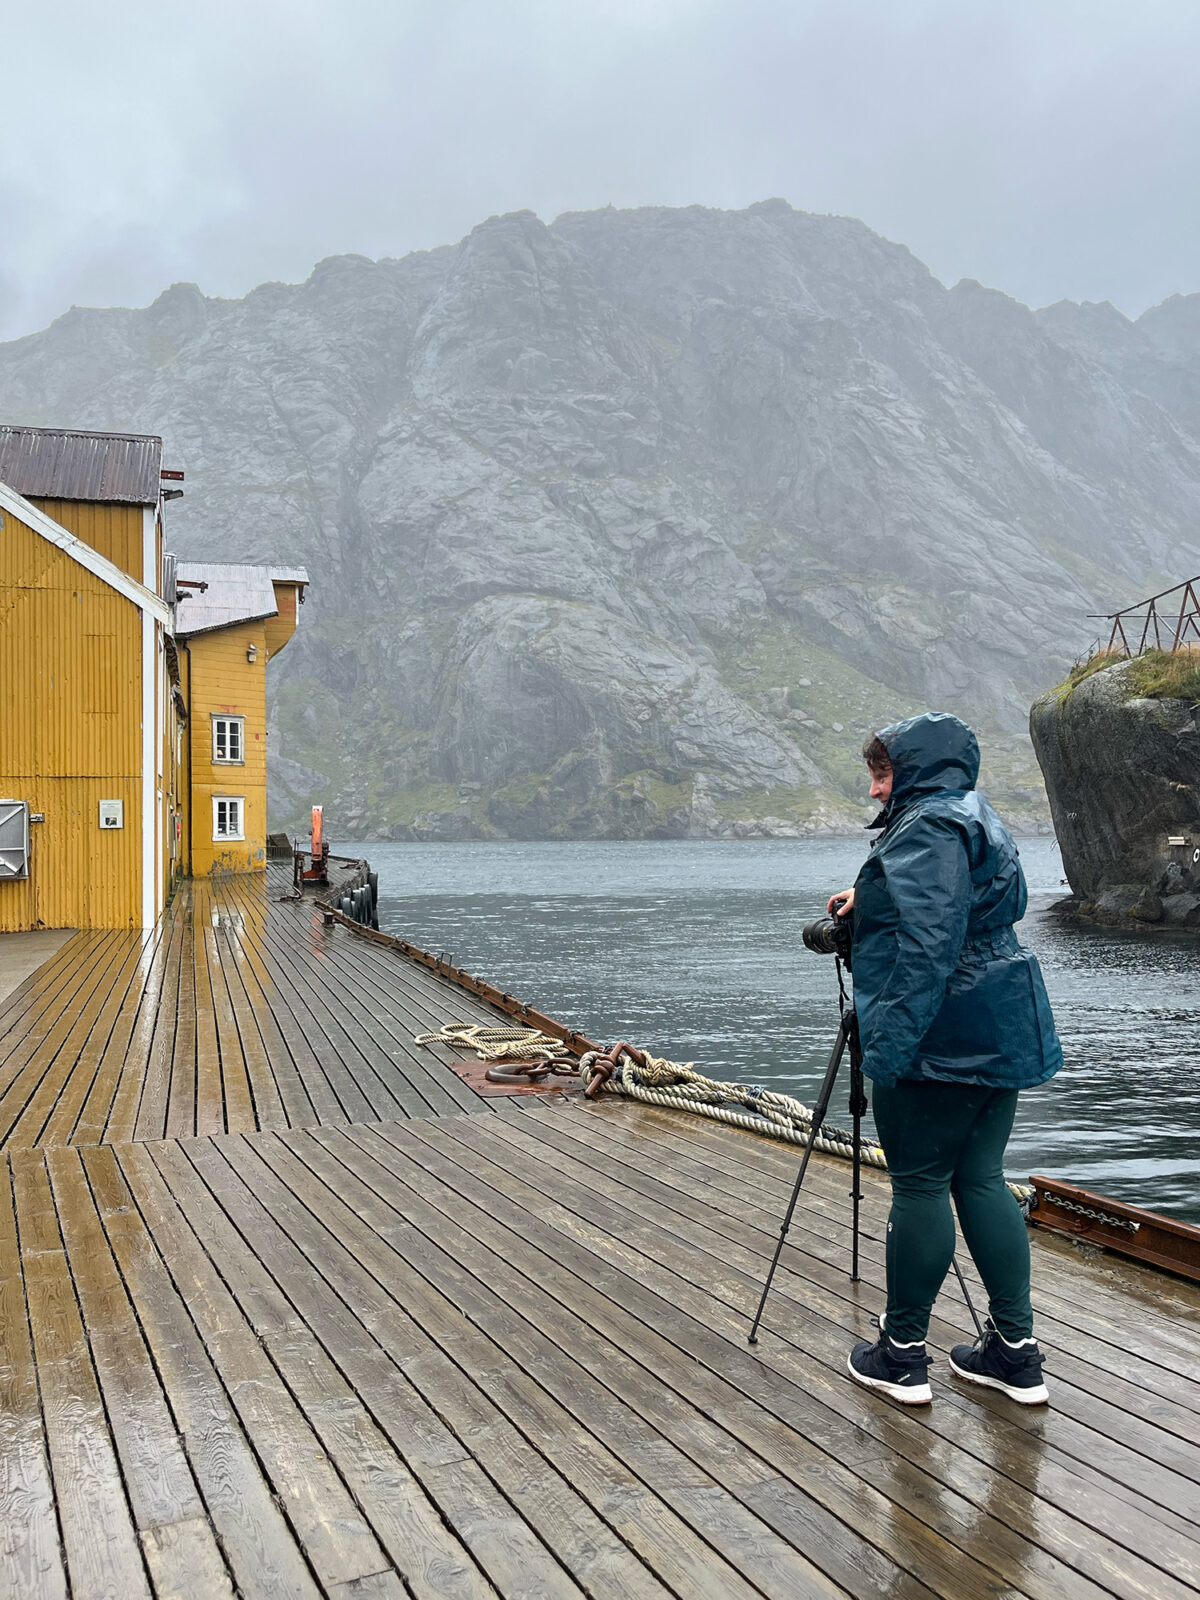
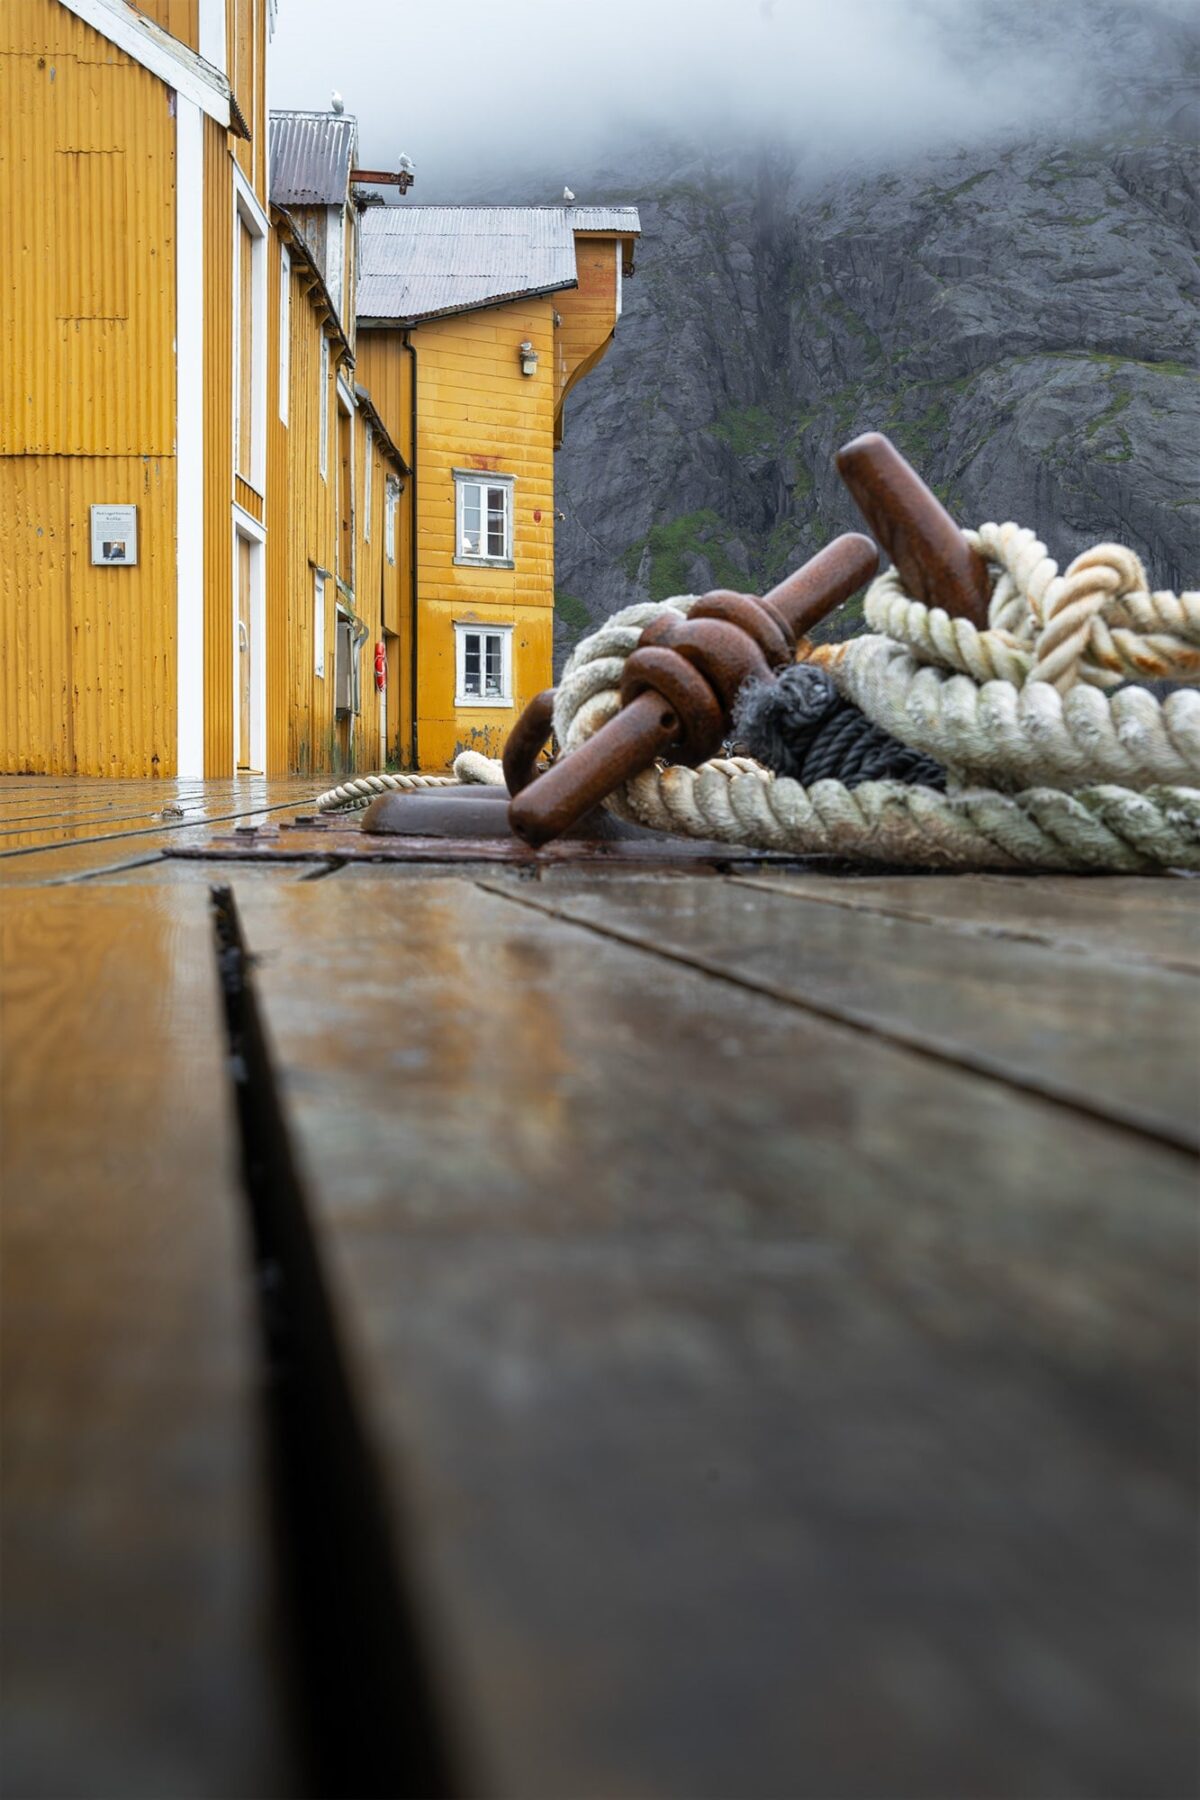
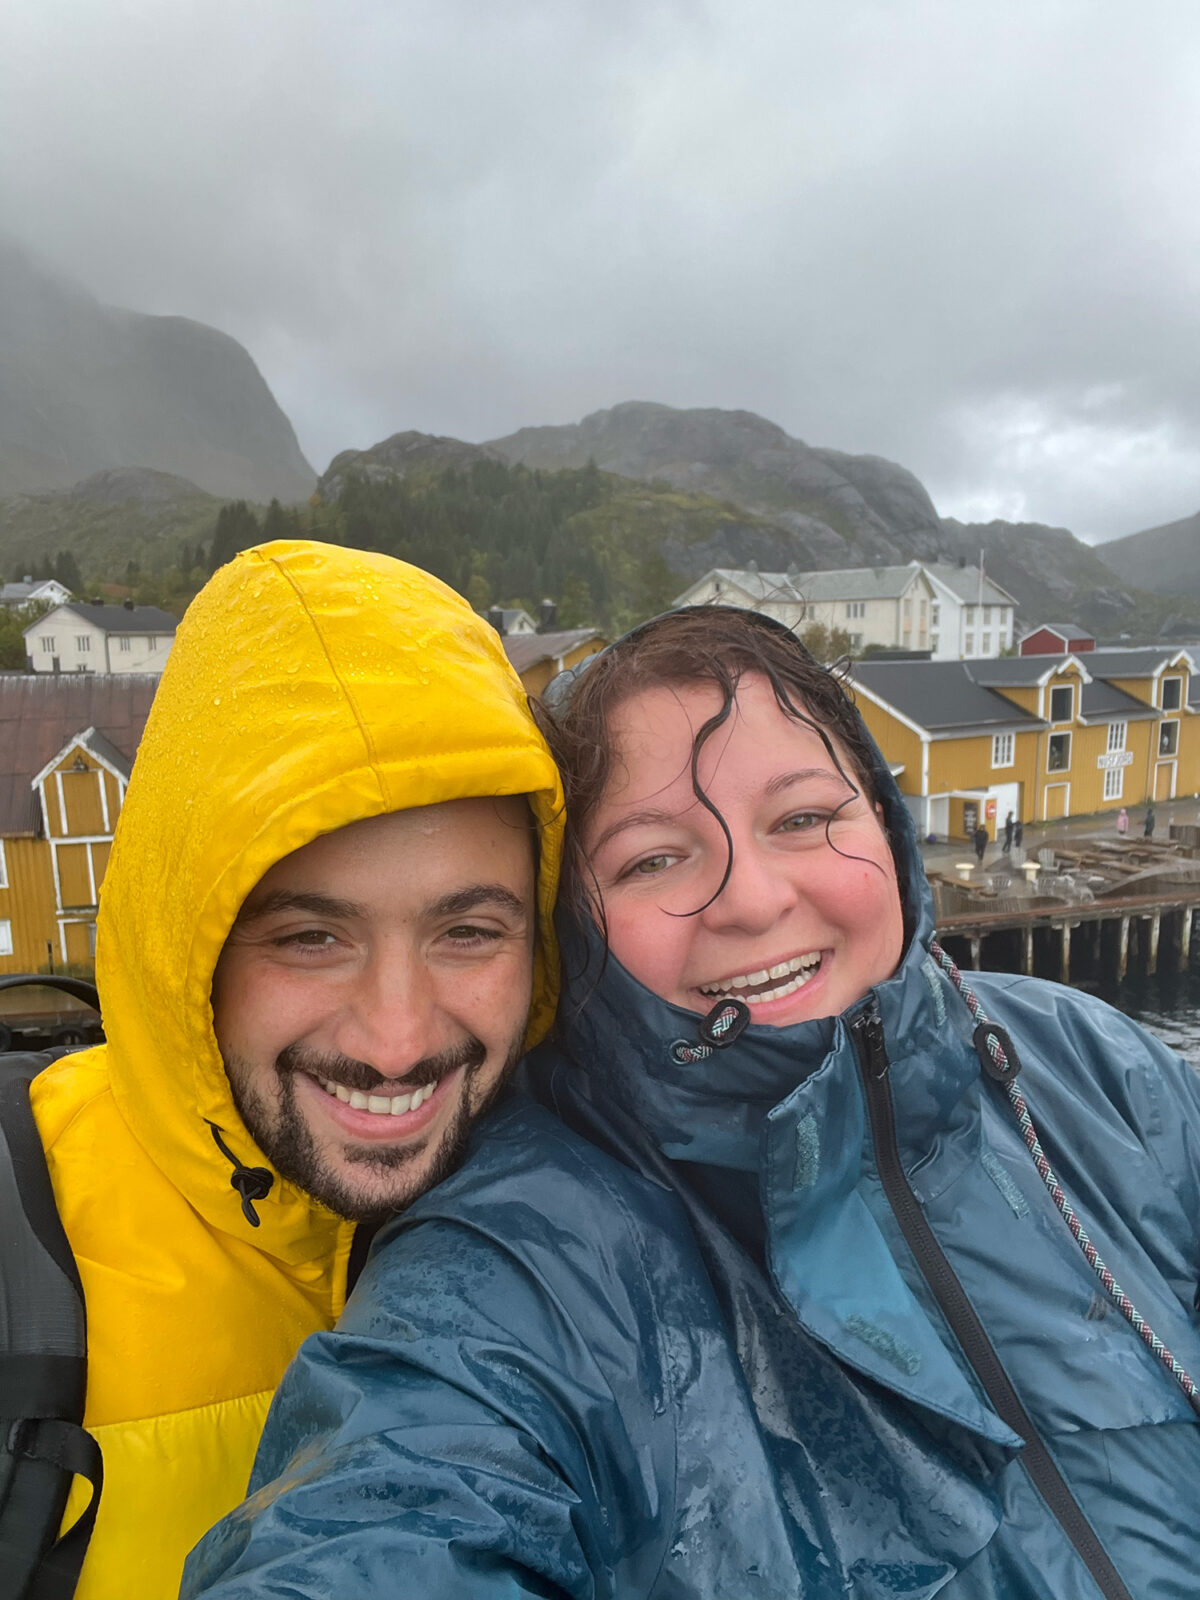
Nusfjord is one of those places you see everywhere when you search for the Lofoten, so of course we wanted to visit it. Part of the village is actually a museum, and you need to pay a small entrance fee to access it. The place is beautifully preserved, with traditional cabins and a very authentic atmosphere.
I was hoping to take more photos there, but the rain was quite strong that day. So we took a few shots, but mostly we just enjoyed walking through the village. Sometimes, it is also nice to slow down and simply experience a place without the camera.
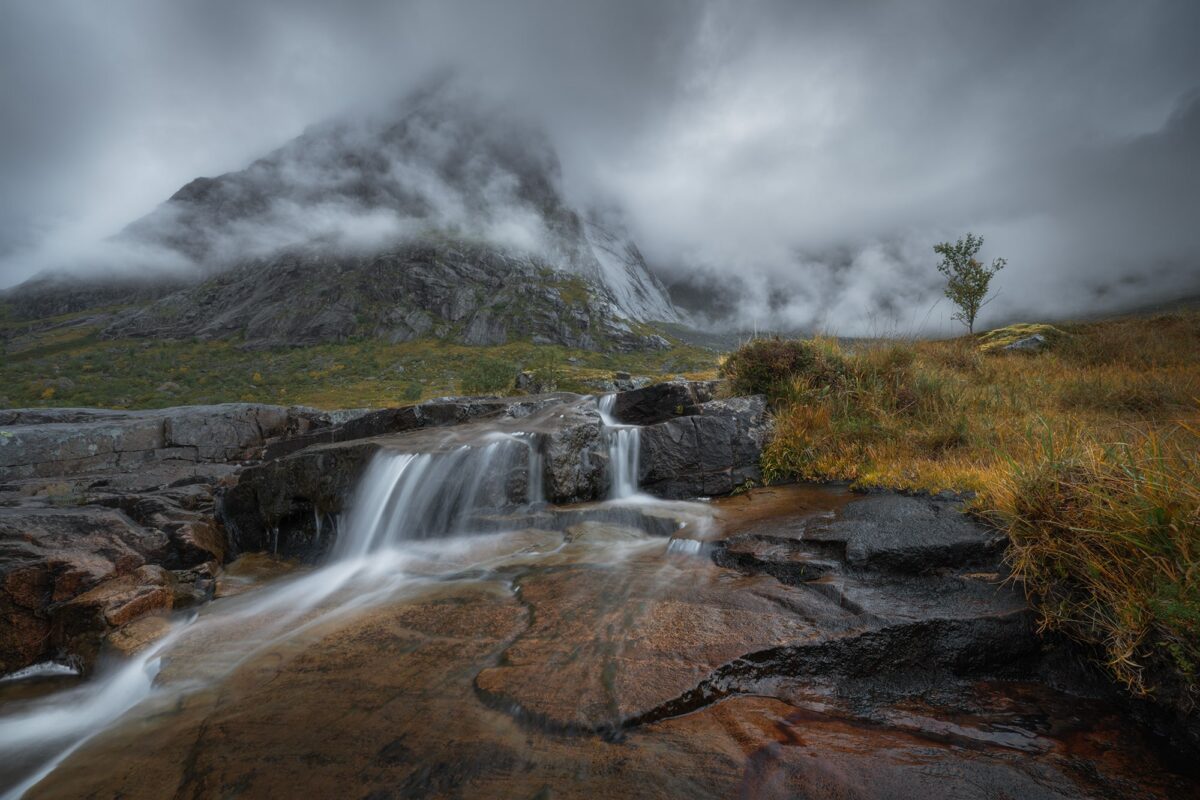
Molneva-fossen waterfall, a hidden photography spot in the Lofoten
Rainy days are honestly my favorite for waterfall photography. Not far from Nusfjord, you will find Molneva-fossen. From the road, it looks quite close, but the path to reach it is a bit wild and uneven. With the rain, it was quite slippery, but still manageable. The water level was not very high that day, so I walked a bit further upstream to find a stronger composition.
I used my 14–24mm lens to include everything in the frame: the waterfall, the foreground and the mountains in the background. All the elements come together nicely, which makes this spot really interesting. There are quite a few places where you can find good foregrounds and different compositions depending on where you stand.
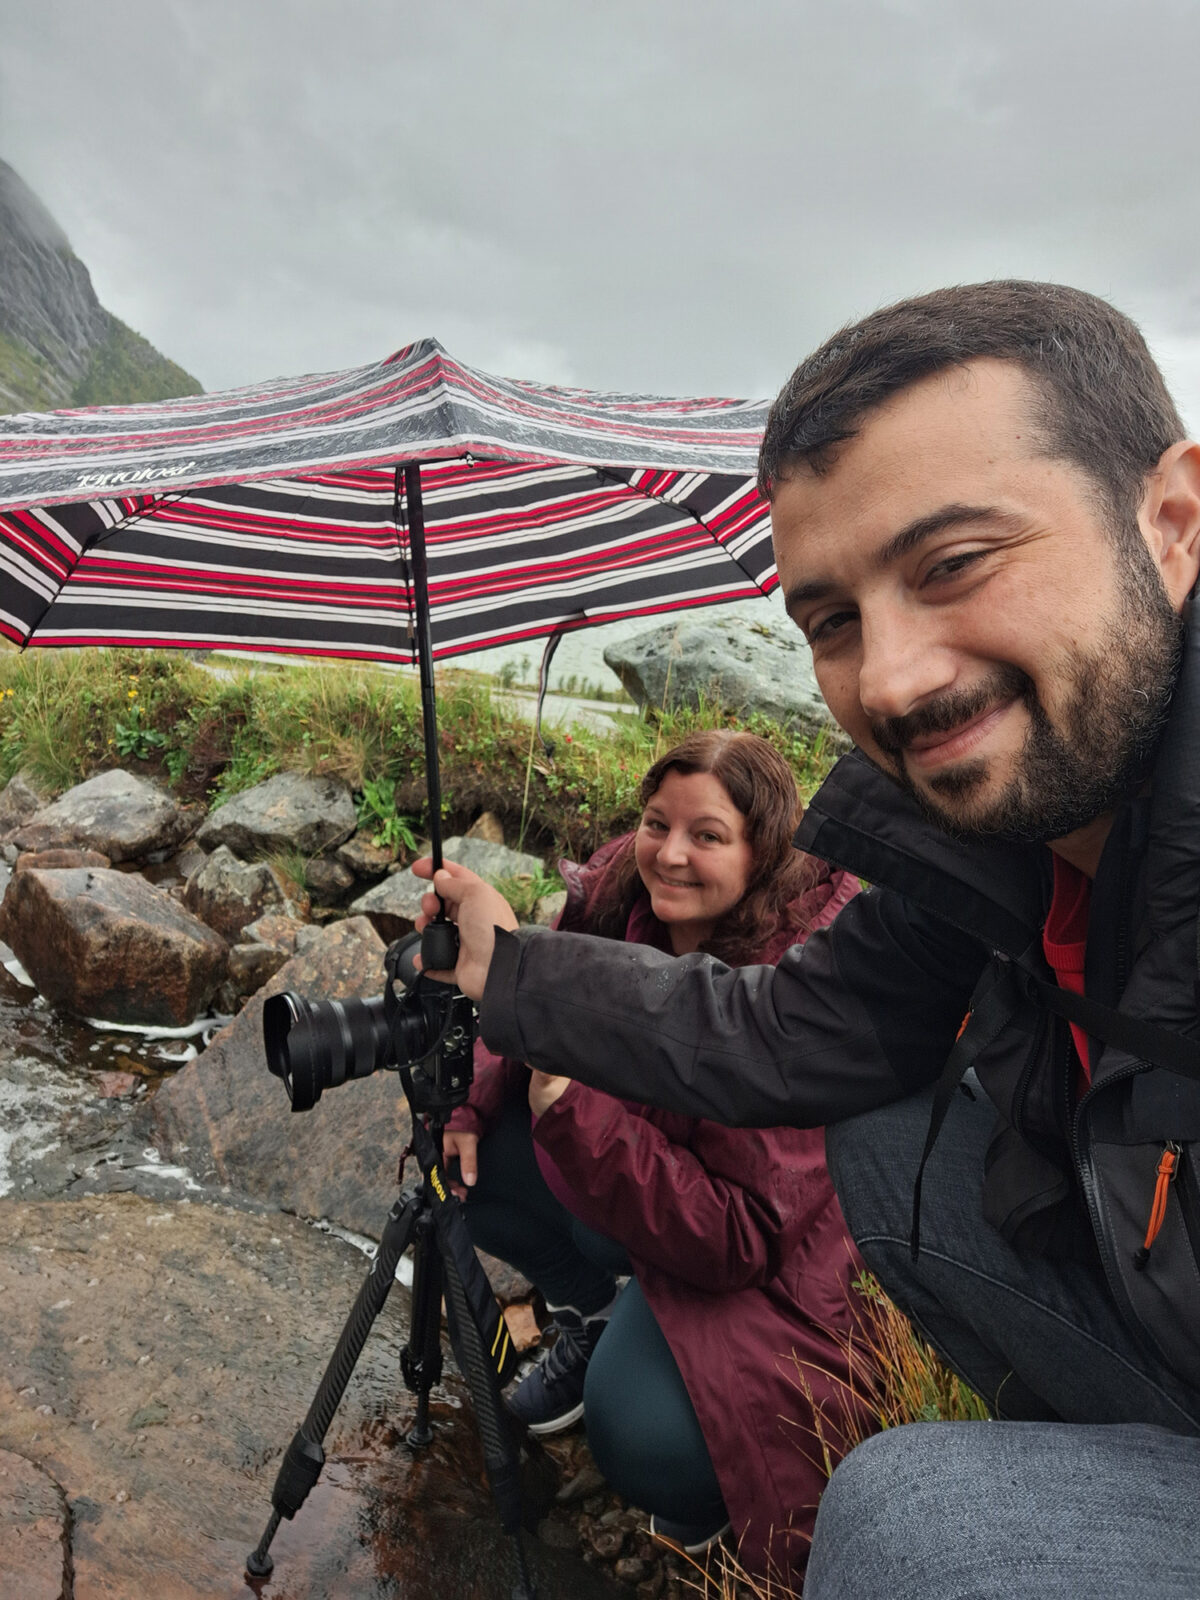
But in my case, the biggest challenge was the rain. Water drops kept falling on my polarizing filter. As you can see in the photo, we eventually had to use an umbrella to protect my camera while shooting.
Skagsanden and Ramberg, two very different beach photography spots
Not far from each other, Skagsanden Beach and Ramberg Beach offer two completely different photography experiences, which is why I think it is worth visiting both if you are in the area.
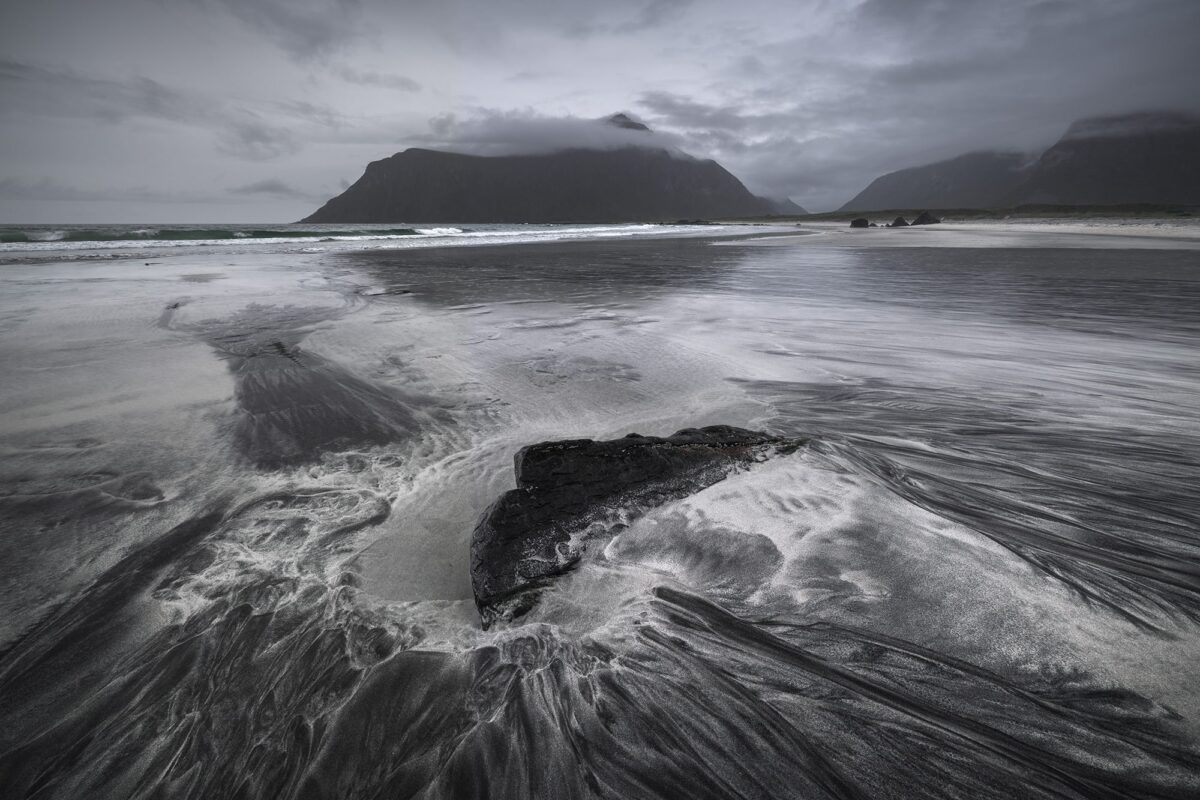
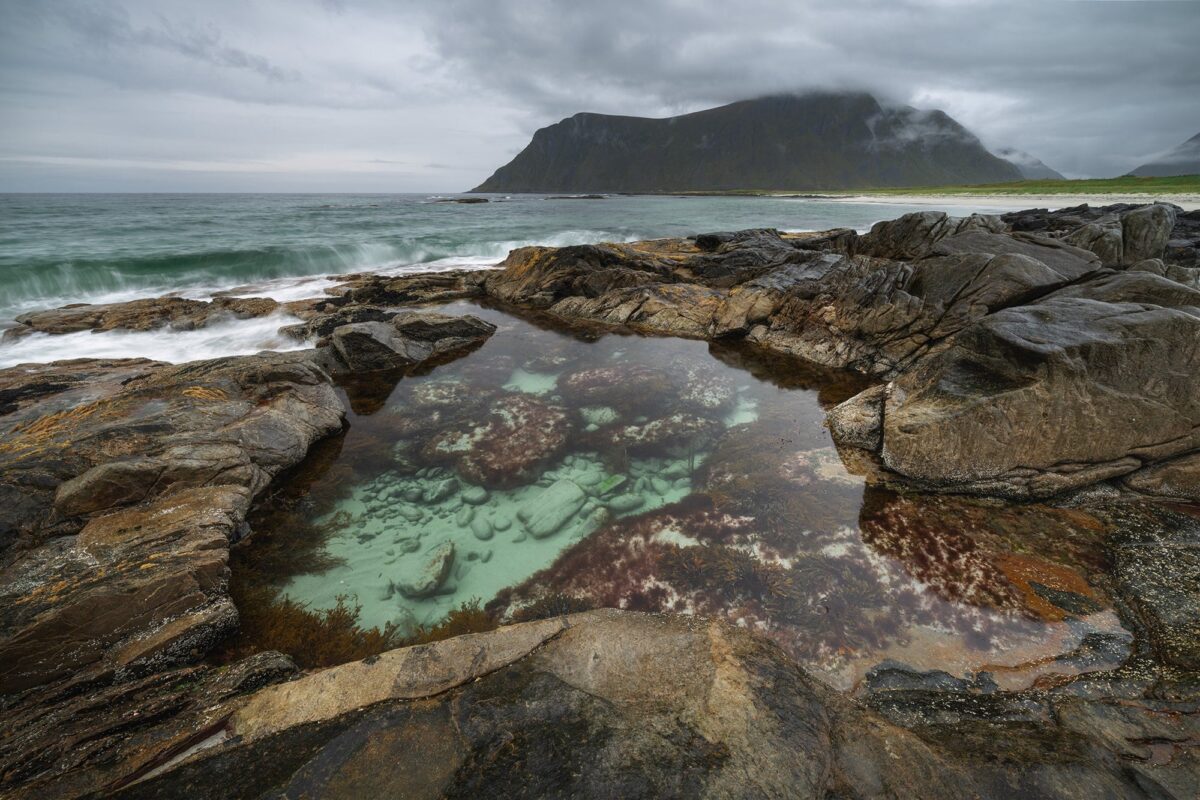
Skagsanden Beach is famous for its black and white sand that creates beautiful natural patterns at low tide. It is a perfect location for wide angle compositions, close up details and minimalist photography. But timing is key. You really need to go at low tide, otherwise everything disappears under the water.In the middle of the beach, there are also a few rocks, and inside them you can find a small natural pool with turquoise water.
It can be quite slippery to walk there, but at low tide it is a very interesting foreground and you can capture some really beautiful reflections and colors in that area. At some point, I also asked Paolo to walk in the scene because I wanted to include a human silhouette to give a sense of scale compared to the mountains and the patterns in the sand. I often like to add a small human element in large landscapes, because it helps to understand the scale of the place.
➜ Skagsanden Beach parking location
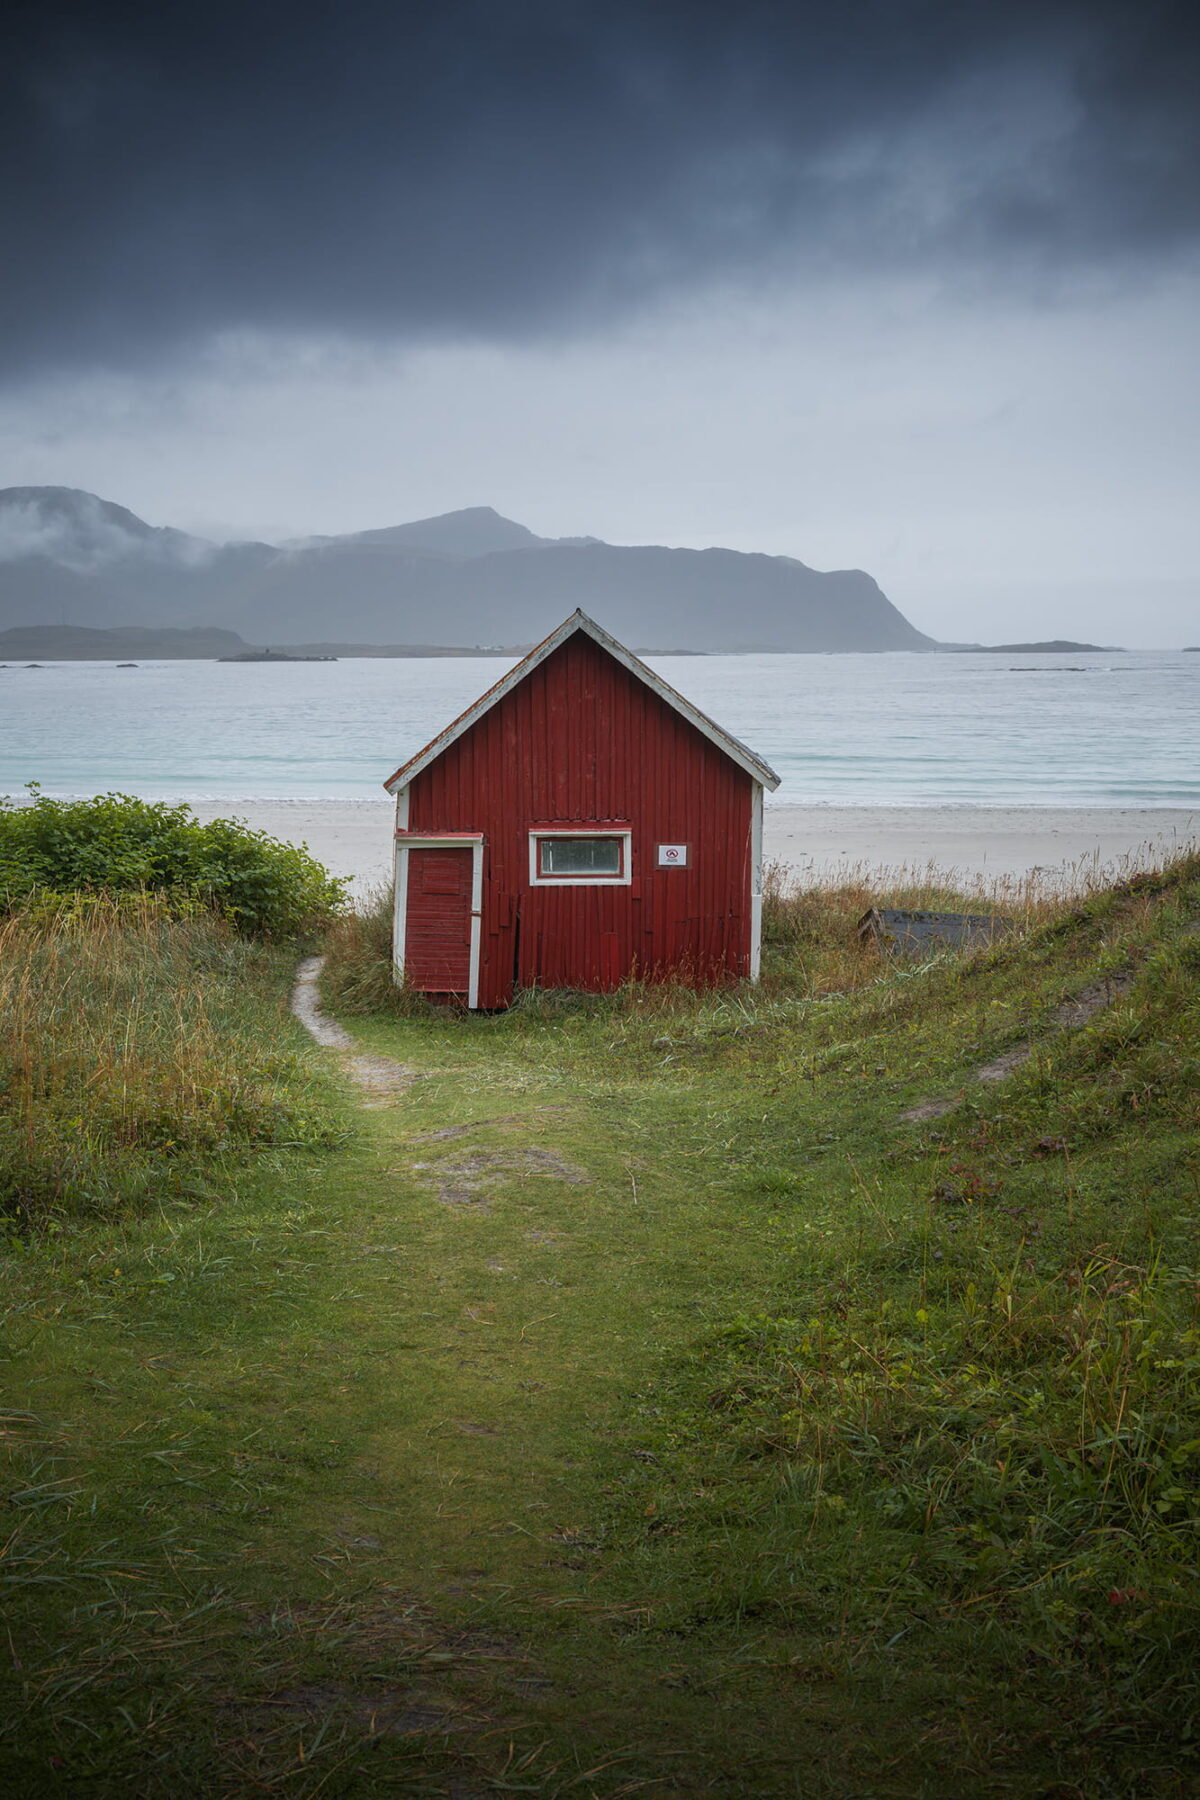
Ramberg is very different. It is known for its famous red cabin located directly on the beach, with the mountains in the background. It is a very simple and iconic composition that works well in soft and moody light. When we were there, the rain had started again and we were already quite wet, so we stayed only about ten minutes, just long enough to capture the classic view.
➜ Ramberg red cabin parking location
Day 5: Henningsvær, Gimsøystraumen and Unstad Beach
The evening before, I checked the forecast and it was supposed to be a fully cloudy day. So for once, we decided not to set an alarm and take it easy. When we woke up, the sky was indeed completely covered and the light was quite flat, but there was almost no wind. So after breakfast, we decided to drive to Henningsvær to photograph the famous football field.
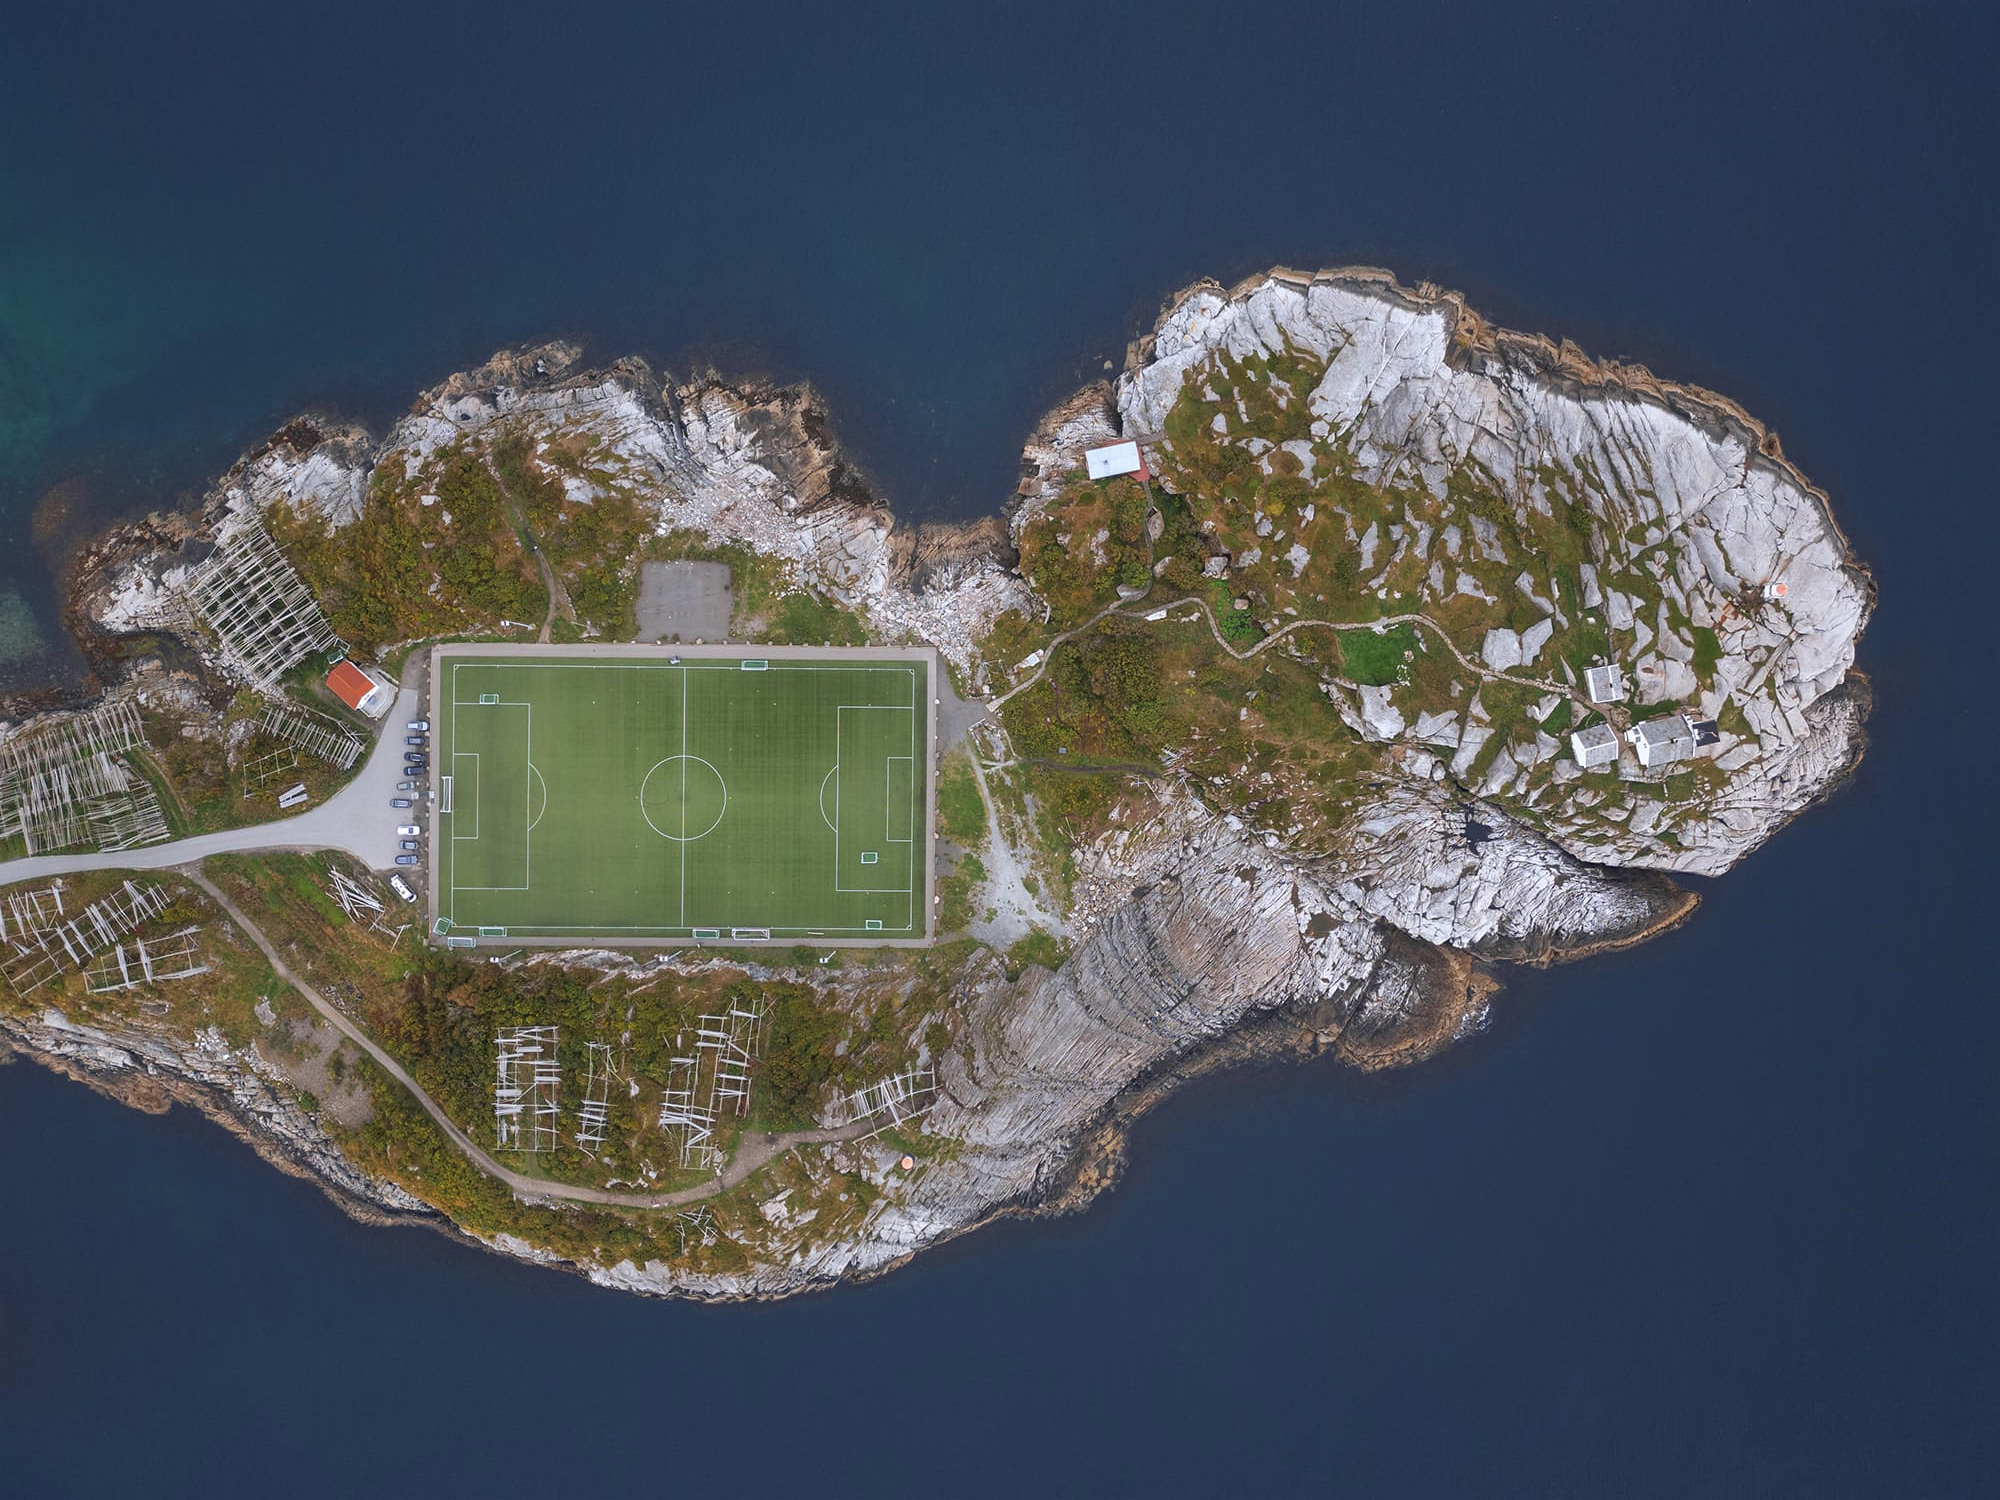
Henningsvær football field, a tiny pitch between ocean and mountains
The weather was pretty much the same when we arrived in Henningsvær. When you visit the village, you need to park at the entrance and walk from there.
We were not sure if it was possible to drive further, so we just parked and took the time to walk through the village. And honestly, it is such a cute place.
Colorful houses, a calm atmosphere, surrounded by water… definitely worth a visit even without perfect light. The walk to the football field takes around 15 minutes.Once we arrived, I was honestly a bit stressed. Flying my small drone above the ocean did not feel very reassuring. I was really afraid of losing it. In the end, everything went well. The wind started to pick up a bit and the battery dropped quickly, so I only had time for one solid shot. But that was enough. I got the image I wanted, and I was really happy.
➜ Henningsvær parking location
Gimsøystraumen, a hidden aerial photography spot in Lofoten
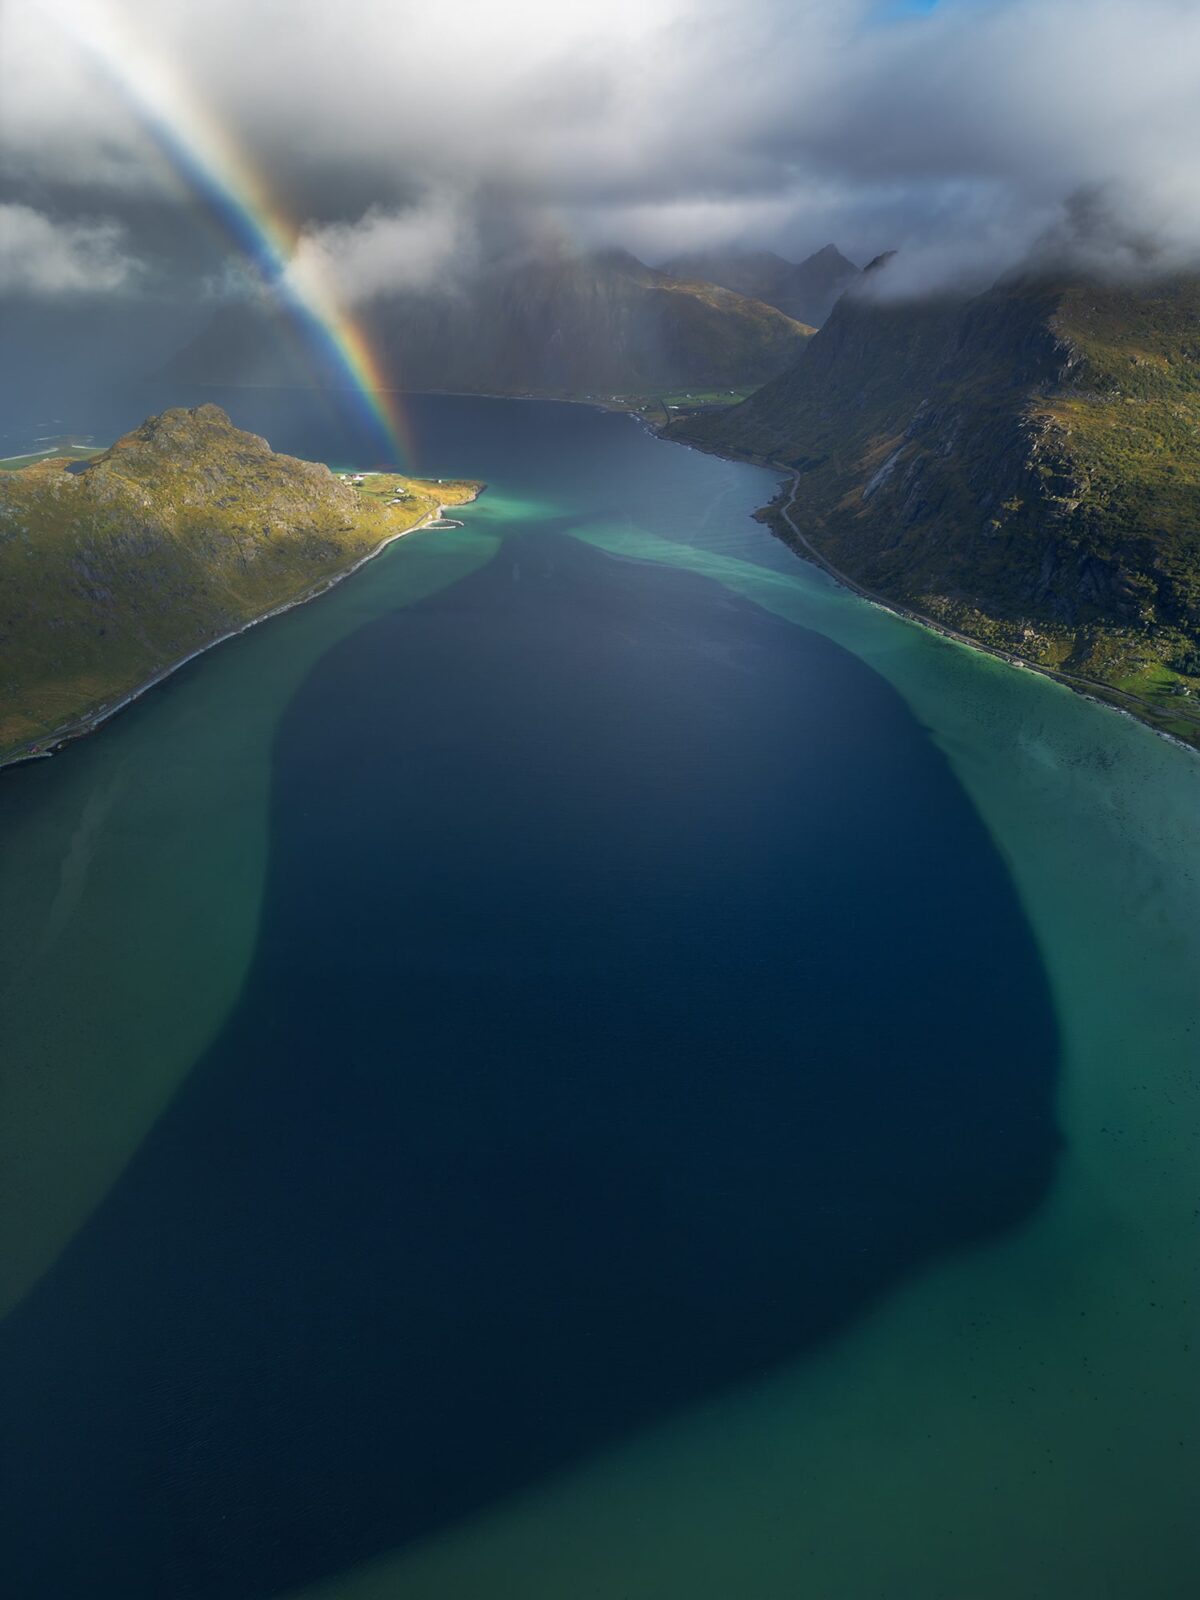
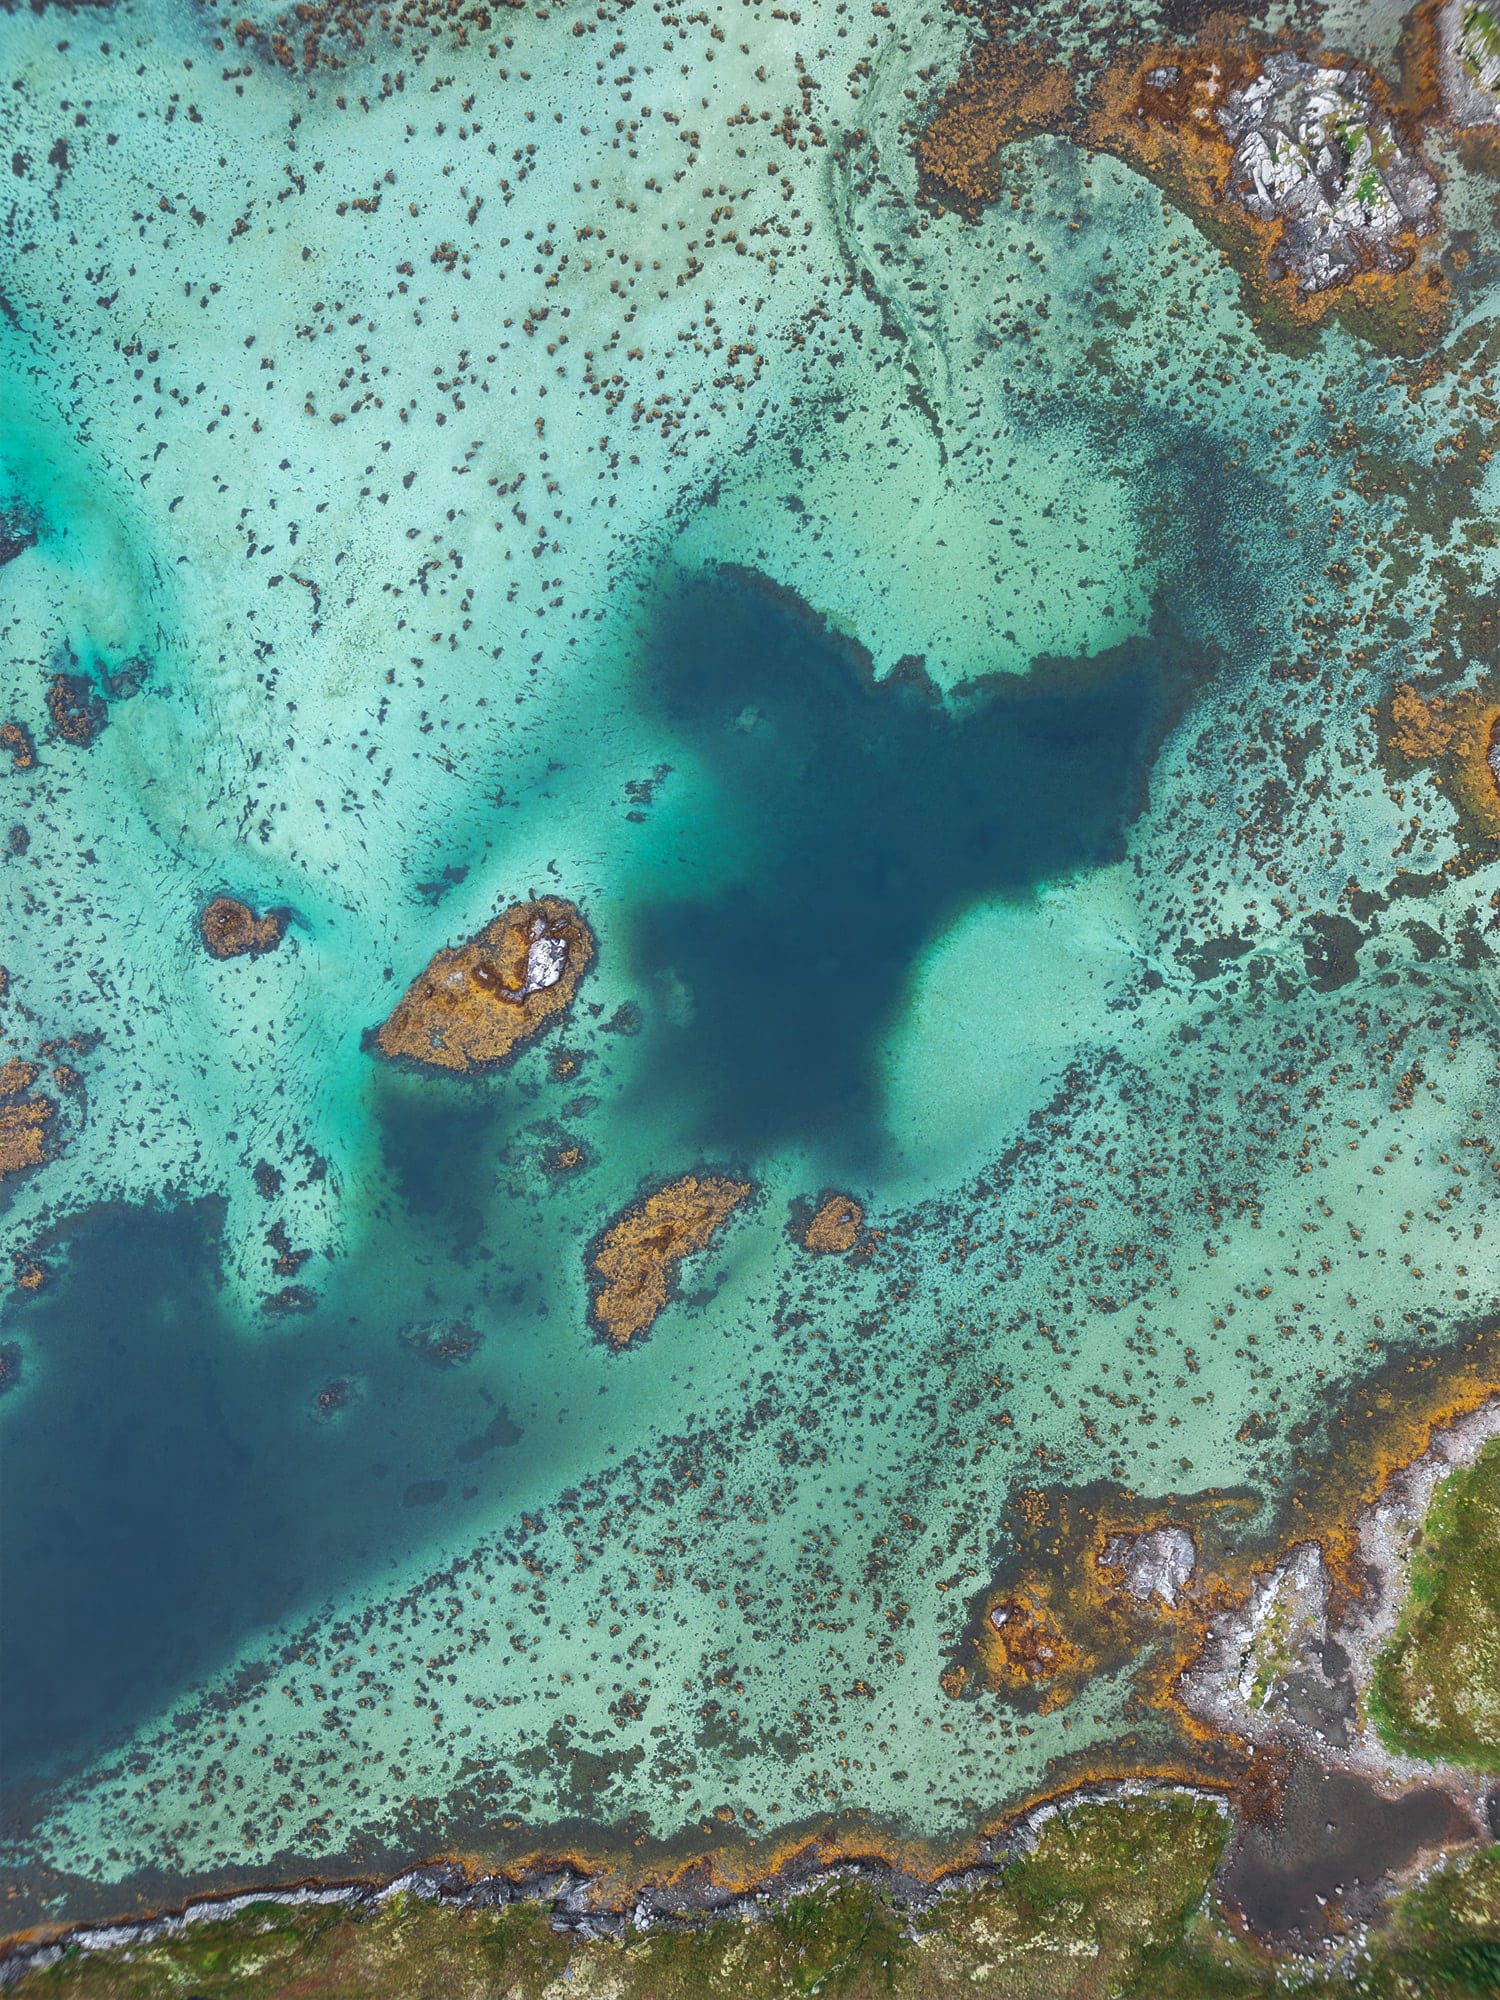
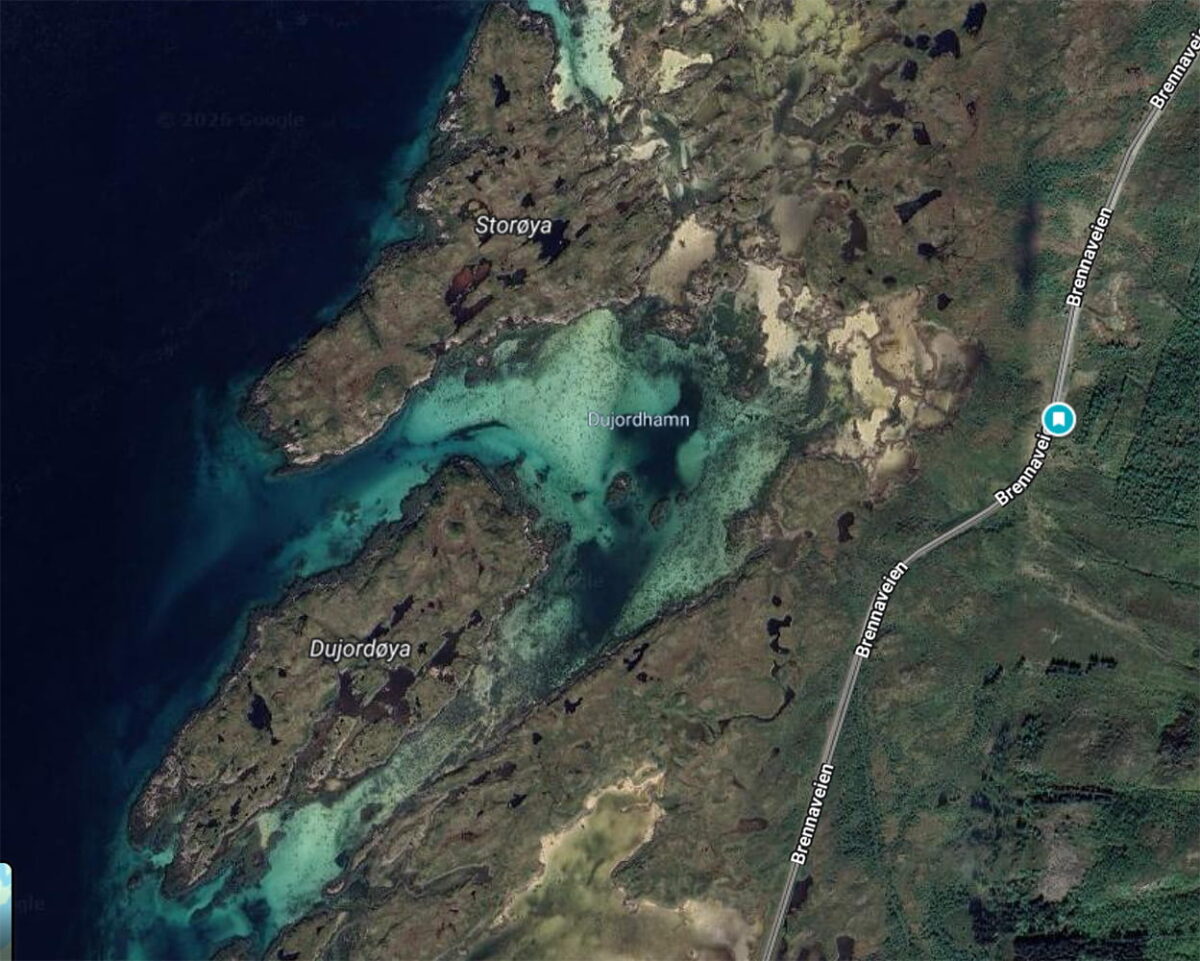
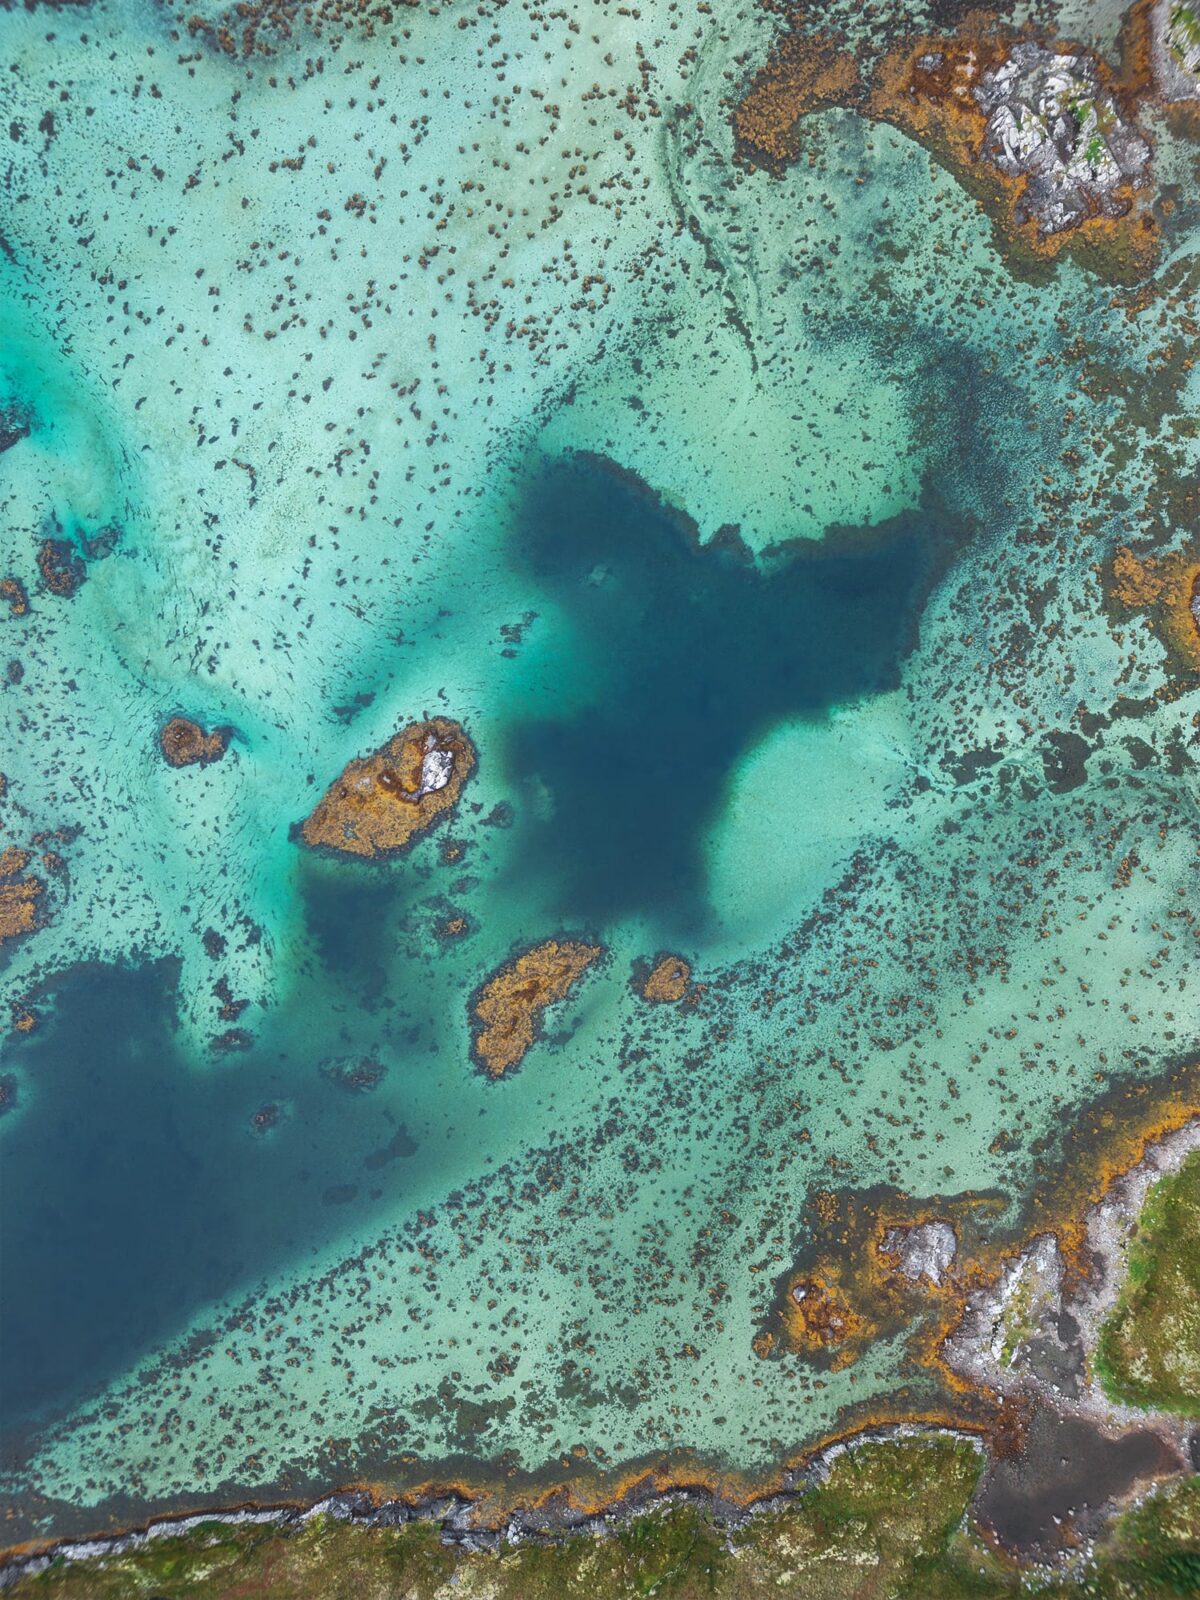
On the way from Henningsvær to Unstad, I spotted some turquoise areas on Google Maps near Gimsøystraumen. I was curious to see what it looked like from above, so I stopped and launched the drone.
And that is when I discovered something completely unexpected. A natural pattern in the water that looked like a whale tail. From above, the colors were incredible. Turquoise water, soft shapes, almost tropical. It honestly did not feel like Norway anymore. It looked more like something you would expect in the Maldives.
This shot was completely unplanned. I did not even know this formation existed. And that is exactly why I love exploring. Sometimes the best photos are the ones you never planned.
Unstad Beach sunset, a wild Arctic beach for landscape photography
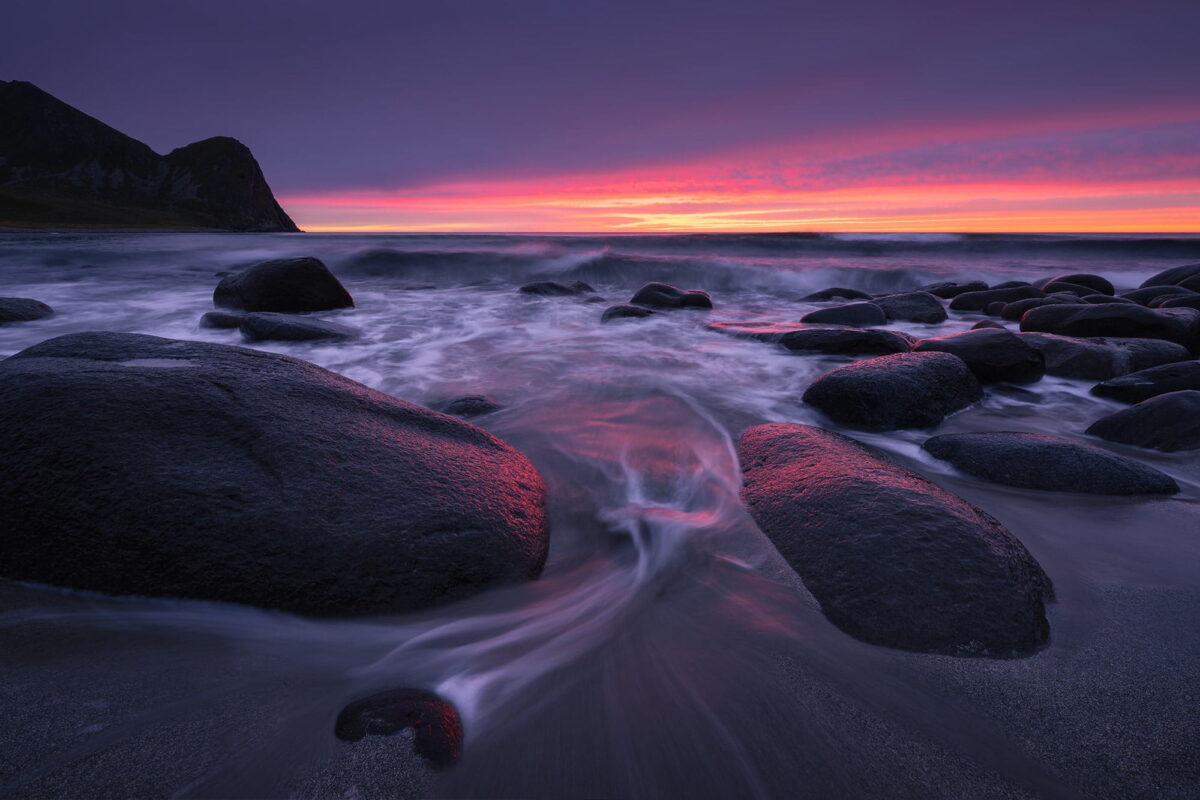
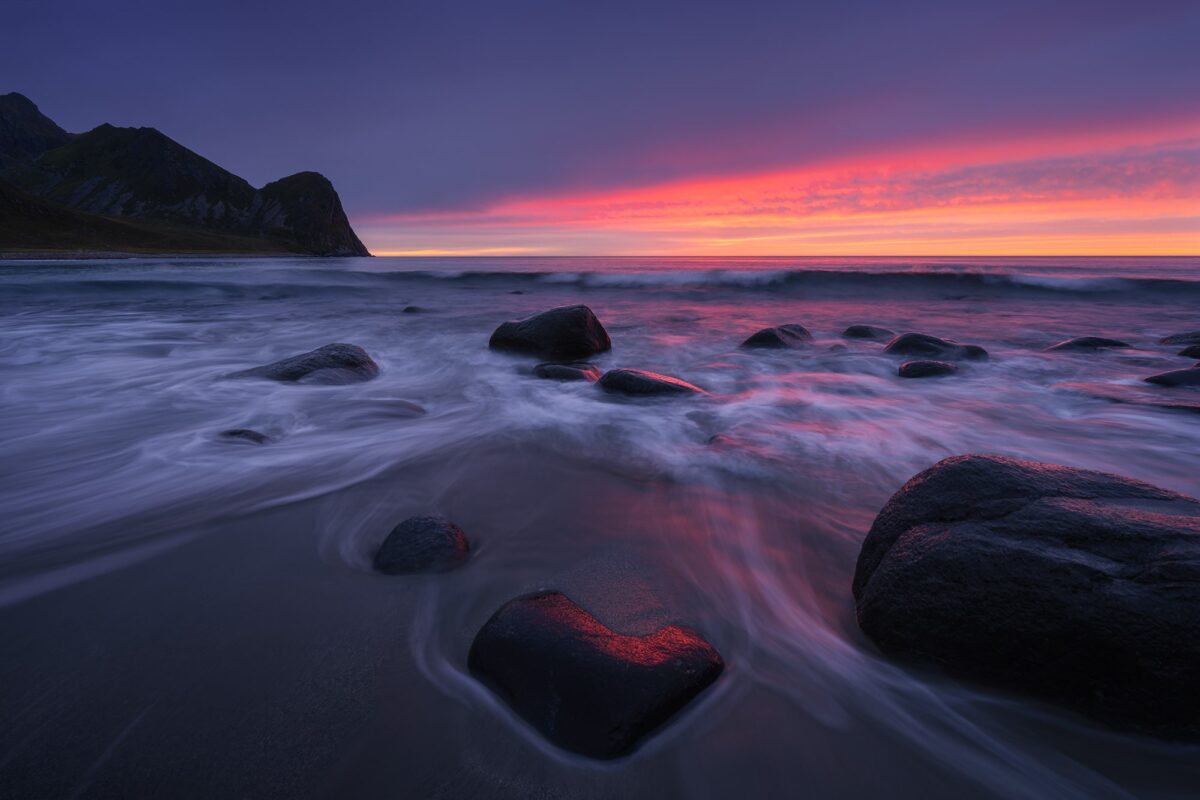
As sunset approached, I wanted to find a beach facing west. The sky was not very promising, but I thought that even if the sunset was not spectacular, blue hour could still work well for long exposure photography.
When we arrived at Unstad Beach, I walked down to the rocks to look for a composition. And then something completely unexpected happened. A woman came up to us because she had recognized Paolo from my Instagram stories. We had actually been exchanging messages earlier that day. I mean… how small is the world?We started talking, and it turned into such a nice moment. We are actually still in touch today.
But then suddenly, the sky started to turn pink. I ran back to my camera, and within minutes we had one of the most beautiful sunsets of the entire trip. I also found a heart shaped rock in the foreground, glowing in red light. Completely unplanned, once again. And honestly, I love this photo.
➜ Unstad Beach parking location
Day 6: Vik, Haukland and Uttakleiv in moody light
Uttakleiv Beach and the Dragon’s Eye in dramatic light
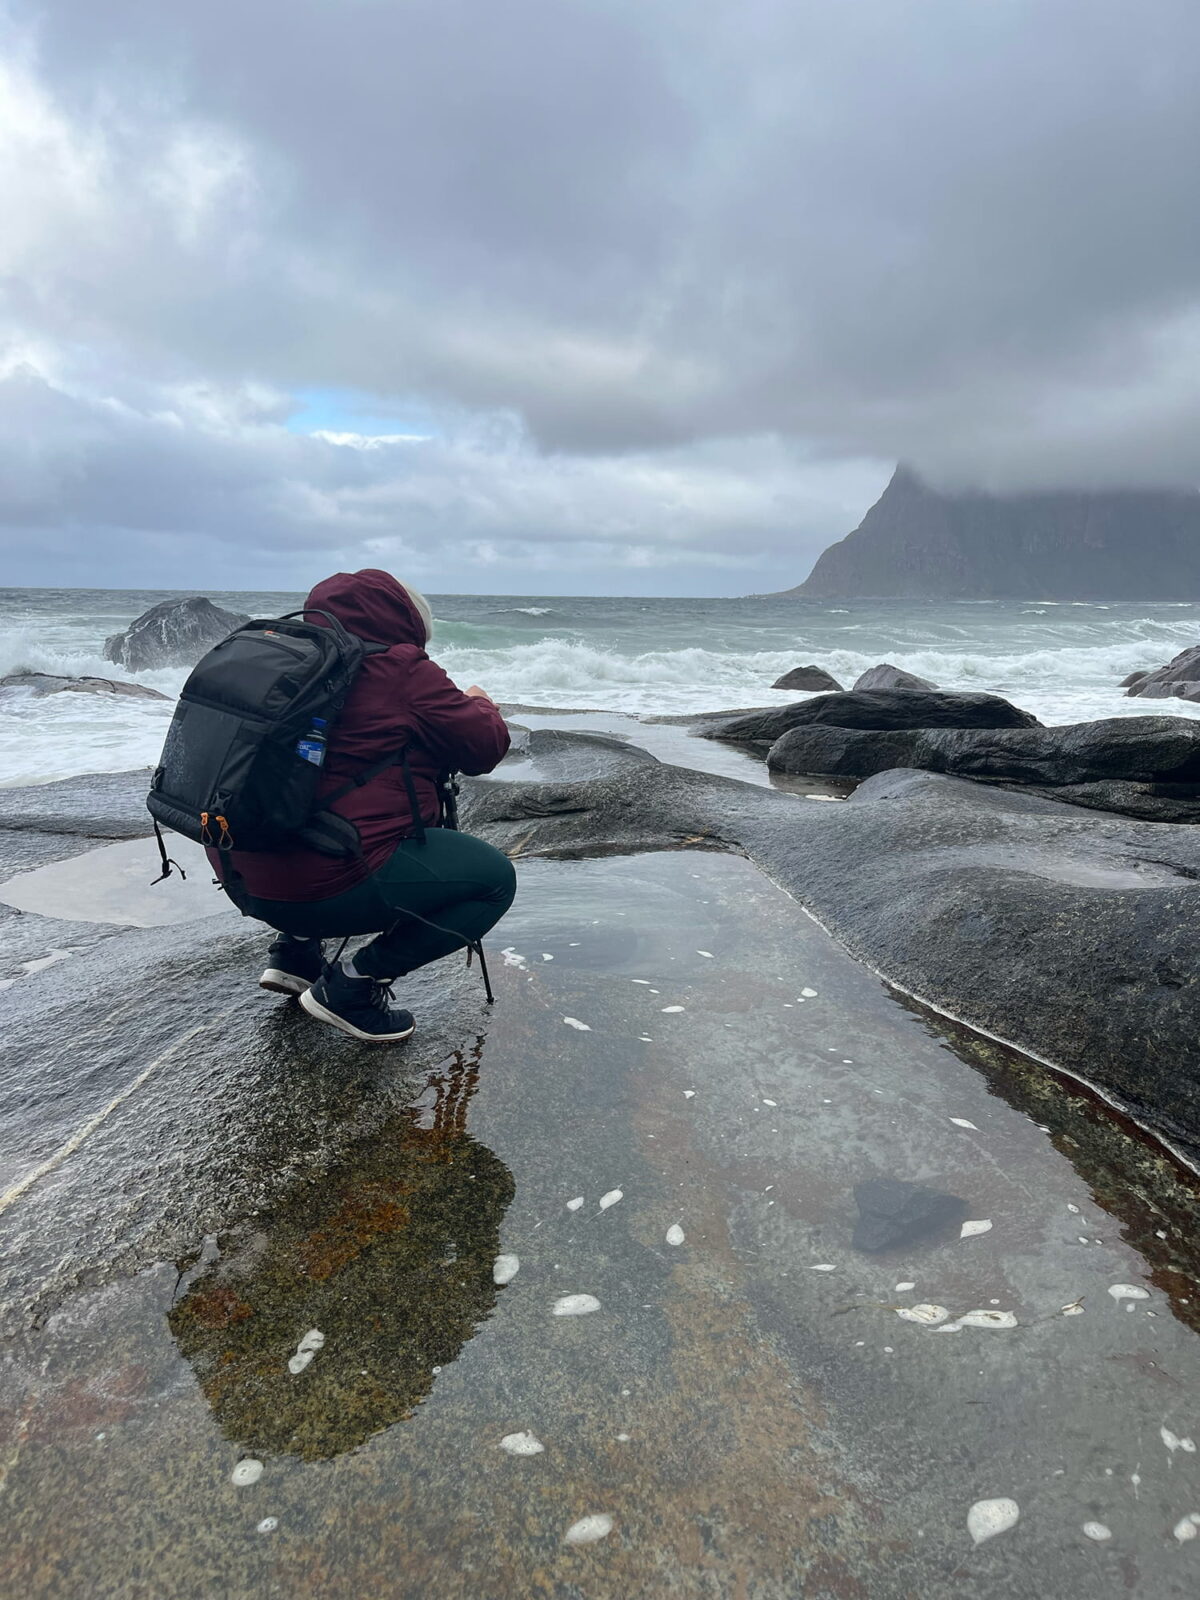
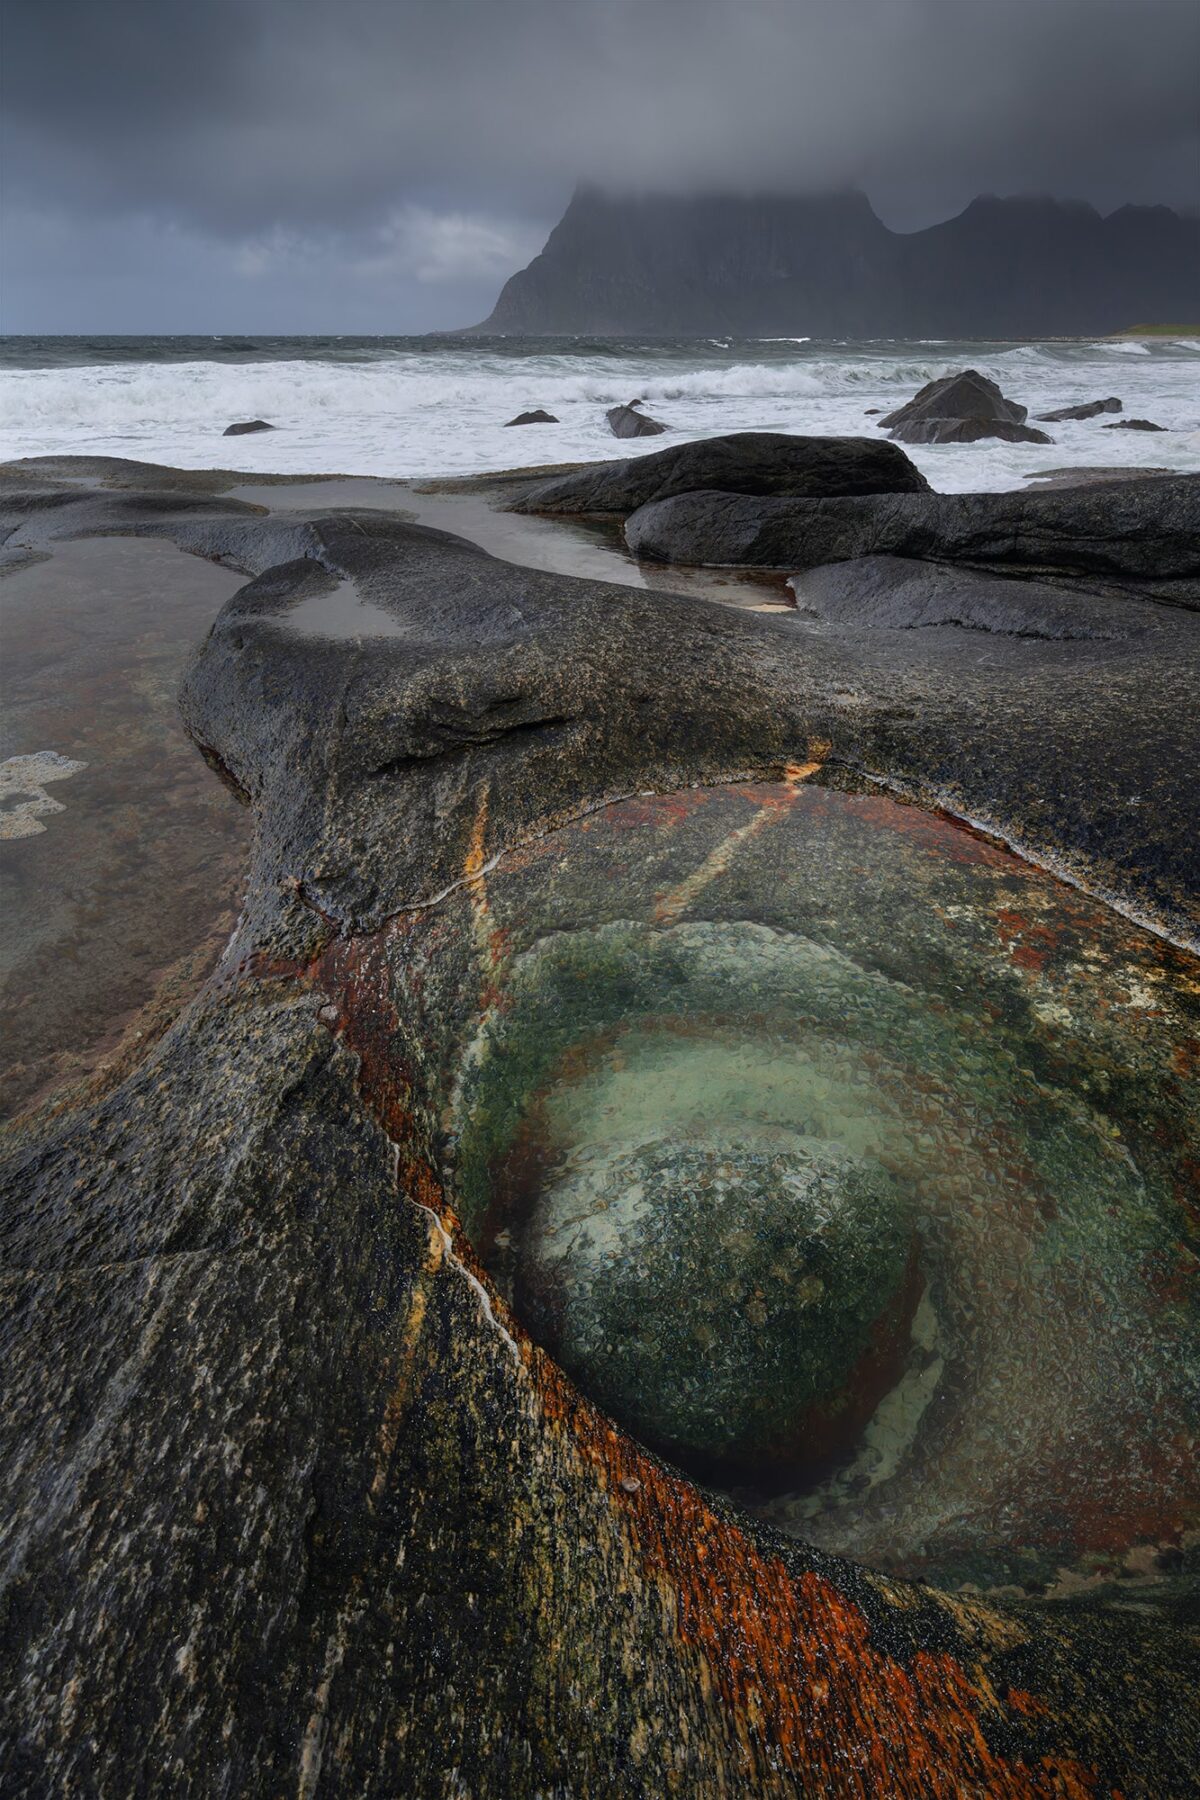
I really wanted to see the Dragon’s Eye again, but under completely different conditions. This time, we already knew where to park and exactly where to find it, so we reached the spot quickly. And once again, we were completely alone. I guess fewer people go out when the weather turns moody.
The scene was totally different from the first time. The sea was much rougher, with strong waves crashing against the rocks. The colors of the Dragon’s Eye were shifting more towards green, and the clouds were heavy and dramatic.
There was also some wind creating small ripples in the water inside the “eye”, adding a subtle movement to the composition. That is exactly why I love returning to the same location. You never get the same photo twice.
➜ Uttakleiv parking location (paid parking)
➜ Dragon’s Eye location
Haukland and Vik Beaches: dramatic light and wild landscapes
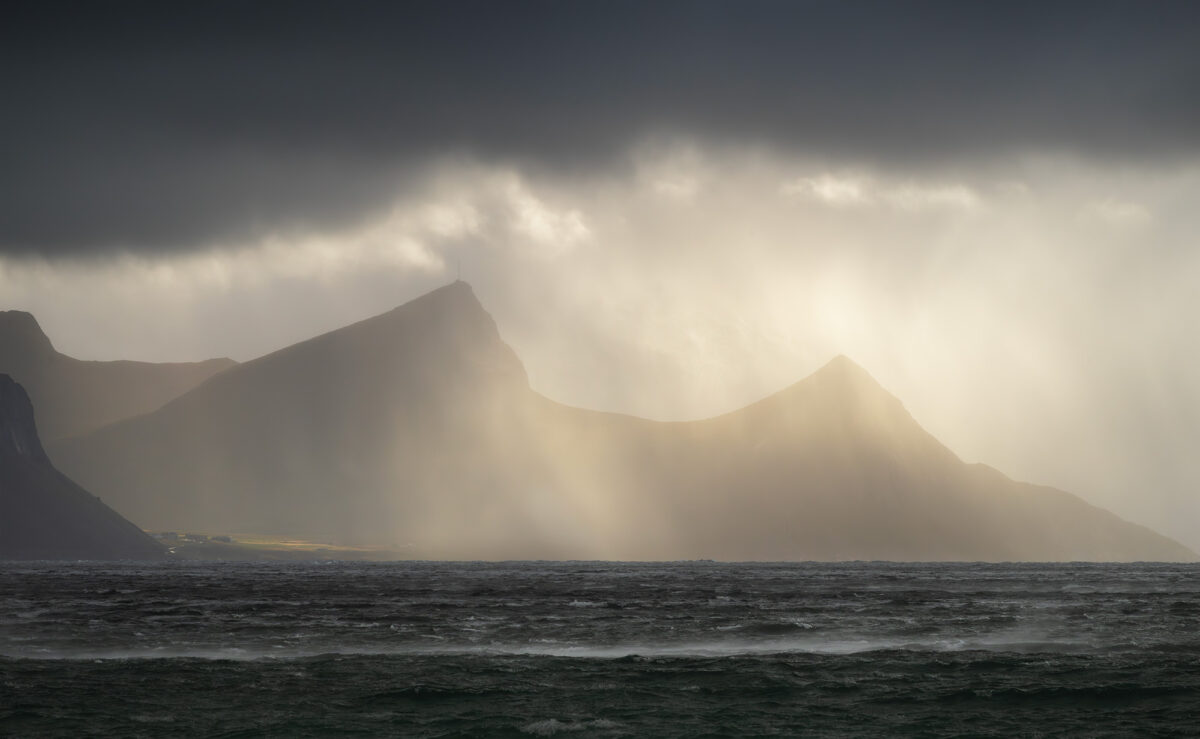
The afternoon light was incredible. After the session at Uttakleiv Beach, I decided to try Haukland Beach. I had only been there at night for the northern lights, and I wanted to see it in daylight as well. And honestly, Haukland Beach is absolutely stunning.
When we arrived, rays of sunlight were breaking through the clouds and illuminating the mountains in the background. It was one of those moments where everything feels alive and constantly changing. But I was quite stressed too, because I did not want to miss that moment. I used my 70–200mm lens to isolate the light and capture the contrast between shadows and highlights on the mountains.
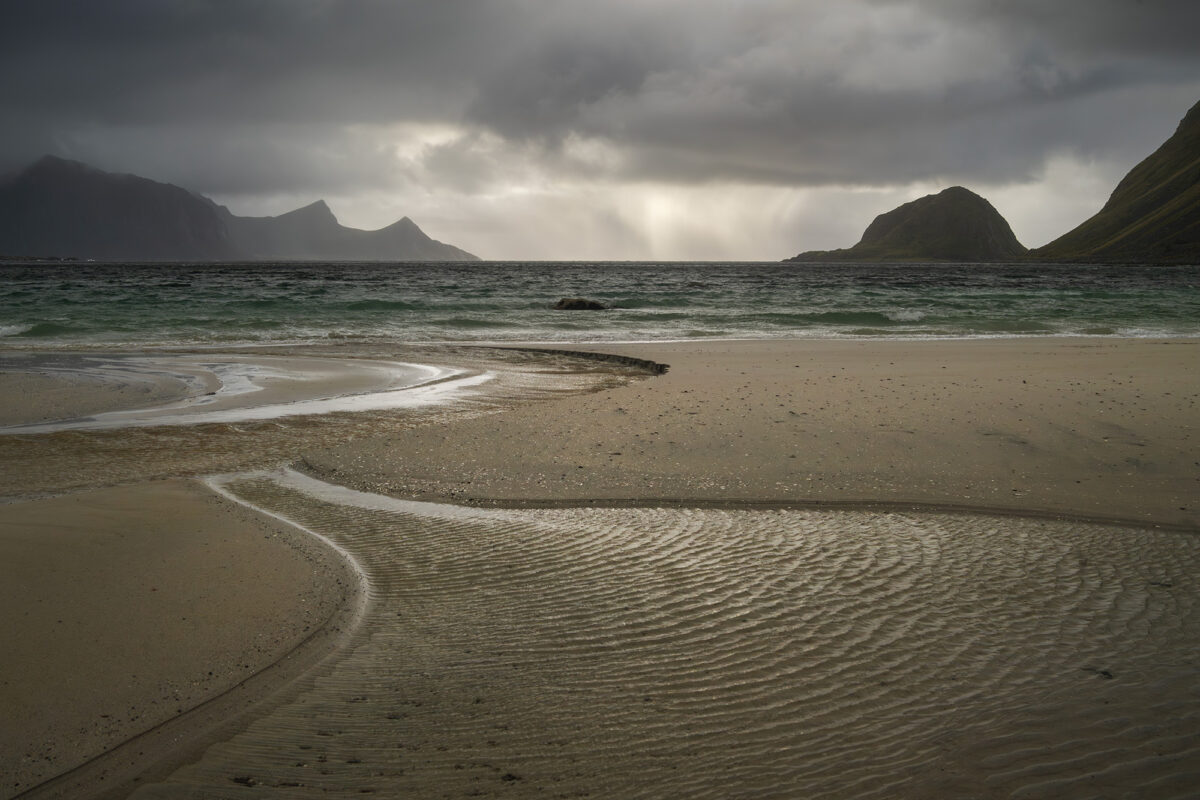
After that, I switched to my 24–70mm lens to capture the beach and the surroundings. A small river was creating a beautiful S-curve in the sand, which worked perfectly for the composition.
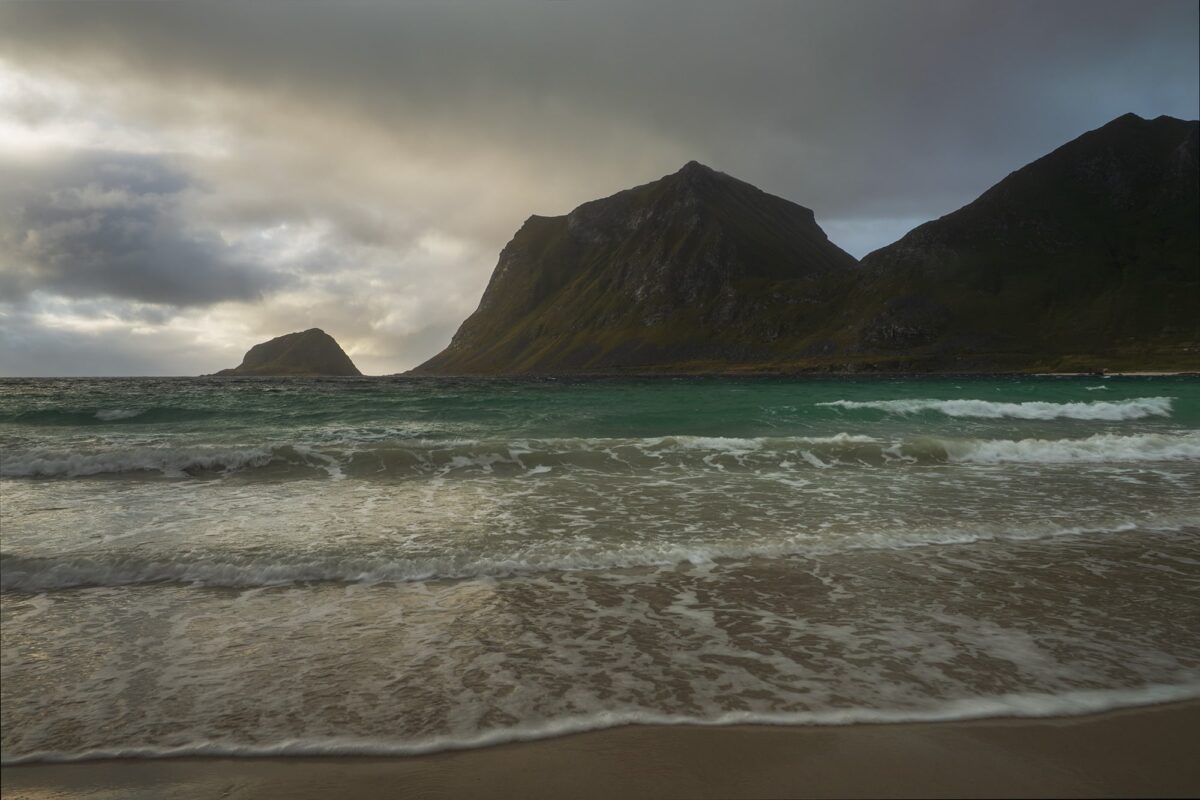
Not far from Haukland, there is Vik Beach. It is only a few minutes’ drive away, so I decided to change location and try my luck there as well. In that short distance, the atmosphere was completely different. Believe it or not, I think this might be my favorite beach in the Lofoten. There is just something special about this place. The scale, the energy, the raw feeling.
The mood was absolutely unreal. Heavy clouds above the mountains, strong waves, and constant movement in the sky. I was especially drawn to the shapes of the waves. At some point, they looked almost like a moving blanket rolling towards the shore. It was such a unique texture. The light was changing extremely fast. Within half an hour, everything shifted. The clouds closed in, and a heavy rain shower forced us to head back. But honestly, these are the moments I love the most.
Driving south to Sørvågen
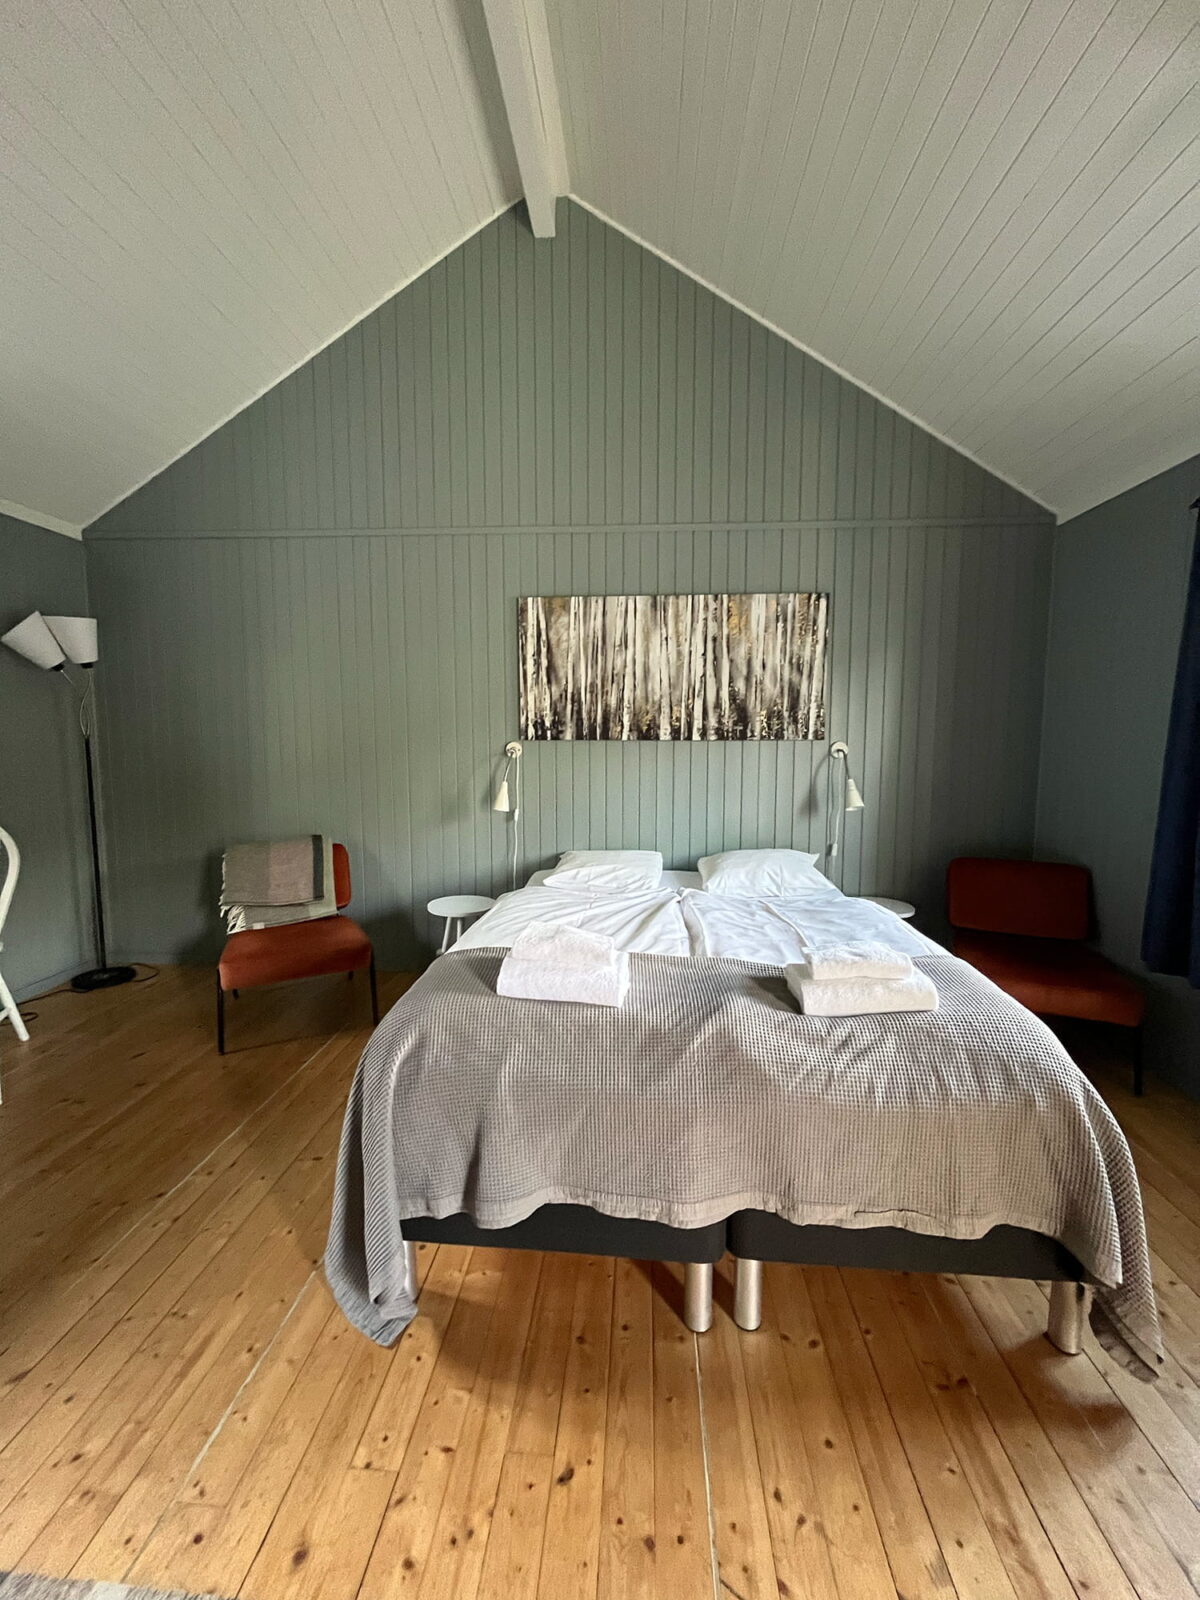
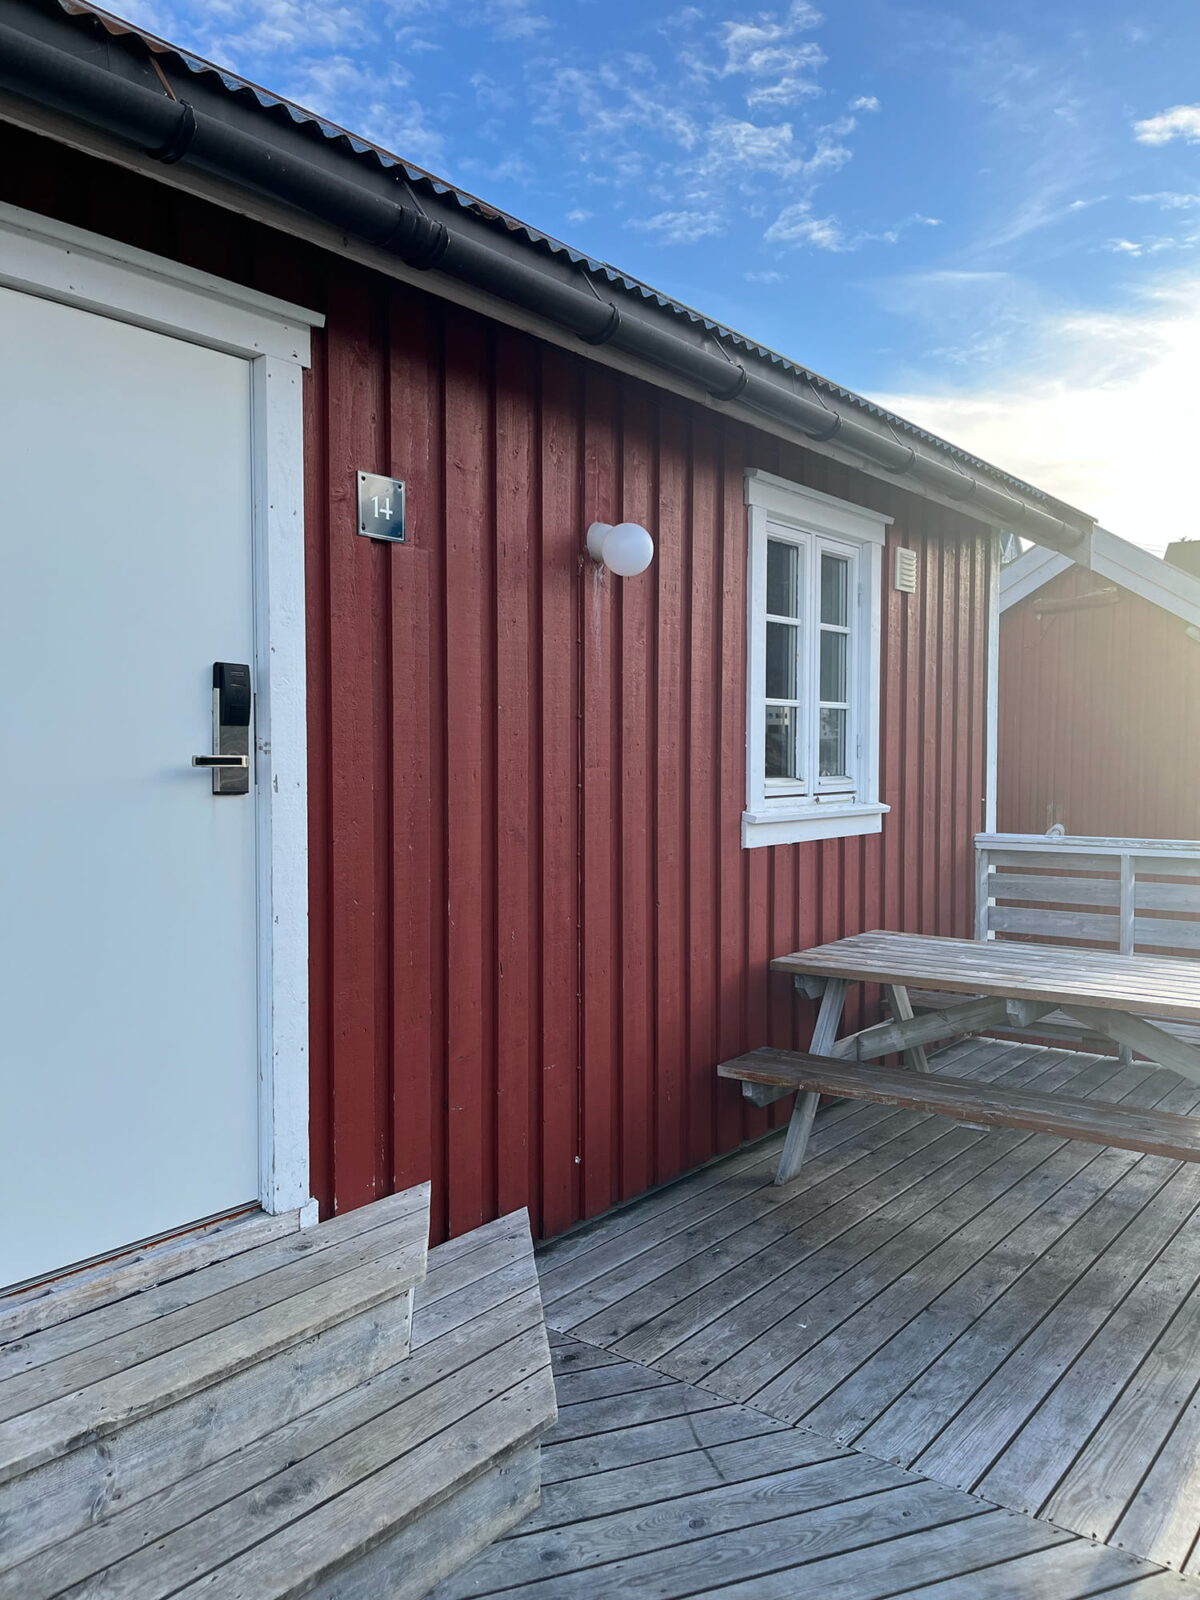
After Vik Beach, we drove further south to Sørvågen. For our last two nights in the Lofoten, we had booked a traditional and cozy rorbu, one of the typical fishermen’s cabins you find all over the islands. We really wanted to experience staying in a seacabin, but it was also a very practical choice because we would be closer to some of the most famous villages in the Lofoten such as Reine, Hamnøy and Sakrisøy.
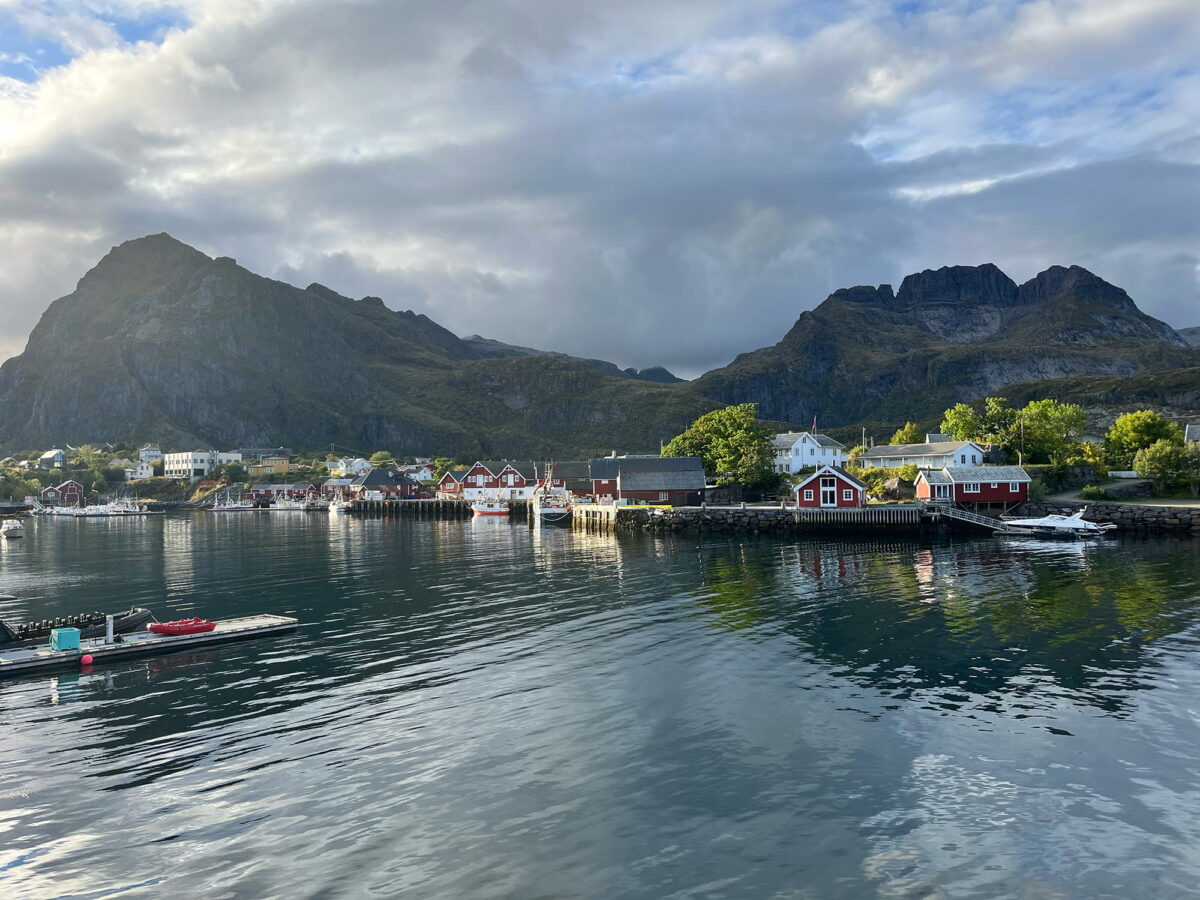
Sørvågen is actually a very charming and quiet village, and our cabin had a direct view over the harbour. Honestly, it was the perfect place to relax after long days outside in the wind, the rain and the cold. We really enjoyed staying there.
There are also a few small grocery stores and restaurants nearby, which makes Sørvågen a very convenient base if you are exploring the southern part of the Lofoten. From there, you can easily reach Reine, Hamnøy, Sakrisøy, Å and many beautiful fjords and mountain viewpoints within a short drive.
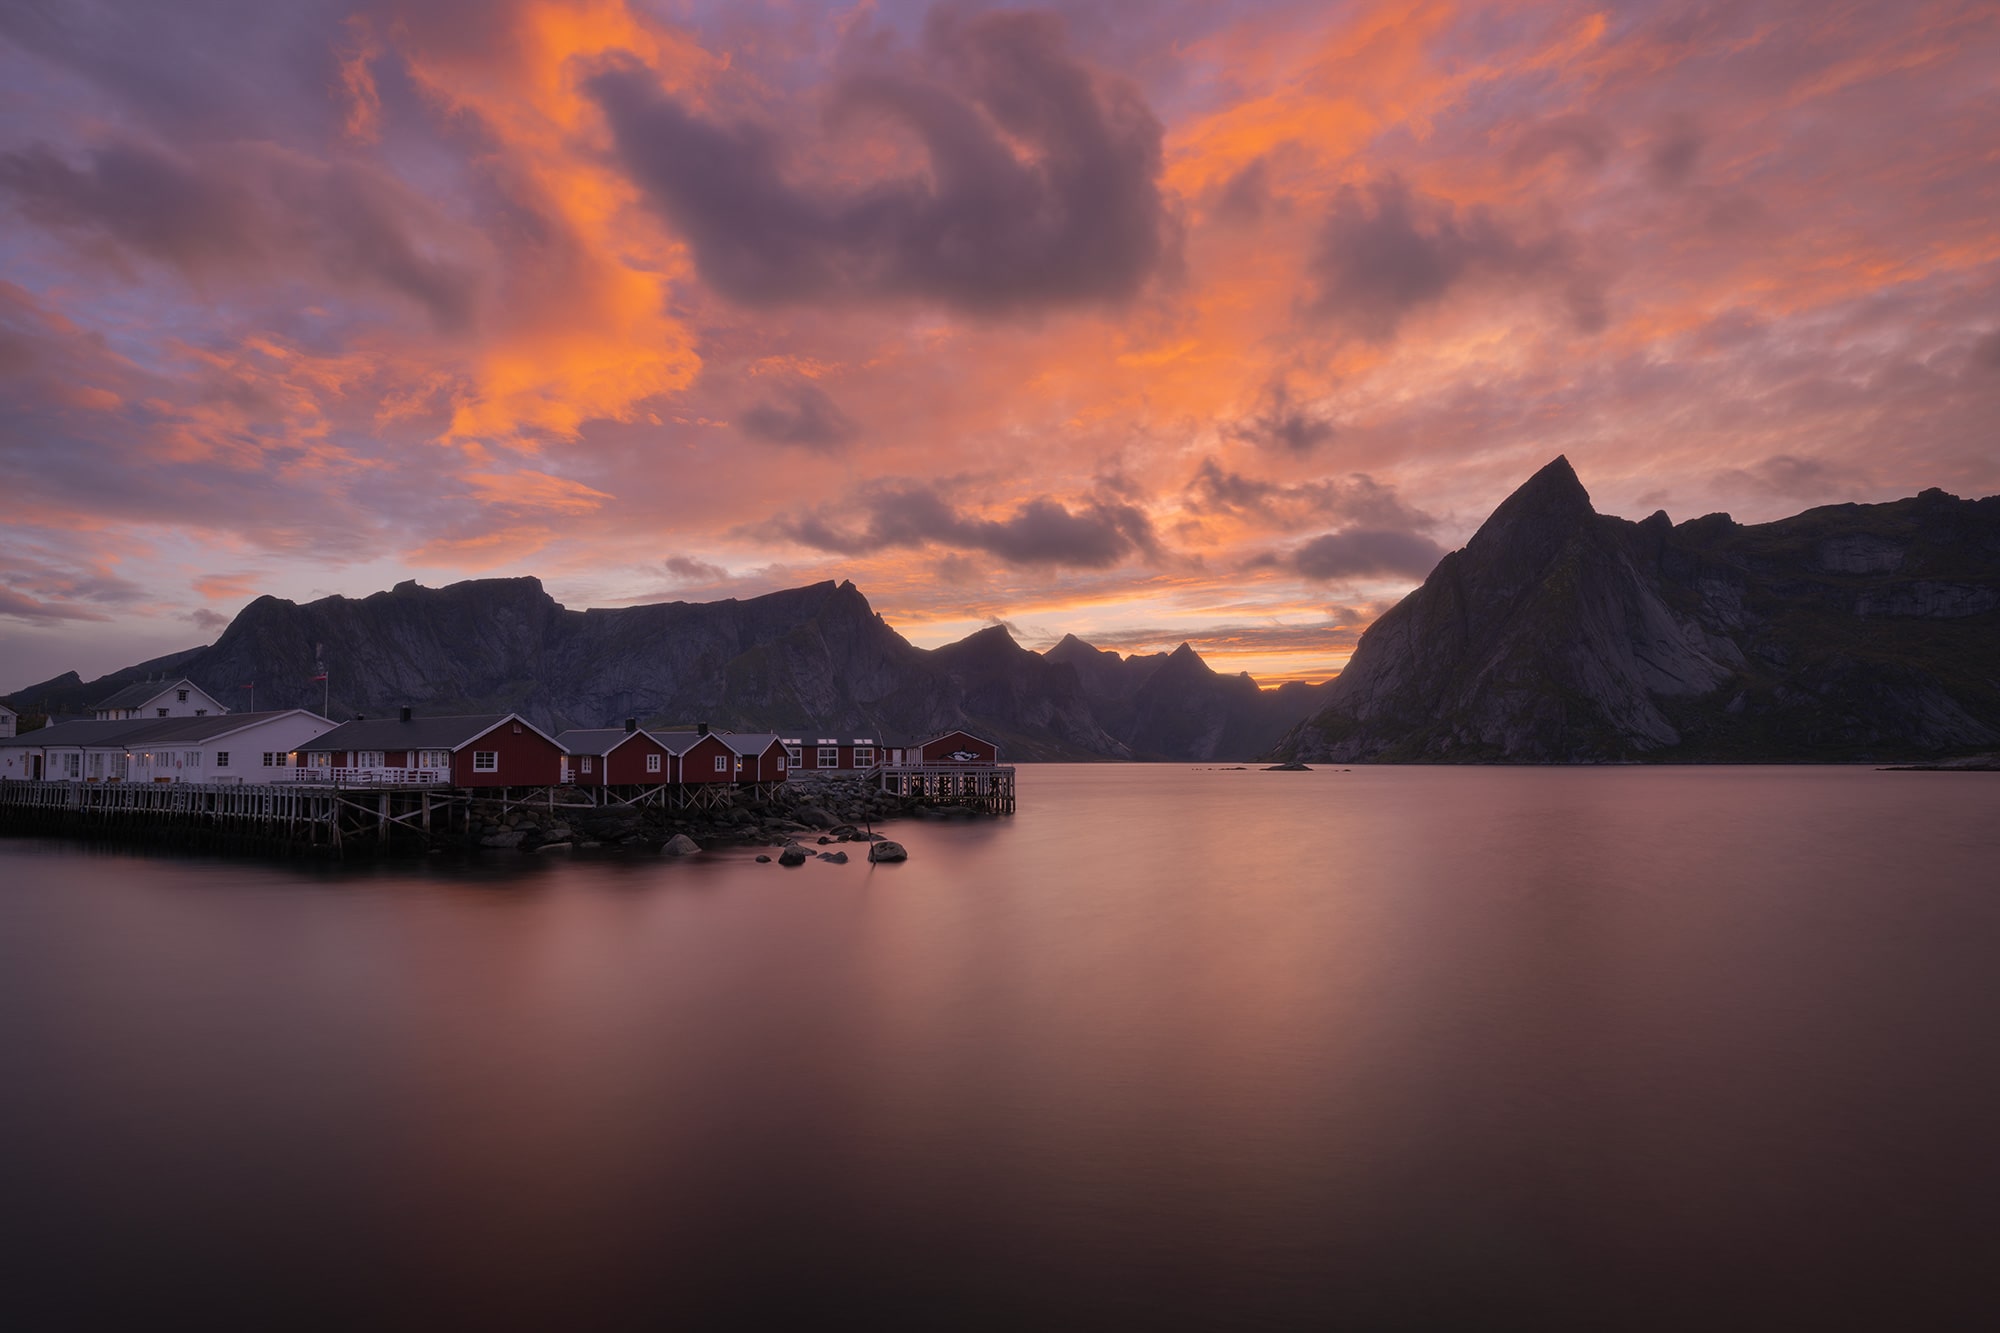
Day 7: Last full day in the Lofoten: Hamnøy, Sakrisøy, Sørvågen and Djupfjord
This was our last full day in the Lofoten, and we wanted to make the most of it. The southern part of the islands is probably the most iconic area, with places like Reine, Hamnøy and Sakrisøy, so we decided to spend the day exploring this area and photographing some of the most famous landscapes of the Lofoten.
Drone photography at Djupfjord and above Sørvågen
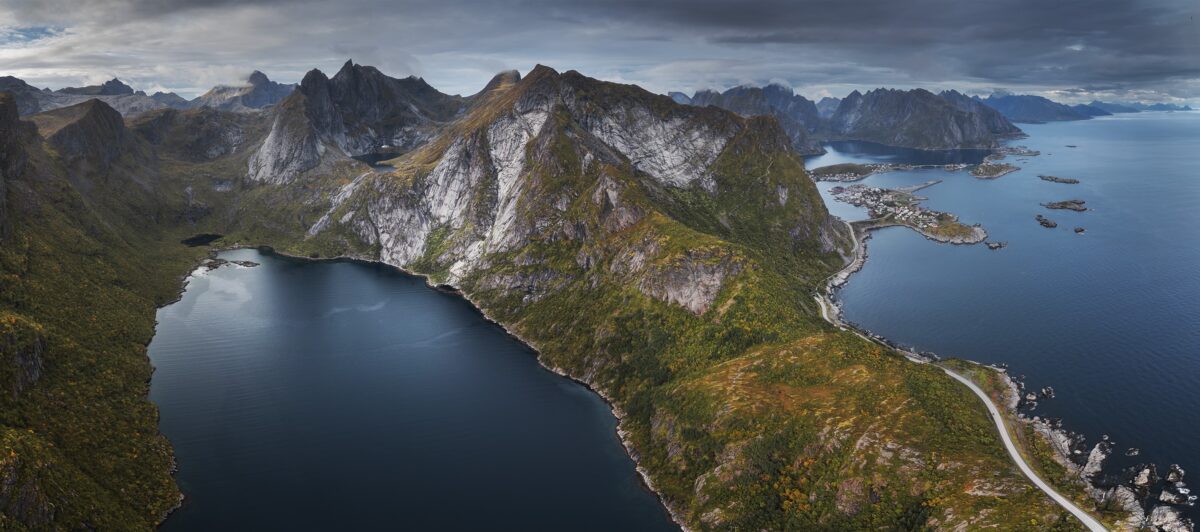
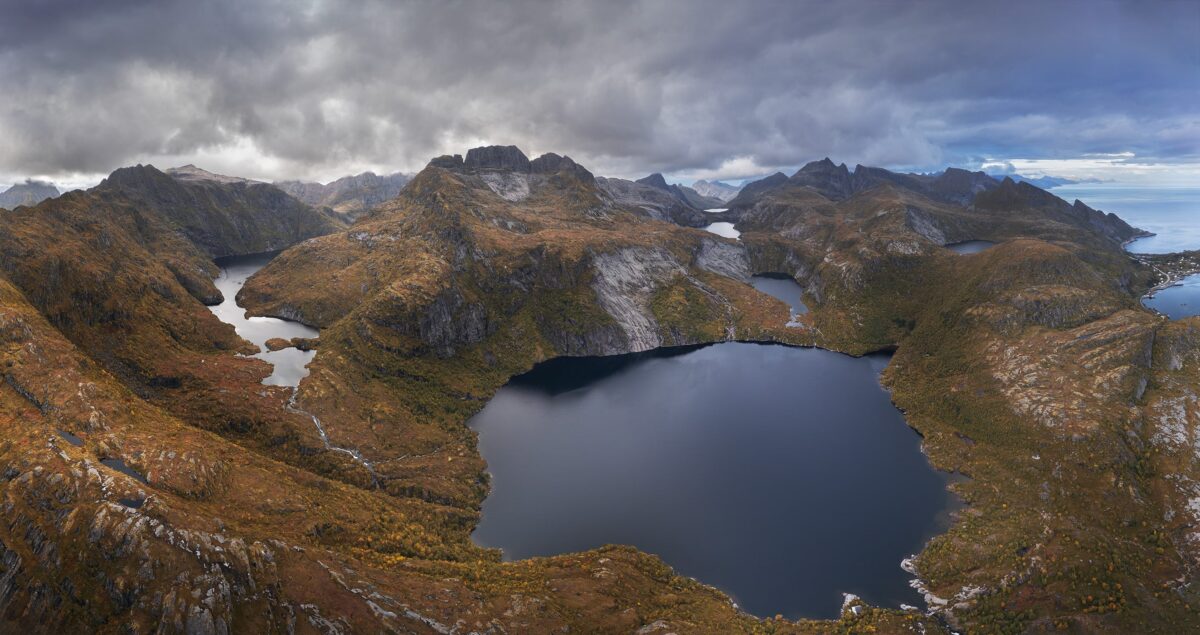
We did not spend too much time in Sakrisøy because the light was getting more and more interesting, and I wanted to try two drone panoramas: one above Djupfjord and one above the lake near Sørvågen. The sky was very dramatic, with clouds and rays of sunlight breaking through, and I did not want to miss those conditions.
From the parking lot near Djupfjord, you have a perfect place to launch a drone and you can reach the fjord in just a few seconds. I wanted to capture a wide panorama including the fjord, the mountains and Reine in the distance.
For the lake above Sørvågen, I recommend walking a bit away from the parking lot. First, you avoid the houses, and second, you often get a better signal. My DJI Mini sometimes struggles to connect, so I prefer launching the drone from a more open area.
➜ Djupfjord parking location
➜ Sørvågen waterfall parking location
Sunset in Hamnøy, one of the most iconic views in the Lofoten
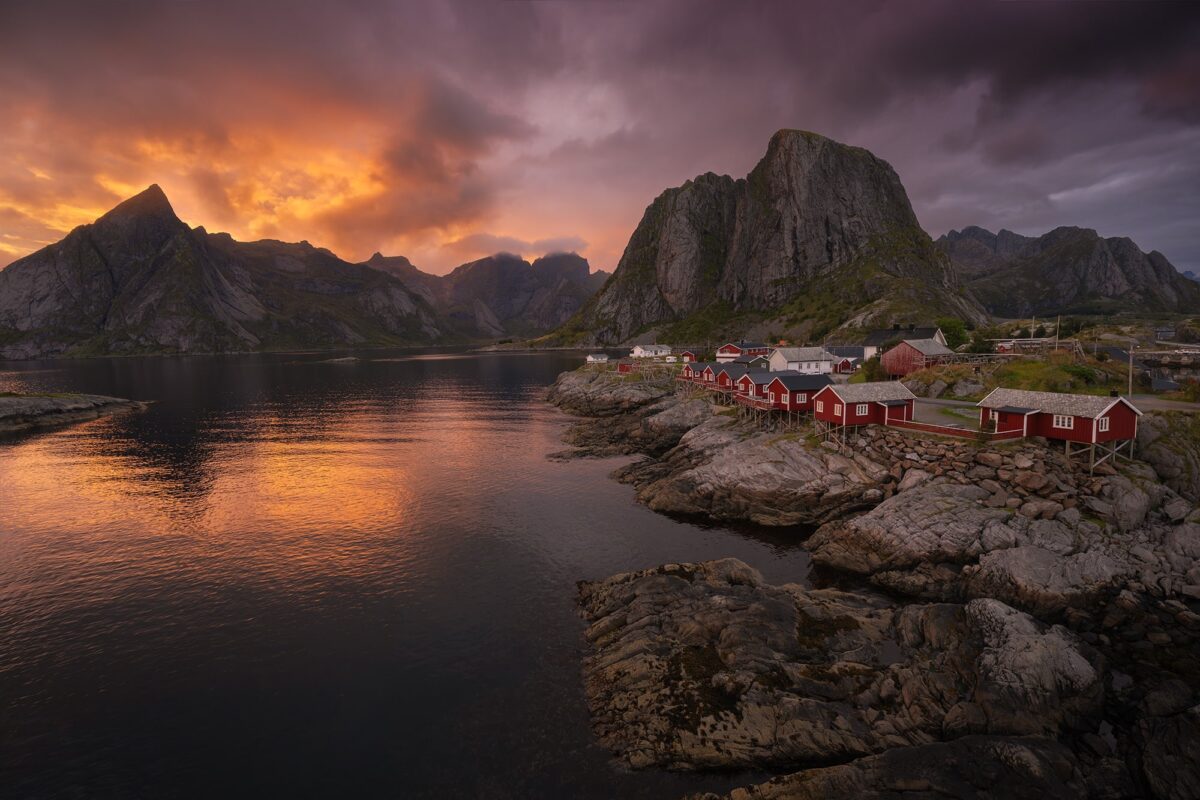
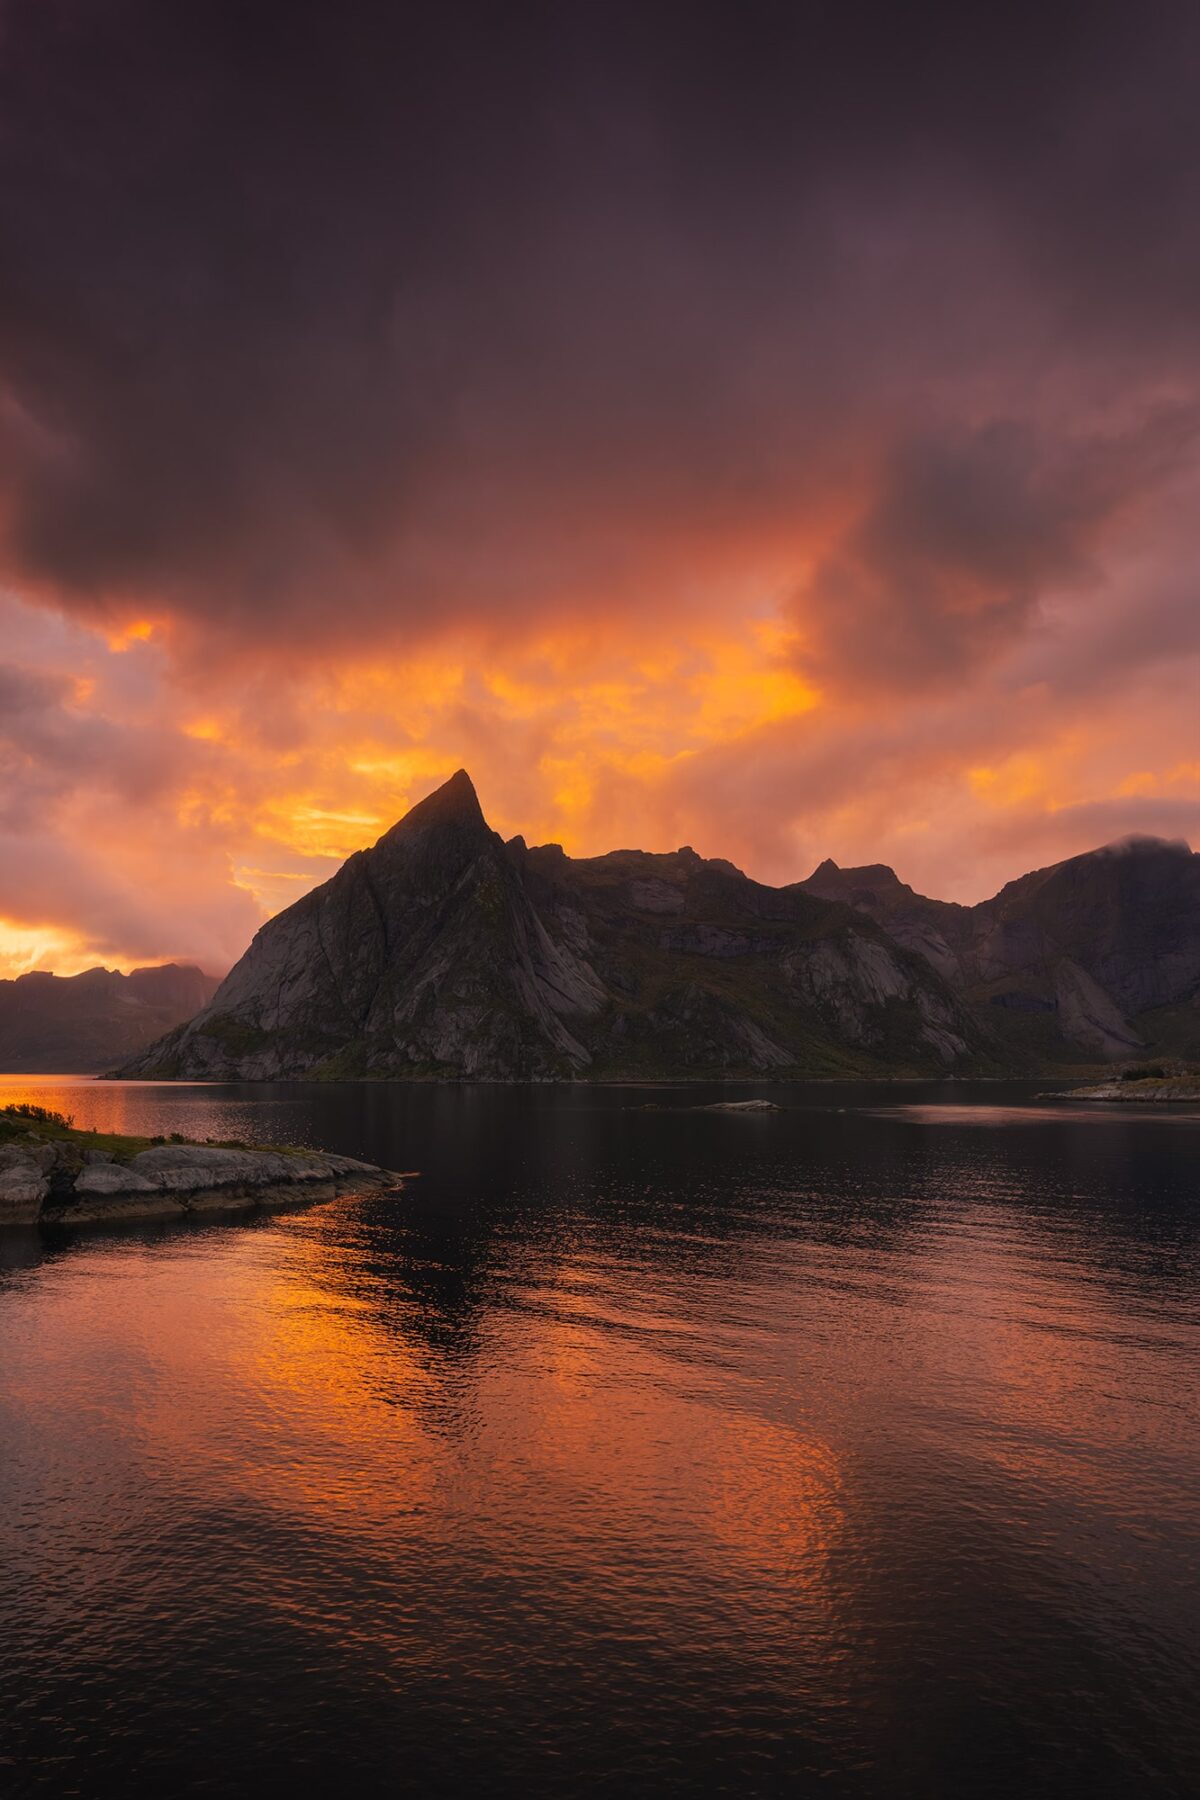
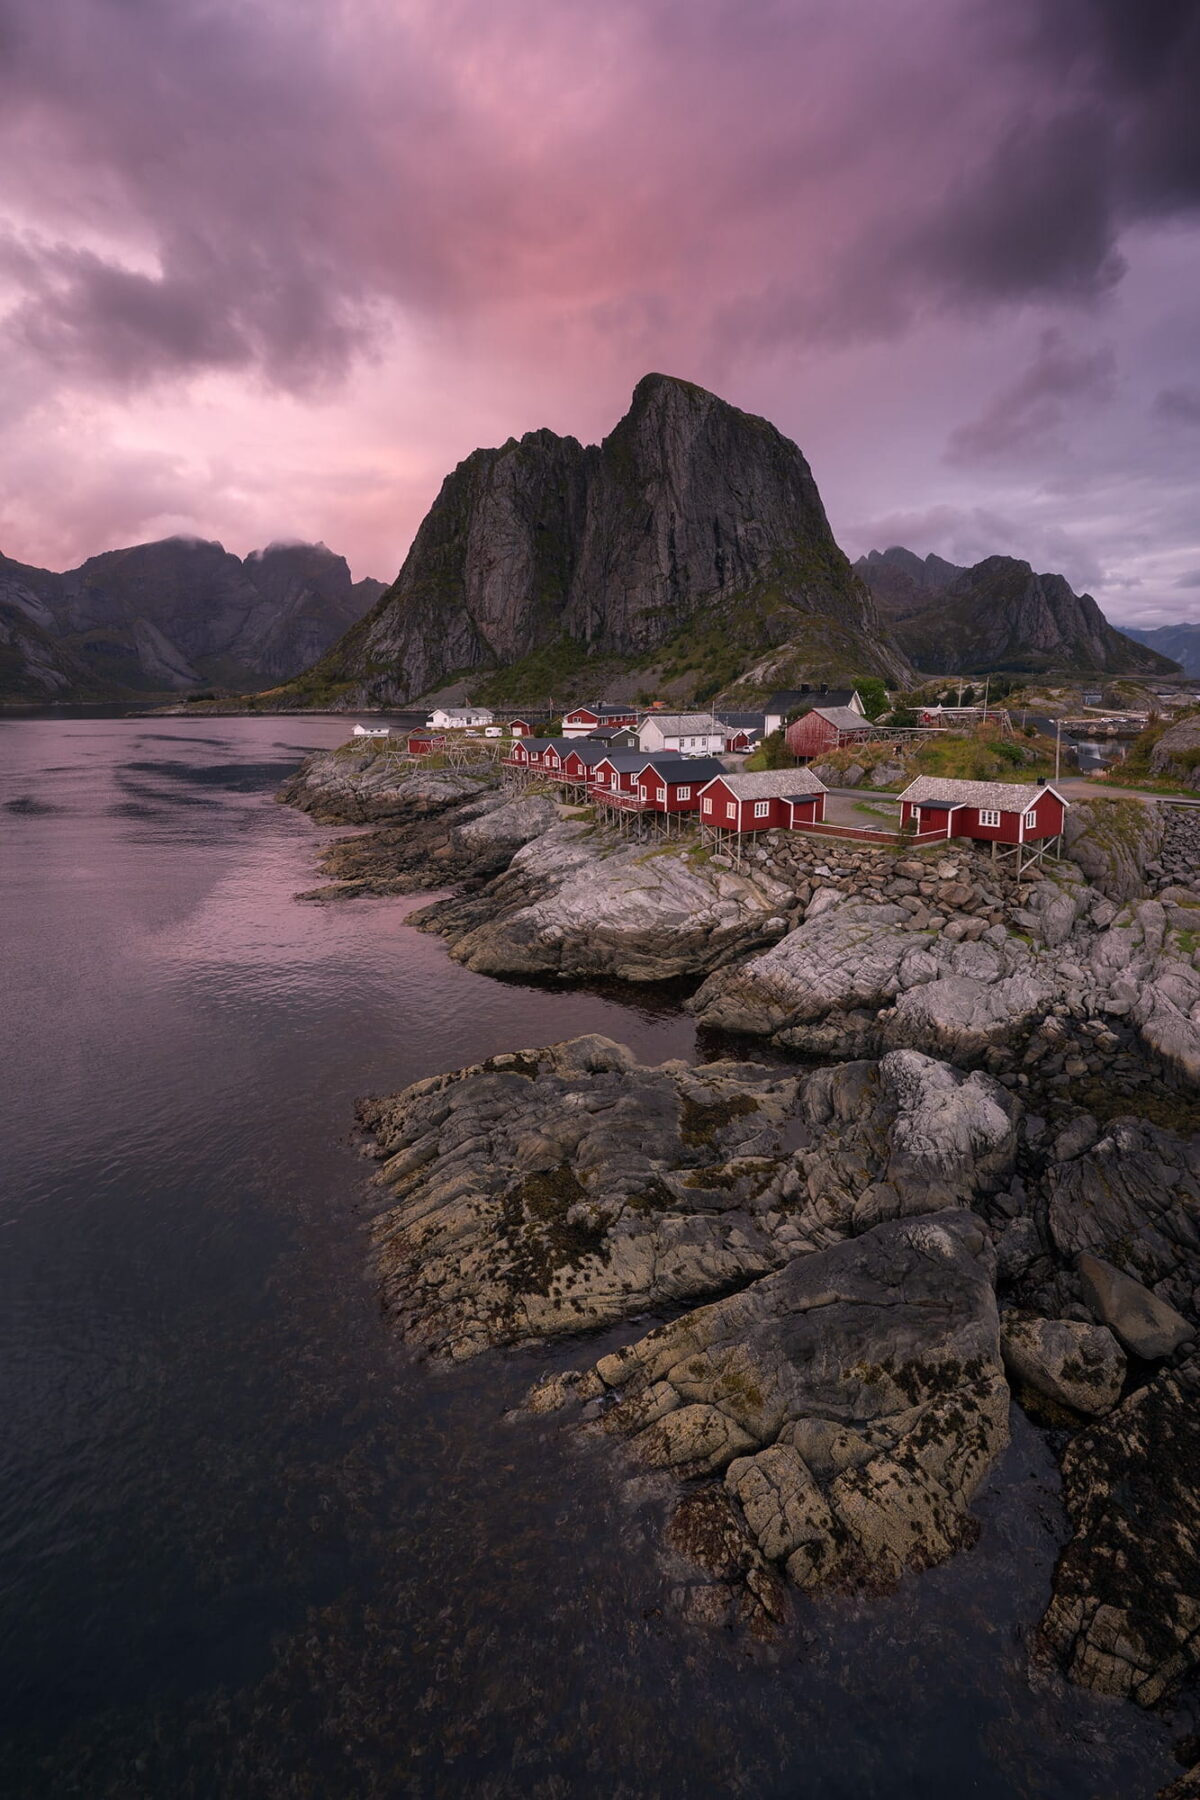
After the drone flights, the light kept getting better and better and the sunset looked very promising. Of course, I really wanted to see the famous view over Hamnøy from the bridge with golden and orange light. I know this is a very classic view of the Lofoten, but I have to admit, it is incredibly beautiful.
I use the Viewfindr app to check sunset conditions, and that evening I got very lucky. The sky was very cloudy, but at the last minute the clouds opened and the light came through. The sky was literally on fire, and you can imagine how excited I was.
Kindly note that the famous Hamnøy viewpoint is located on a bridge. I know it sounds obvious, but I saw many tourists standing on the road while there is actually a sidewalk. Cars can only pass when the light turns green, and if you block the road, you block traffic on a one-lane bridge. It is important to stay safe and respect the locals while taking photos.
➜ Hamnøy parking location
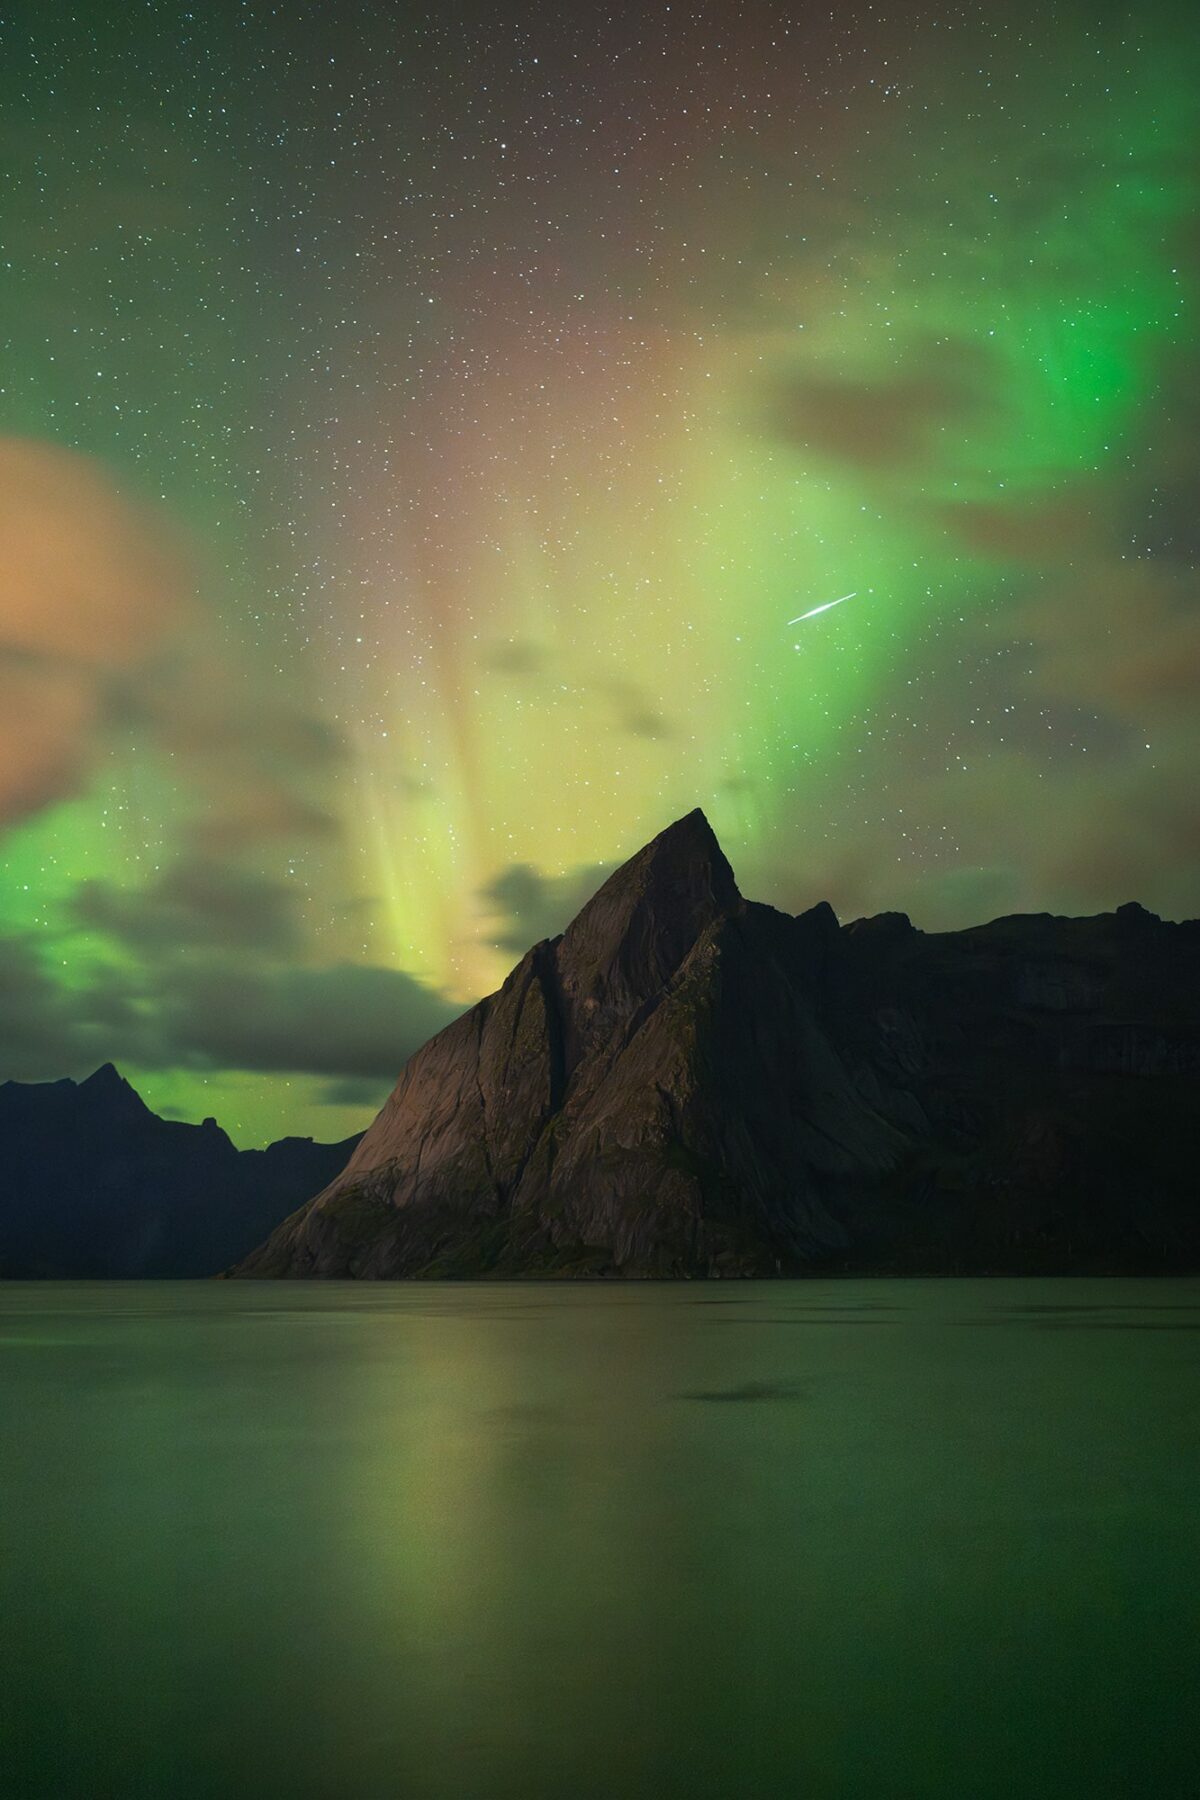
Northern lights in Hamnøy
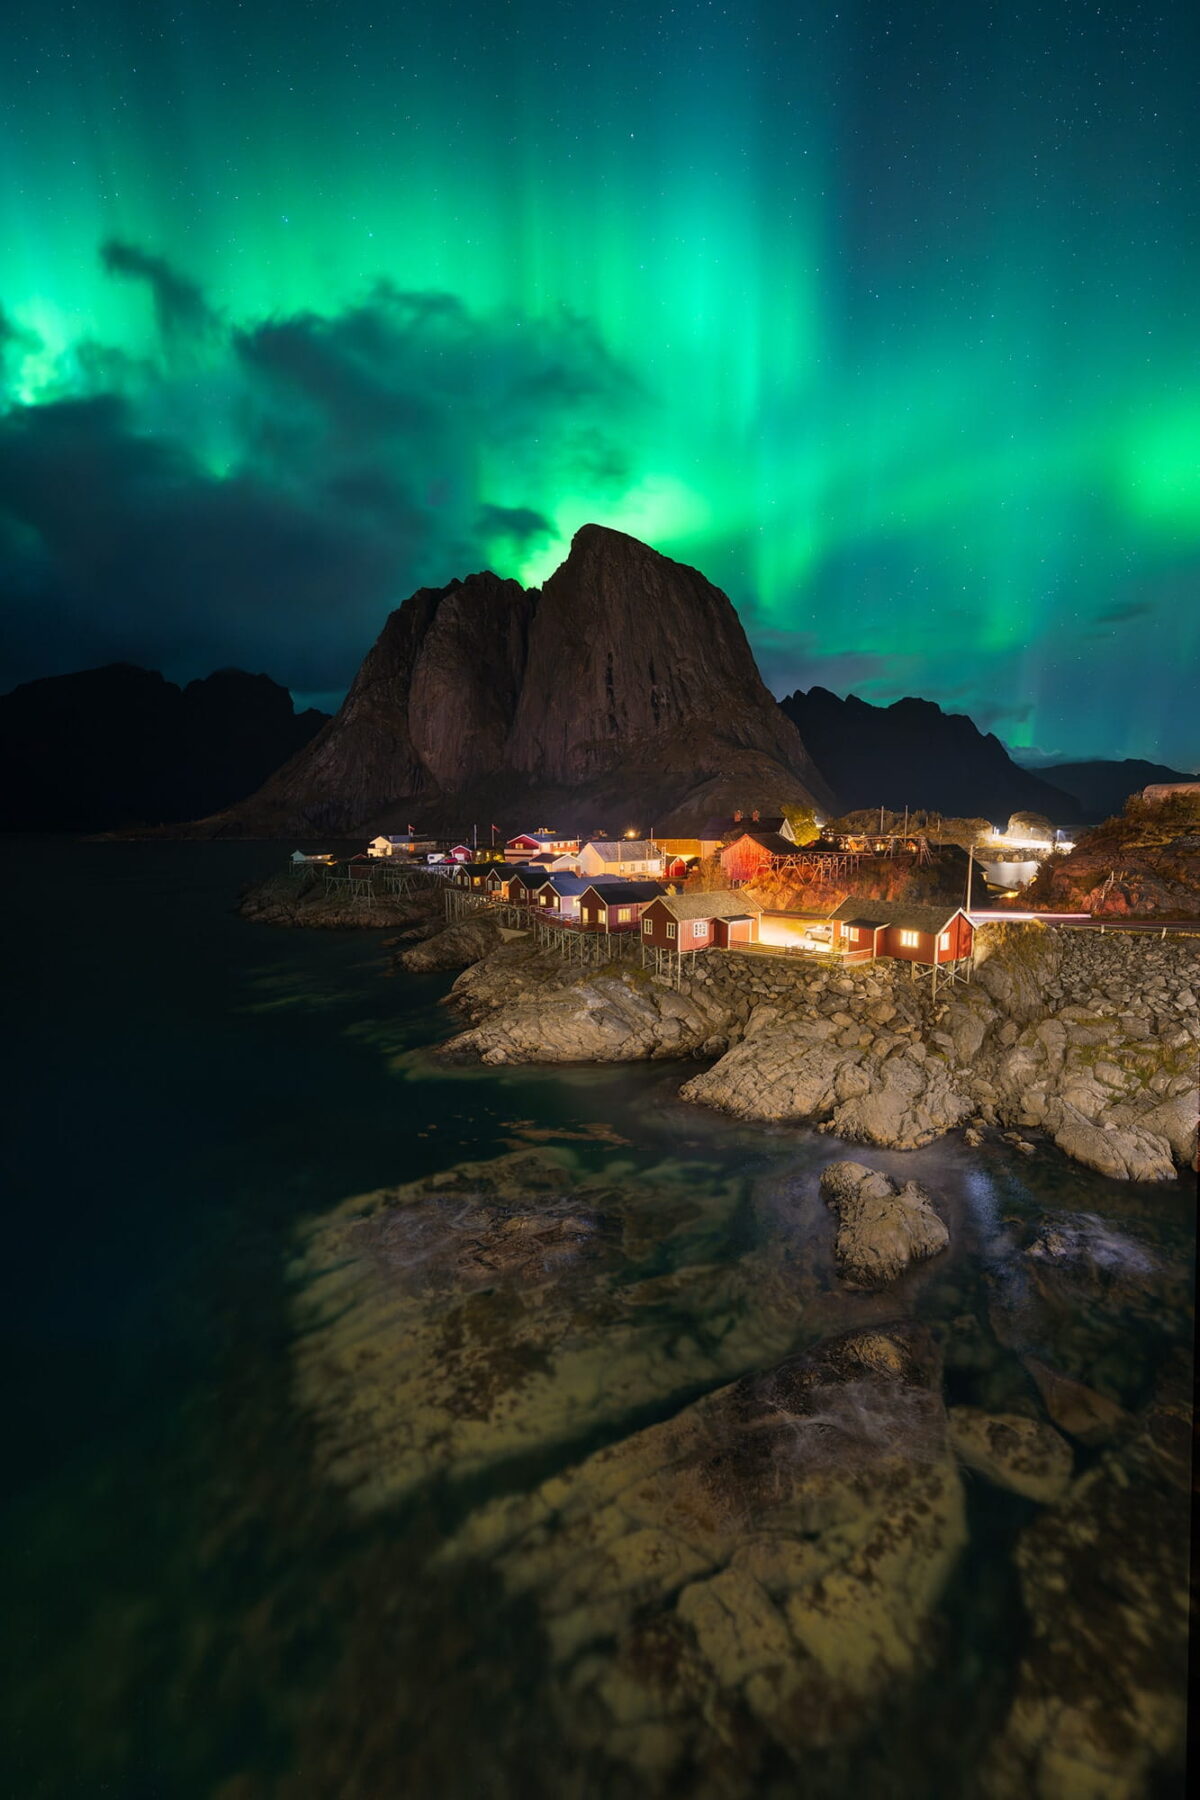
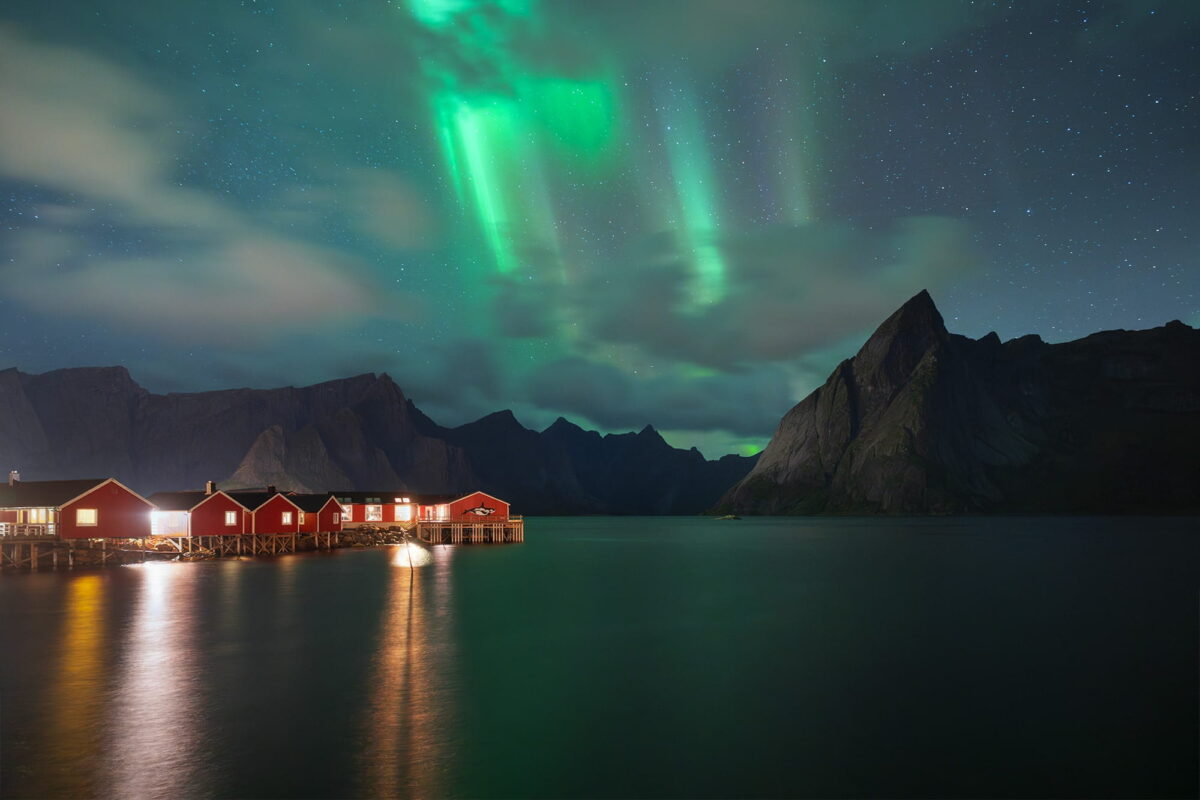
A few hours later, the sky cleared up and we were able to see the northern lights dancing above Hamnøy. My photographer friend gave me a few tips on where to go to get a different view over Hamnøy for this northern lights session, away from the main bridge.
I was so happy to capture the northern lights there, and I even got a shooting star in one of my images. It was the perfect way to end our last full day in the Lofoten.
Day 8: Ferry back to Bodø and flight home
The next morning, we took the ferry back from Moskenes to Bodø. After one last crossing between the mountains and the sea, we drove to the airport and flew back home.
Even though the trip was relatively short, it felt incredibly rich. In just a few days, we experienced soft autumn light, dramatic weather, quiet beaches, iconic fishing villages, and several northern lights displays. It was the kind of trip that leaves you tired, inspired, and already thinking about coming back.
Final thoughts
The Lofoten Islands are a place I could return to again and again. With every change in light, weather, tide or season, they offer something new to see and feel. Whether you are drawn to dramatic beaches, colorful fishing villages, mountain viewpoints or northern lights, this part of Norway is an endless source of inspiration for landscape photography.
What I loved most during this trip was not only the beauty of the famous locations, but also the constant feeling that the landscape was alive. The weather changed quickly, the light never stayed the same for long, and even places we visited more than once looked completely different each time.
And most of all, enjoy the moment. Happy shooting.
Published on April 3, 2026 by Jennifer Esseiva