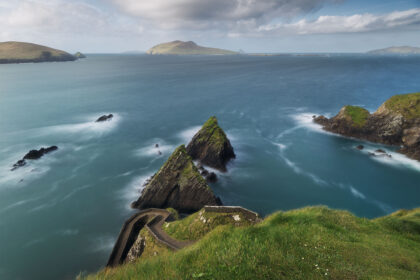
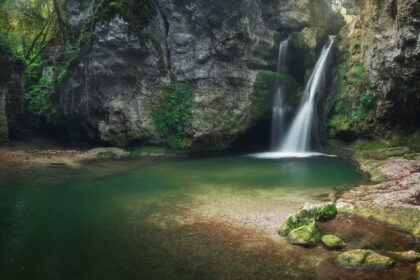
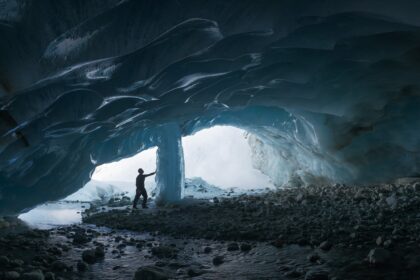
Landscape photography in the Azores is just wonderful. The island of Terceira, also known as “Lilac Island”, is part of the Portuguese archipelago of the Azores, in the middle of the Atlantic Ocean. Terceira’s varied landscapes include seashores, forests, patchwork fields and volcanoes.
This article introduces you to my 6 favourite photo spots and explains how I took these landscape photographs.
Miradouro da Serra do Cume
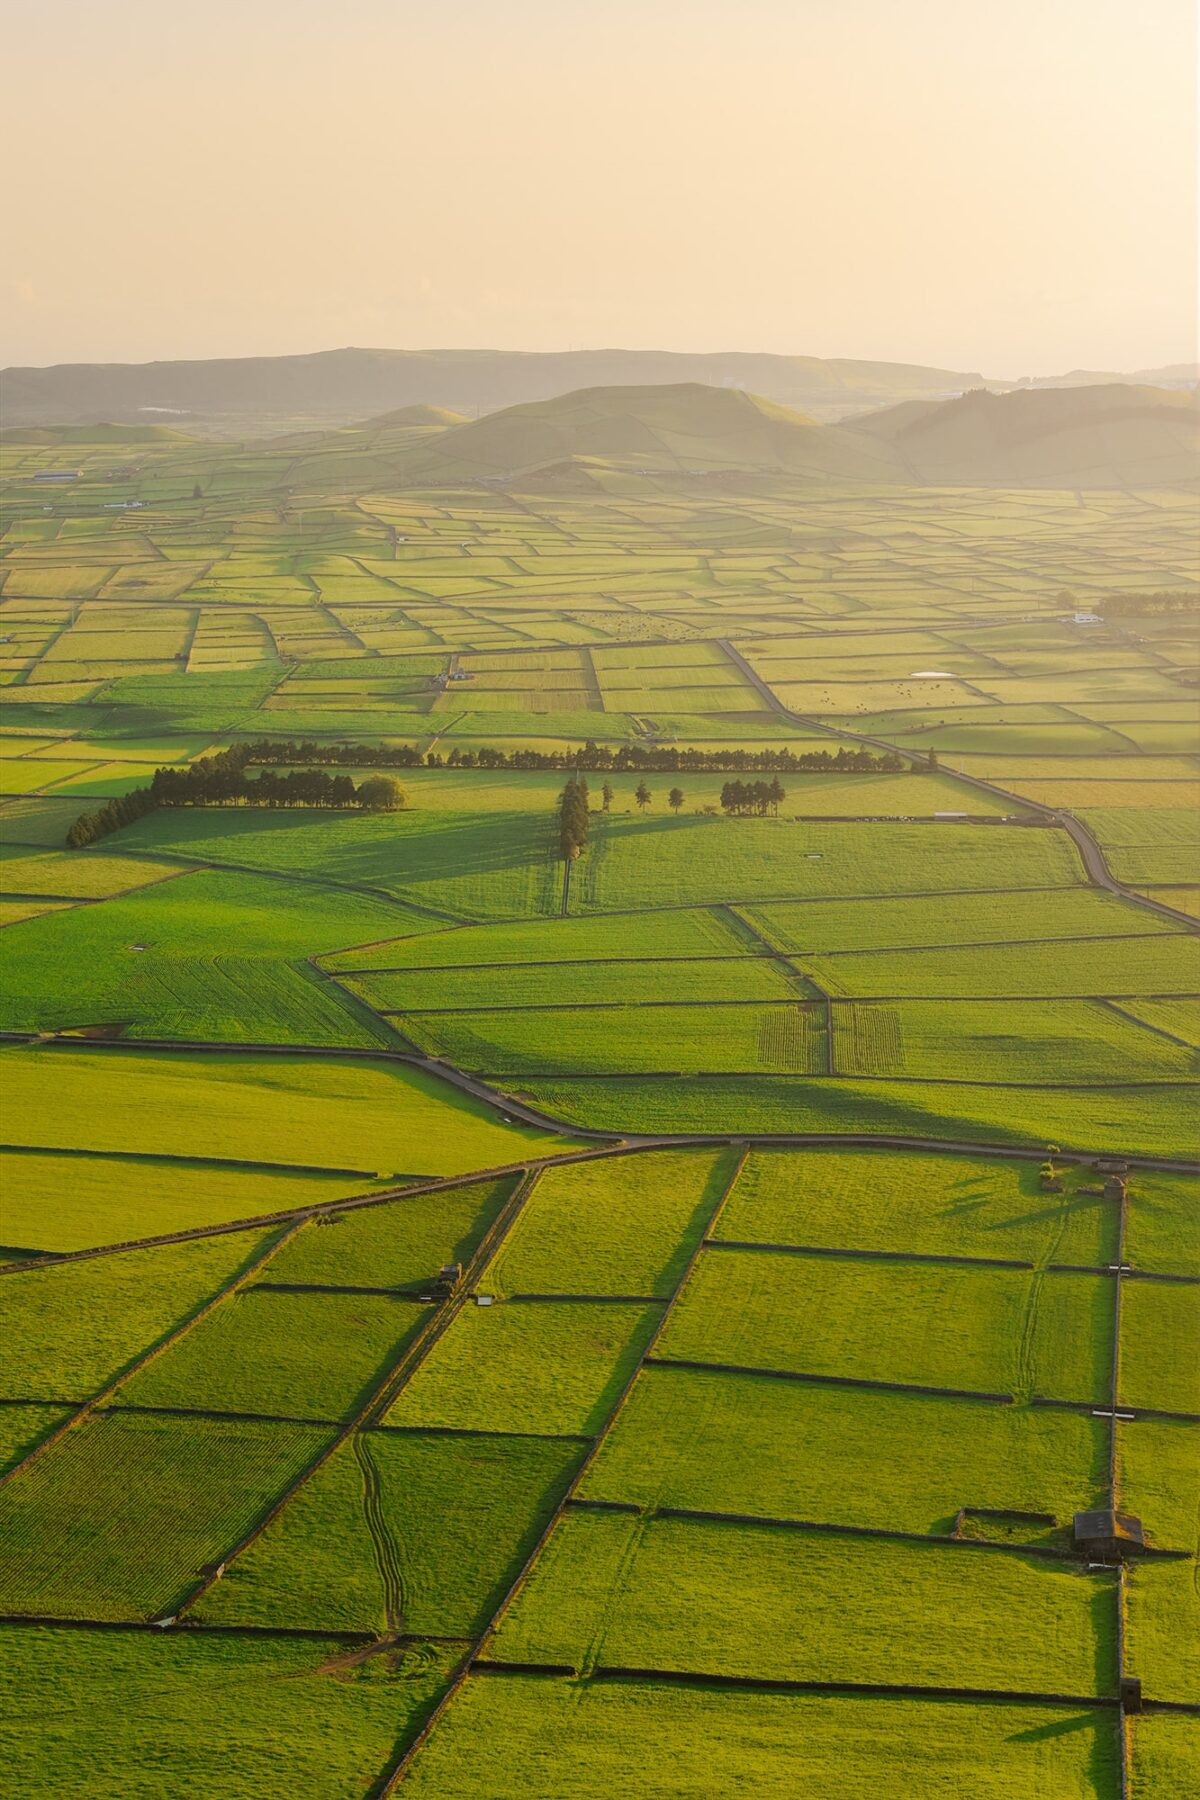
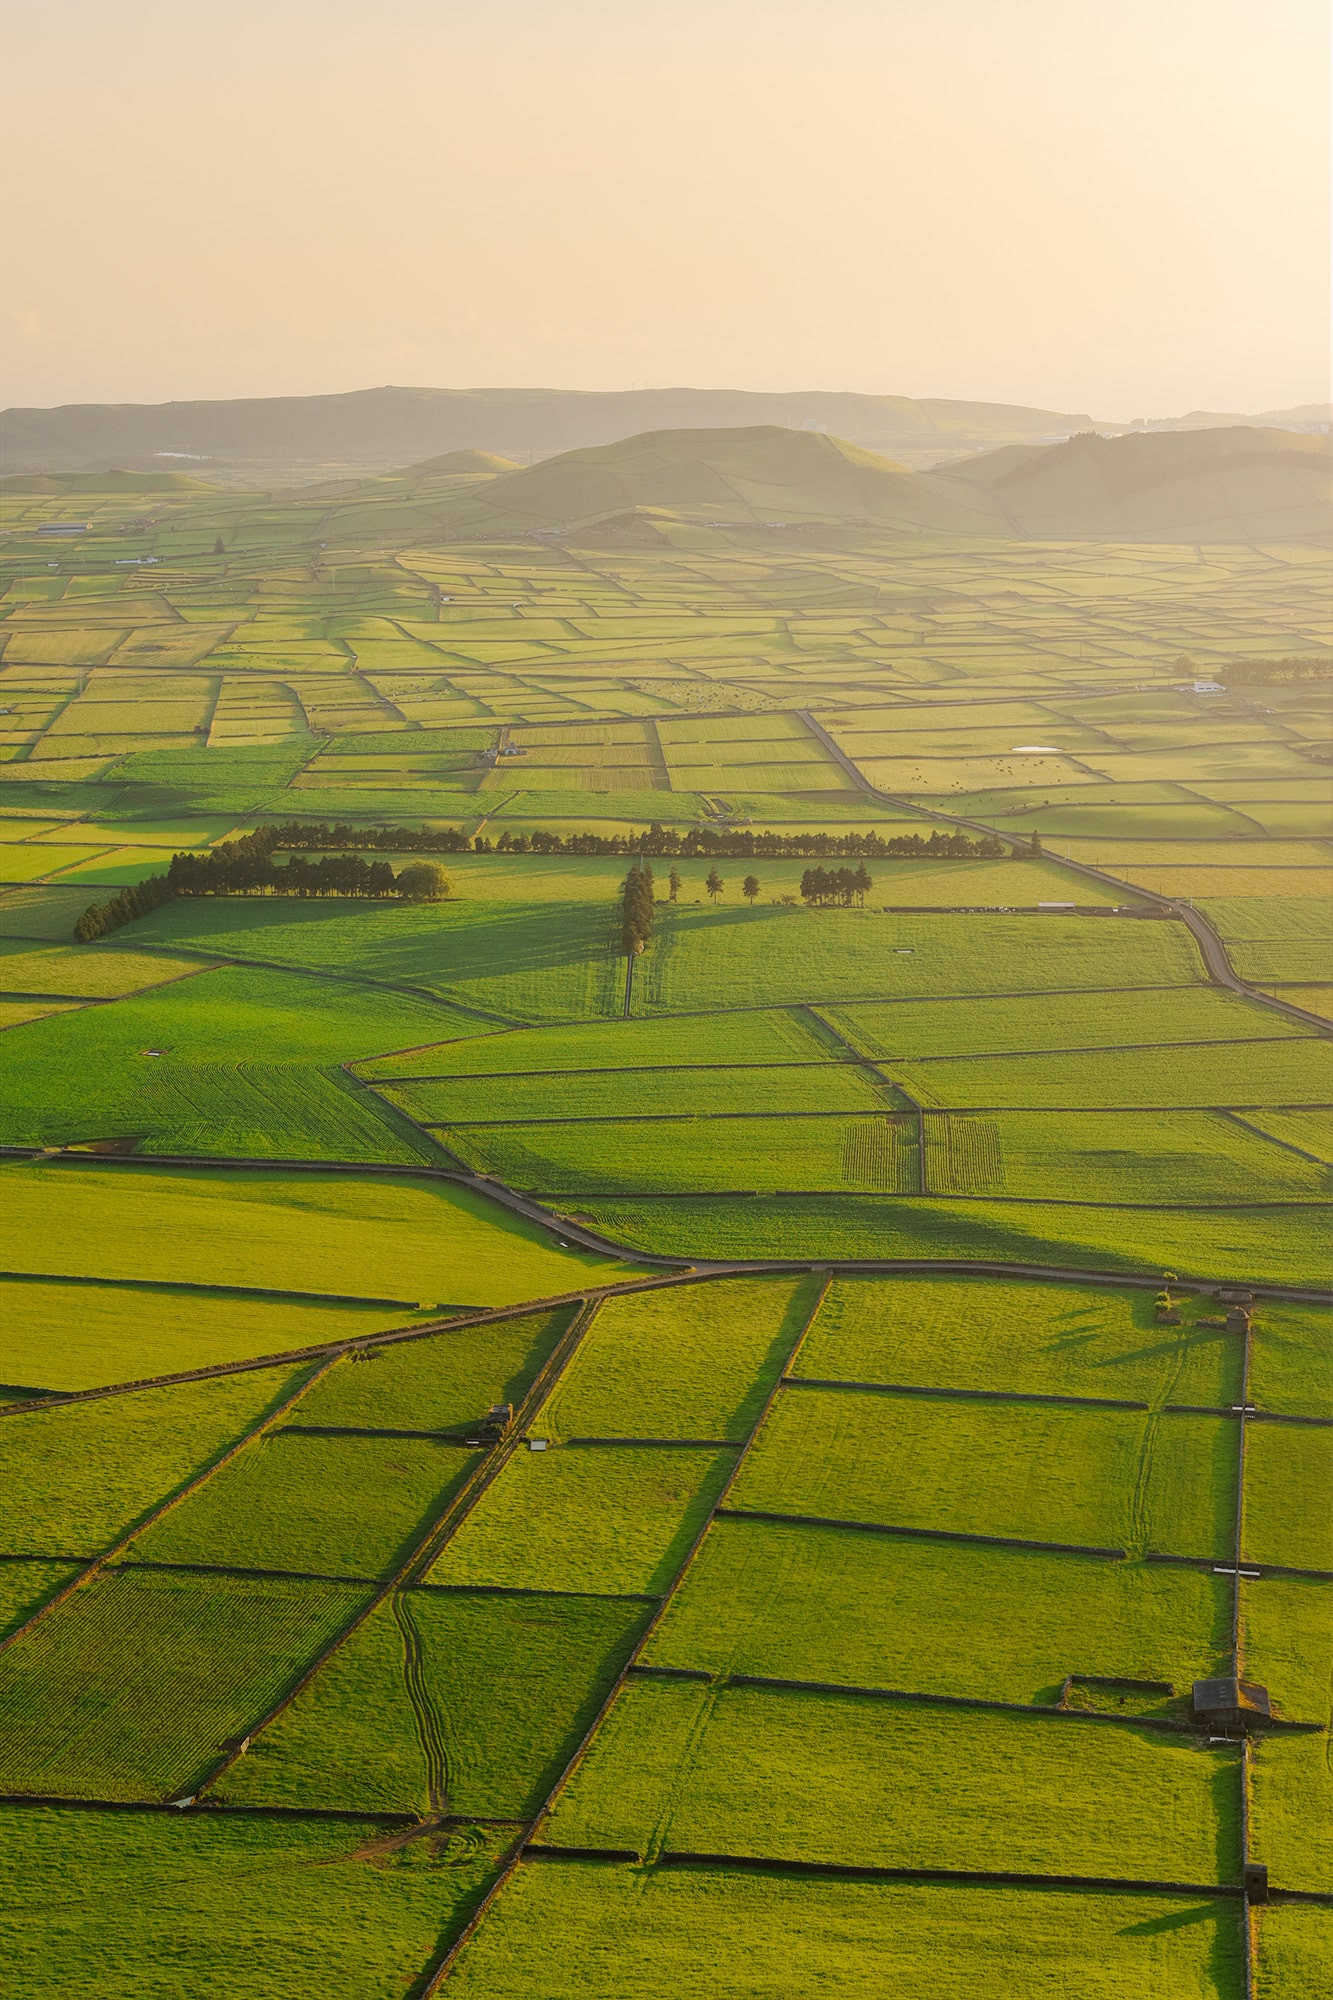
The Serra do Cume is the most famous viewpoint on the island of Terceira for landscape photography. It overlooks the “patchwork” (green pastures) and the town of Praia da Vitória.
How to get there
The Mirador de La Serra do Cume is easily accessible by car. You can park just a few metres from the platform. However, the site is very popular, so don’t hesitate to come a little early to make sure you can get a good view.
How I took this photo
In itself, this photo is not difficult to take. It was just a challenge to be able to see a sunset from this spot. I had to come back 3 times to take this photo. In the Azores, fog forms very easily at altitude. I advise you to check the weather forecast before climbing. Just because it’s sunny where you are doesn’t mean it’s sunny everywhere on the island.
My gear
Nikon D810, Nikkor 24-70mm f/2.8
Camera settings
ISO 250, f/13, 1/25s
Mistérios Negros
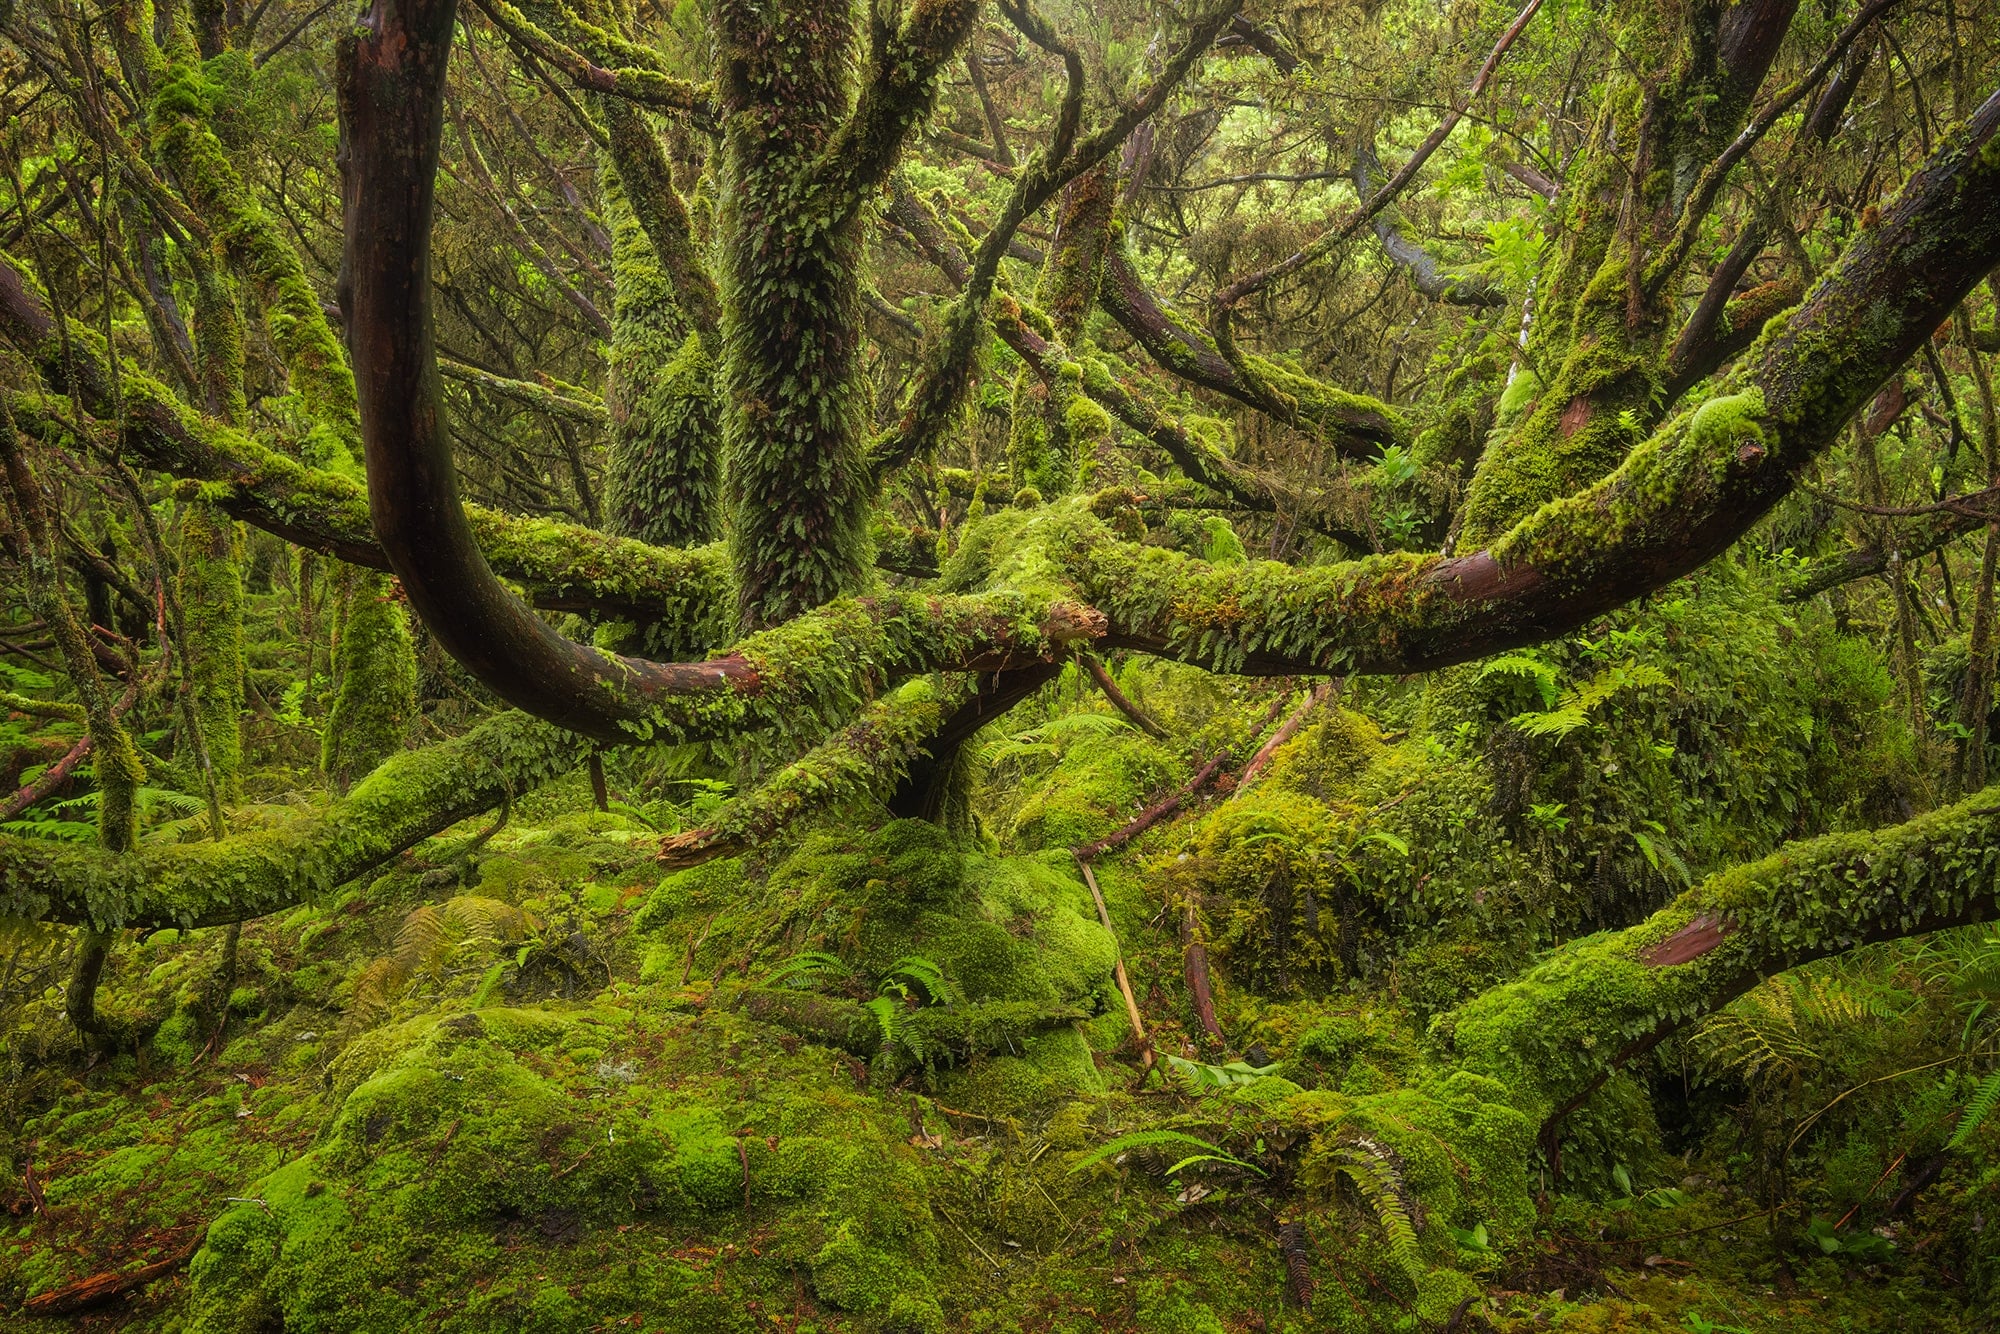
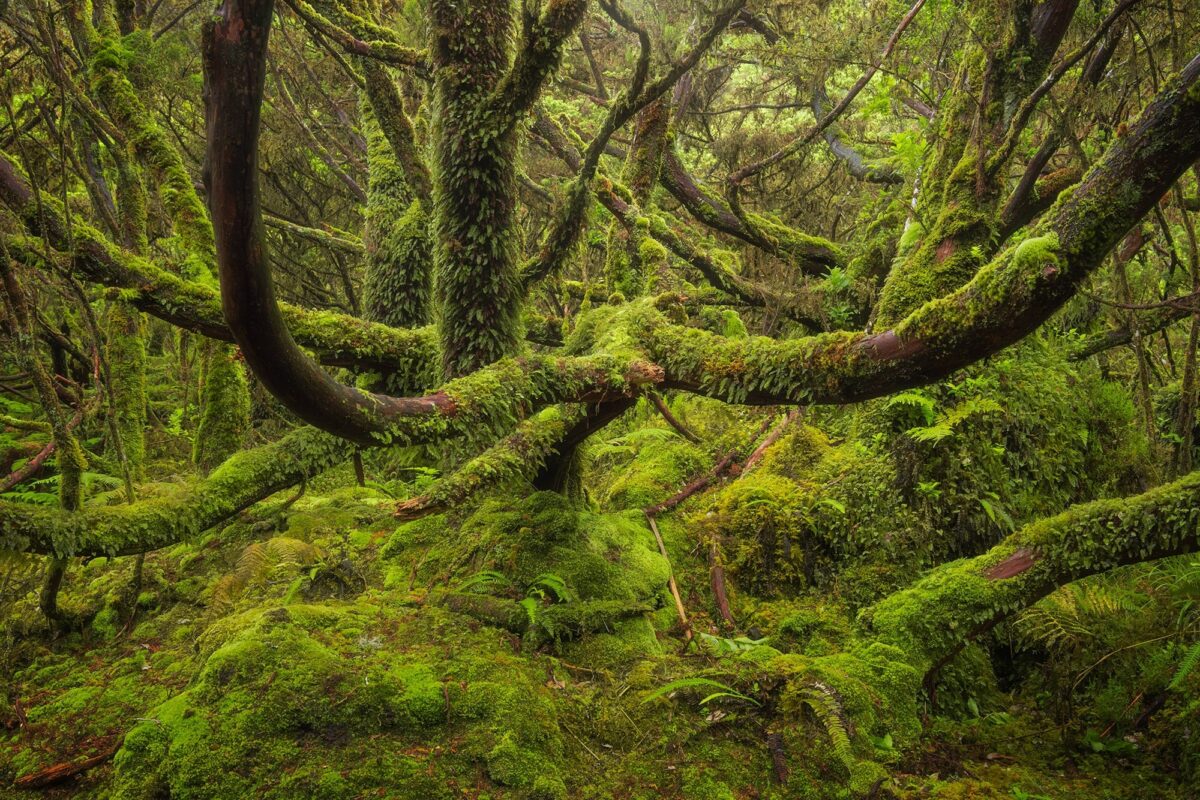
Mistérios Negros is a hiking route through Terceira’s indigenous forest and is perfect for moody landscape photography. Along the way, you’ll encounter a variety of landscapes, including lakes, dense woods, meadows, volcanic rocks and pine forests.
How to get there
This is a fairly strenuous walk of around 5km. You’ll find the start of the trail just beside Lake Negro and around 100 metres after the Gruta do Natal.
How I took this photo
This part of the walk is fairly narrow and the path is signposted to prevent us from going too far. As a result, I couldn’t get far enough away to take a photo of the whole tree. My aim for this photo was to give the impression that the tree is very large and alive. I wanted as much sharpness as possible throughout the photograph. So I took several photos focusing on different parts. I used Photoshop to combine all the photos using the “auto-blend layers” option.
My gear
Nikon D810, Nikkor 24-70mm f/2.8, polarising filter
Camera settings
ISO 320, f/11, 1/6s
Pico Dona Joana
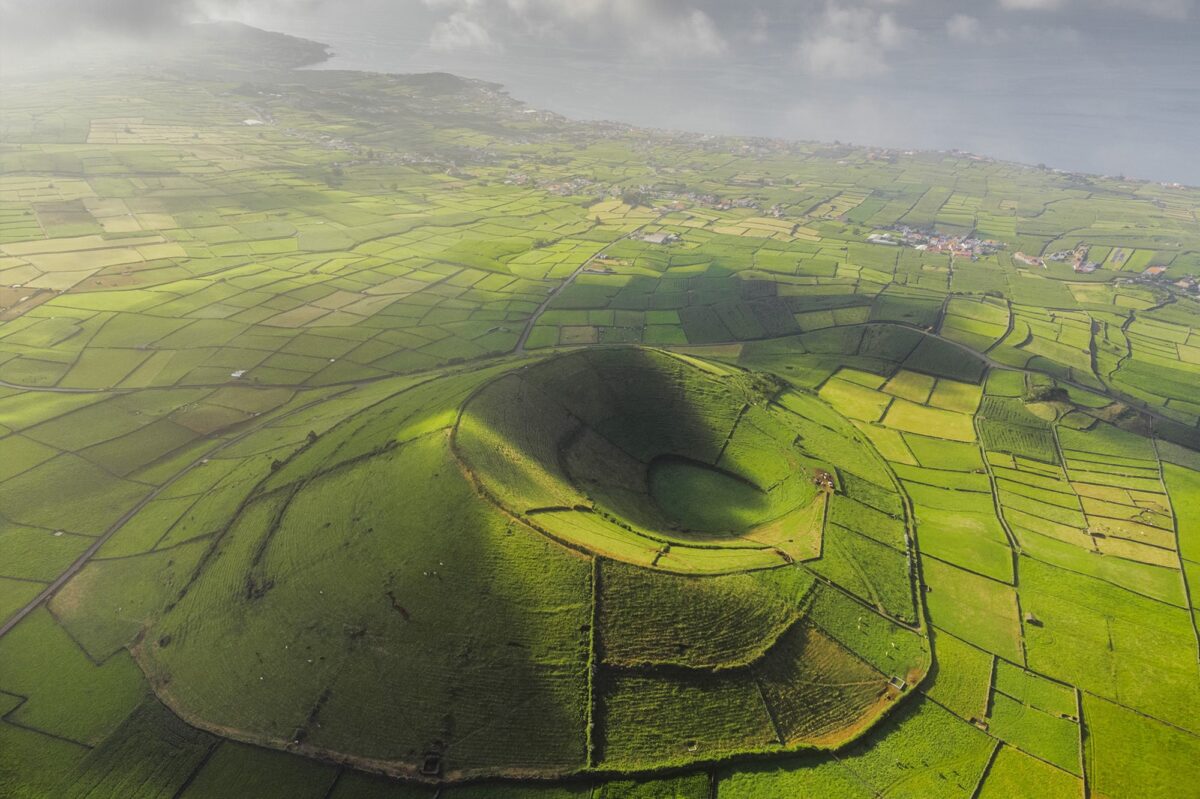
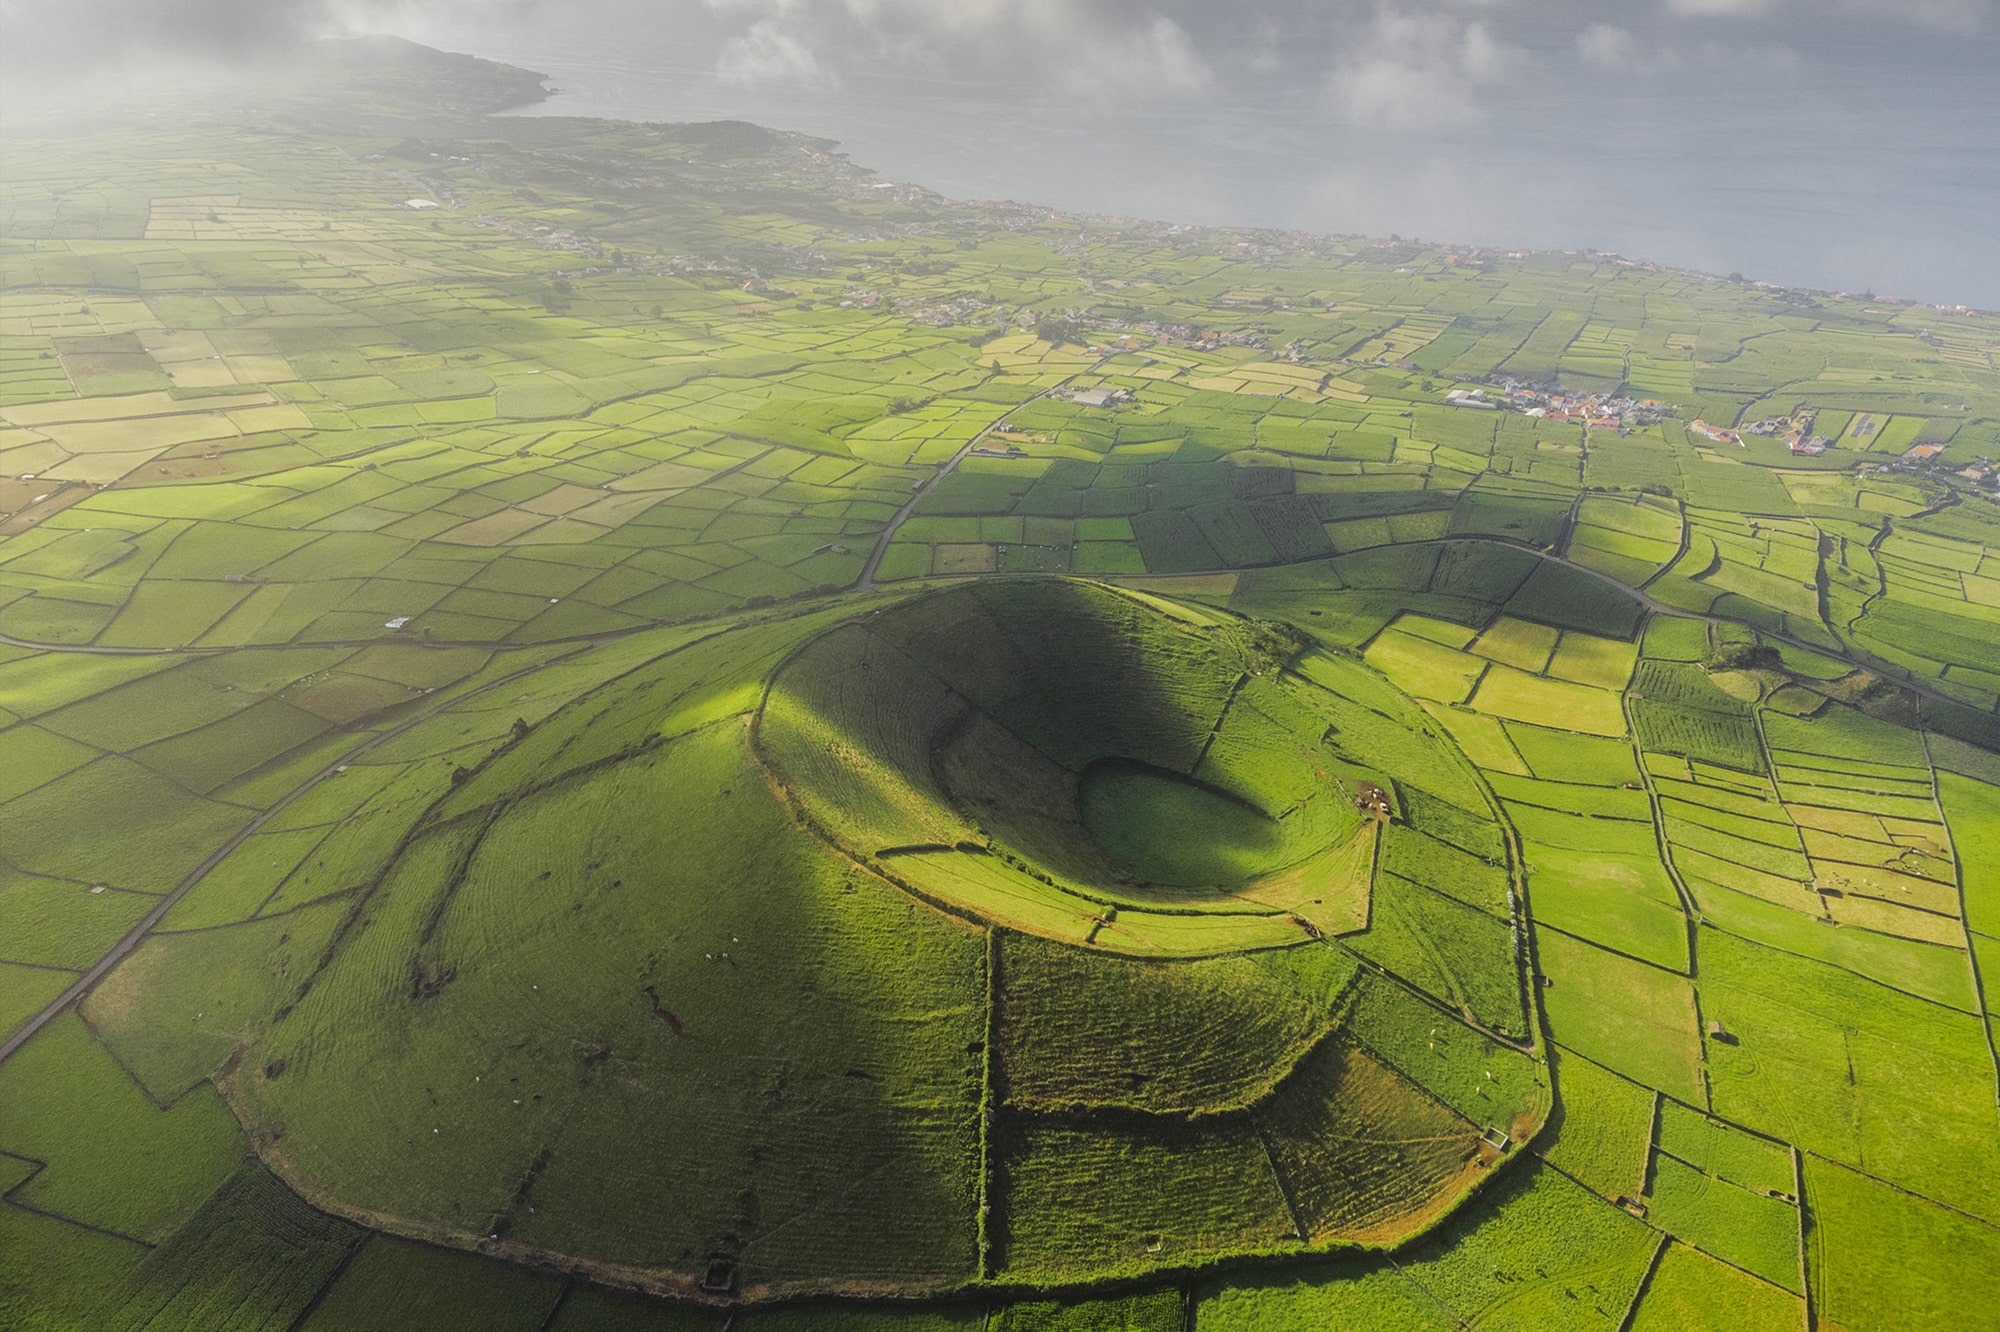
Pico Dona Joana is a small volcano in the south-east of the island of Terceira. Perfect for aerial photography, it is located in the “patchwork” region, also known as green pasture. While researching the Azores, I saw several photos of this place from the air and I wanted to give it a try.
How to get there
There are several small roads passing around Pico Dona Joana. All you need to do is find a place to park your car that doesn’t obstruct traffic or access to the meadows. Once you’re settled in, all you have to do is take out your drone.
How I took this photo
Before setting off, I checked the weather forecast carefully. Personally, I wanted to take my photo in the morning sunlight. It’s up to you whether you prefer sunrise, cloudy or evening light. I went two mornings in a row, because I wanted a few clouds to give the sky more texture.
Once you’re there, all you have to do is get the drone airborne and look for the right composition. In this particular case, I think the view from the north looking south-east is the best, but that’s very personal.
My gear
DJI mini 2
Camera settings
ISO 100, f/2.8, 1/1000s
Miradouro de Alagoa (Praia da Vitória)
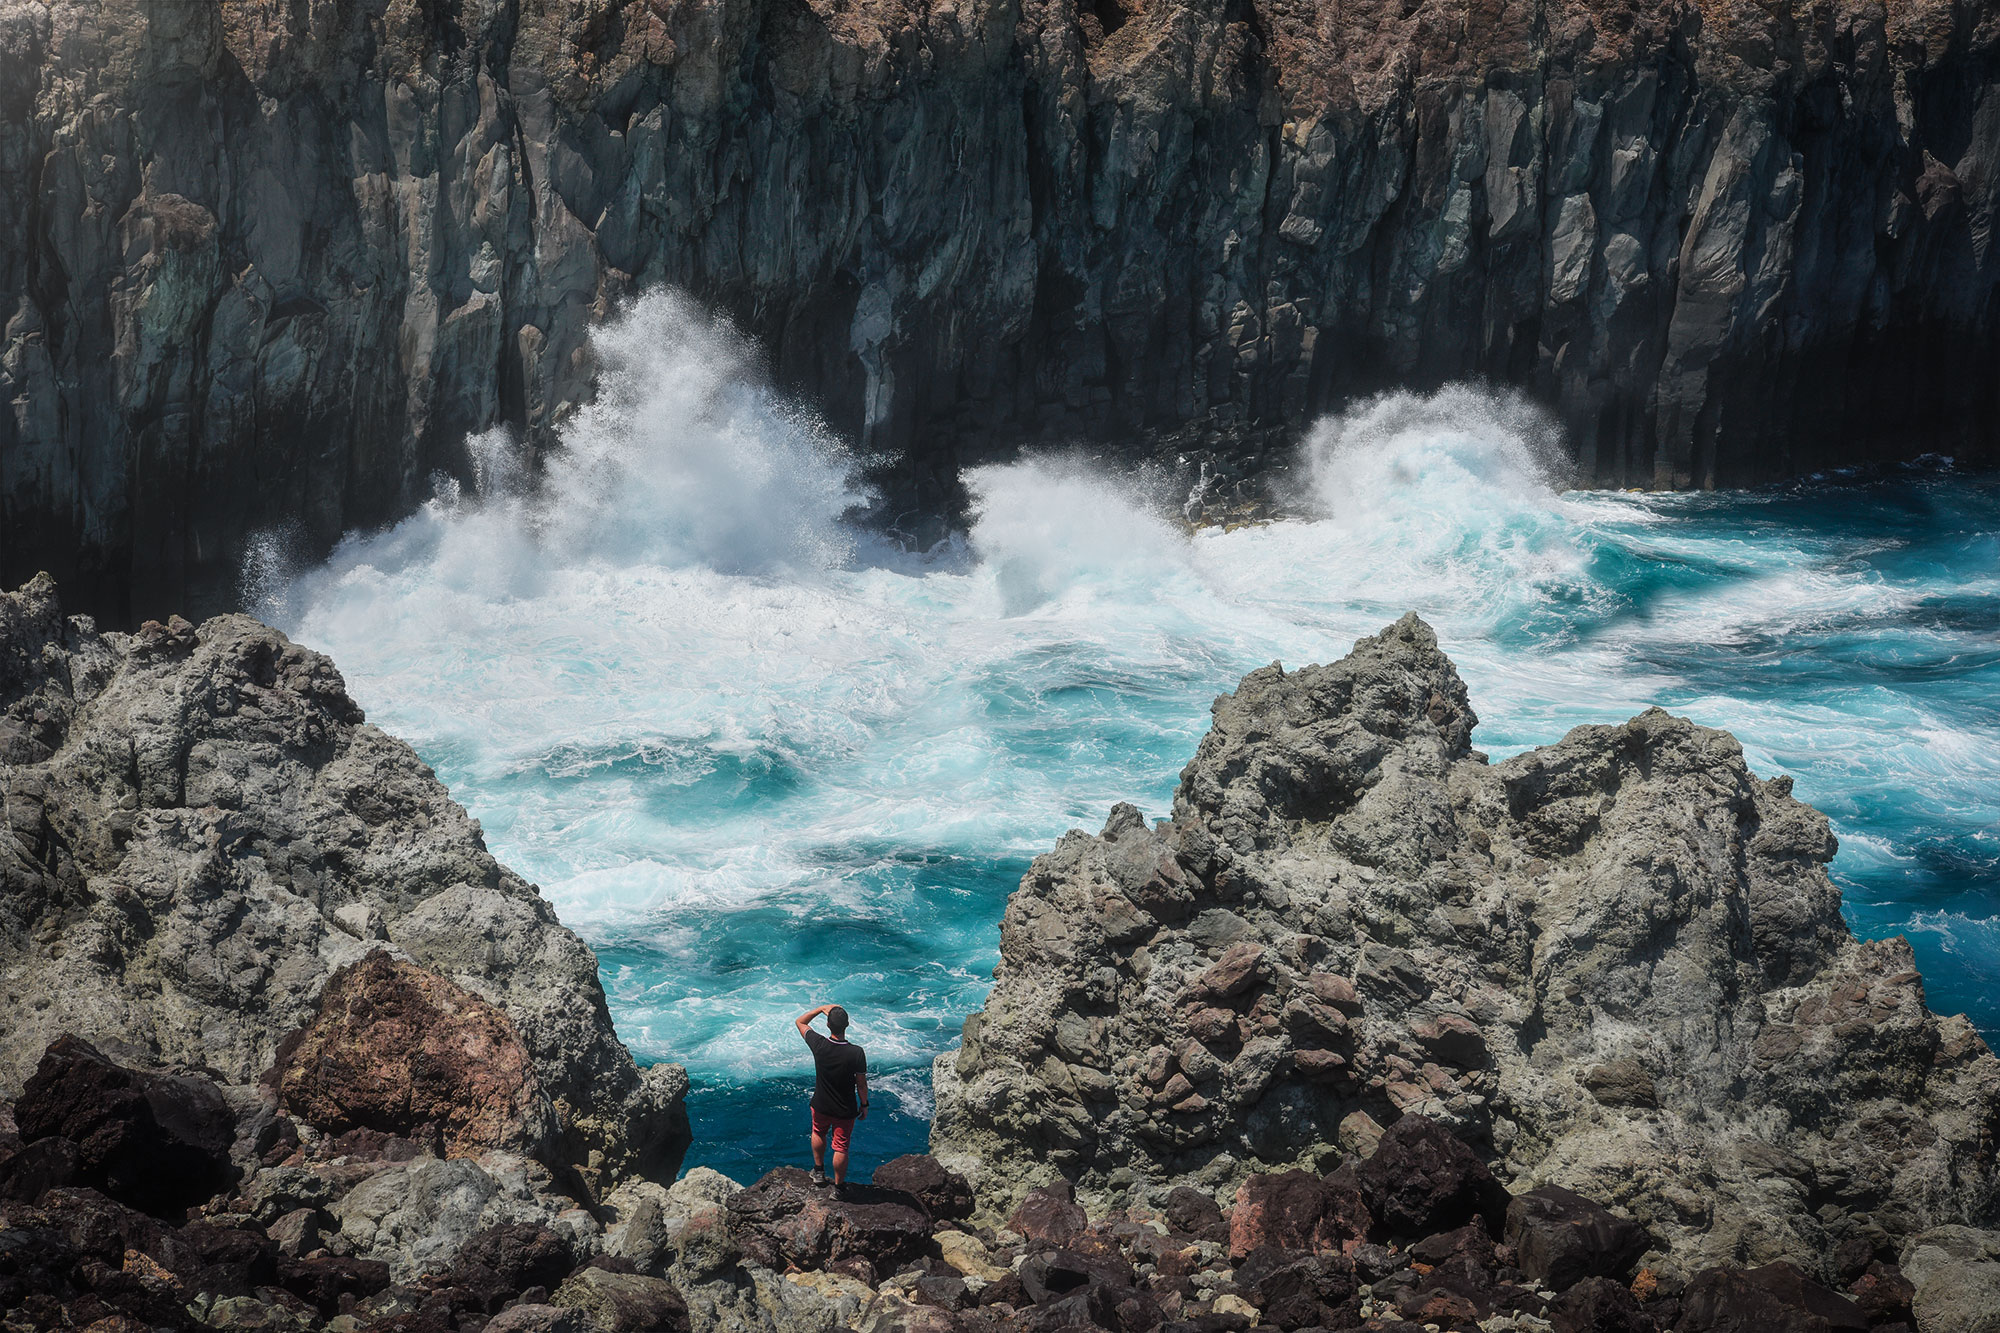
Located in the north of the island of Terceira, the Miradouro de Alagoa offers an epic view over the Atlantic Ocean and lava cliffs. It is a great spot for landscape photography!
How to get there
Access to the viewpoint is very easy, and you can park your car there. The road is not very good, but follow it to the car park indicated on Google Map. Once there, you can simply walk around and choose your photographic frame.
How I took this photo
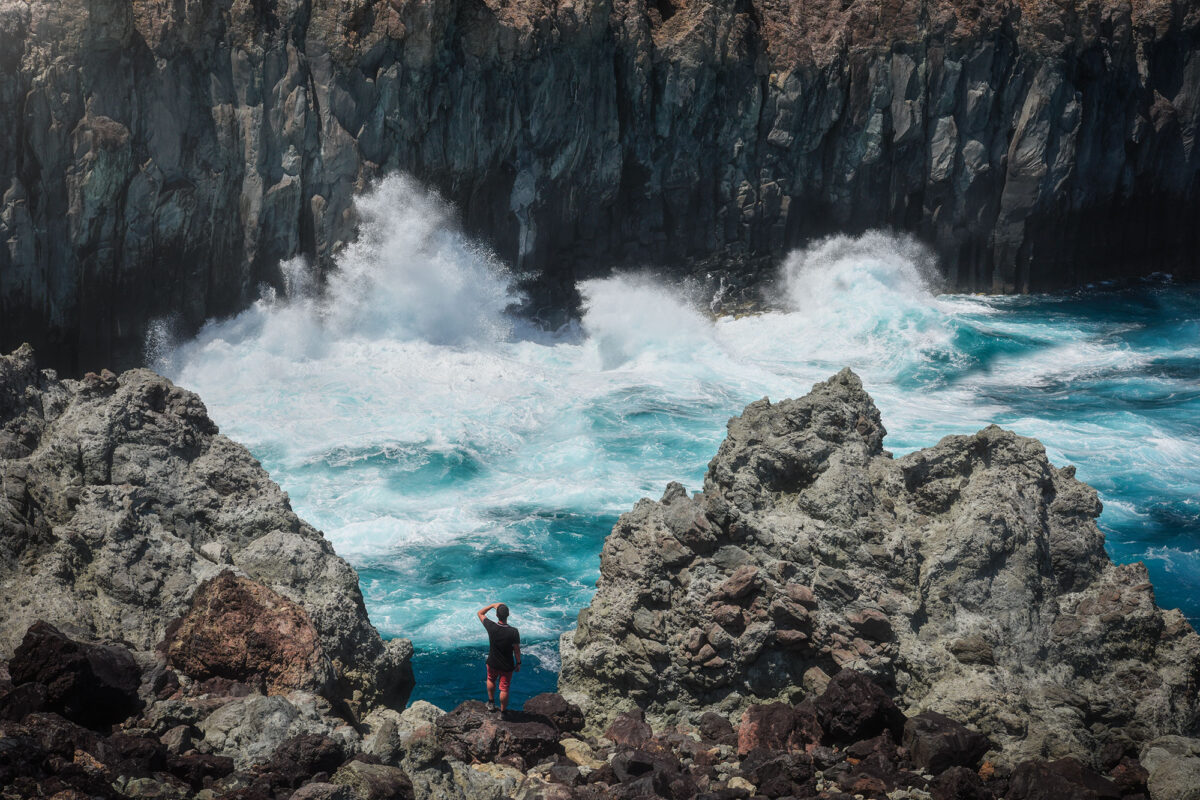
I spent quite some time there before finding the right setting. At first, I cautiously climbed up onto the rocks to see the view, but I wasn’t convinced. It was on the way back to the car that I saw these two large rocks. That’s when the idea for this landscape photo came to me. I asked my friend to go and stand between the two rocks, safely of course.
To start with, I set up my tripod because I wanted to combine my photos afterwards in photoshop. The big waves were actually quite rare and only came every 5 to 10 minutes. So I took the first photo with my friend. Then I waited for some nice waves to crash against the cliffs. It took me about 30 minutes to take all the photos I wanted, which I combined into 5 images in Photoshop.
My gear
Nikon D810, Nikkor 24-70mm f/2.8
Camera settings
ISO 250, f/11, 1/320s
Reserva Florestal de recreio do Viveiro Da Falca
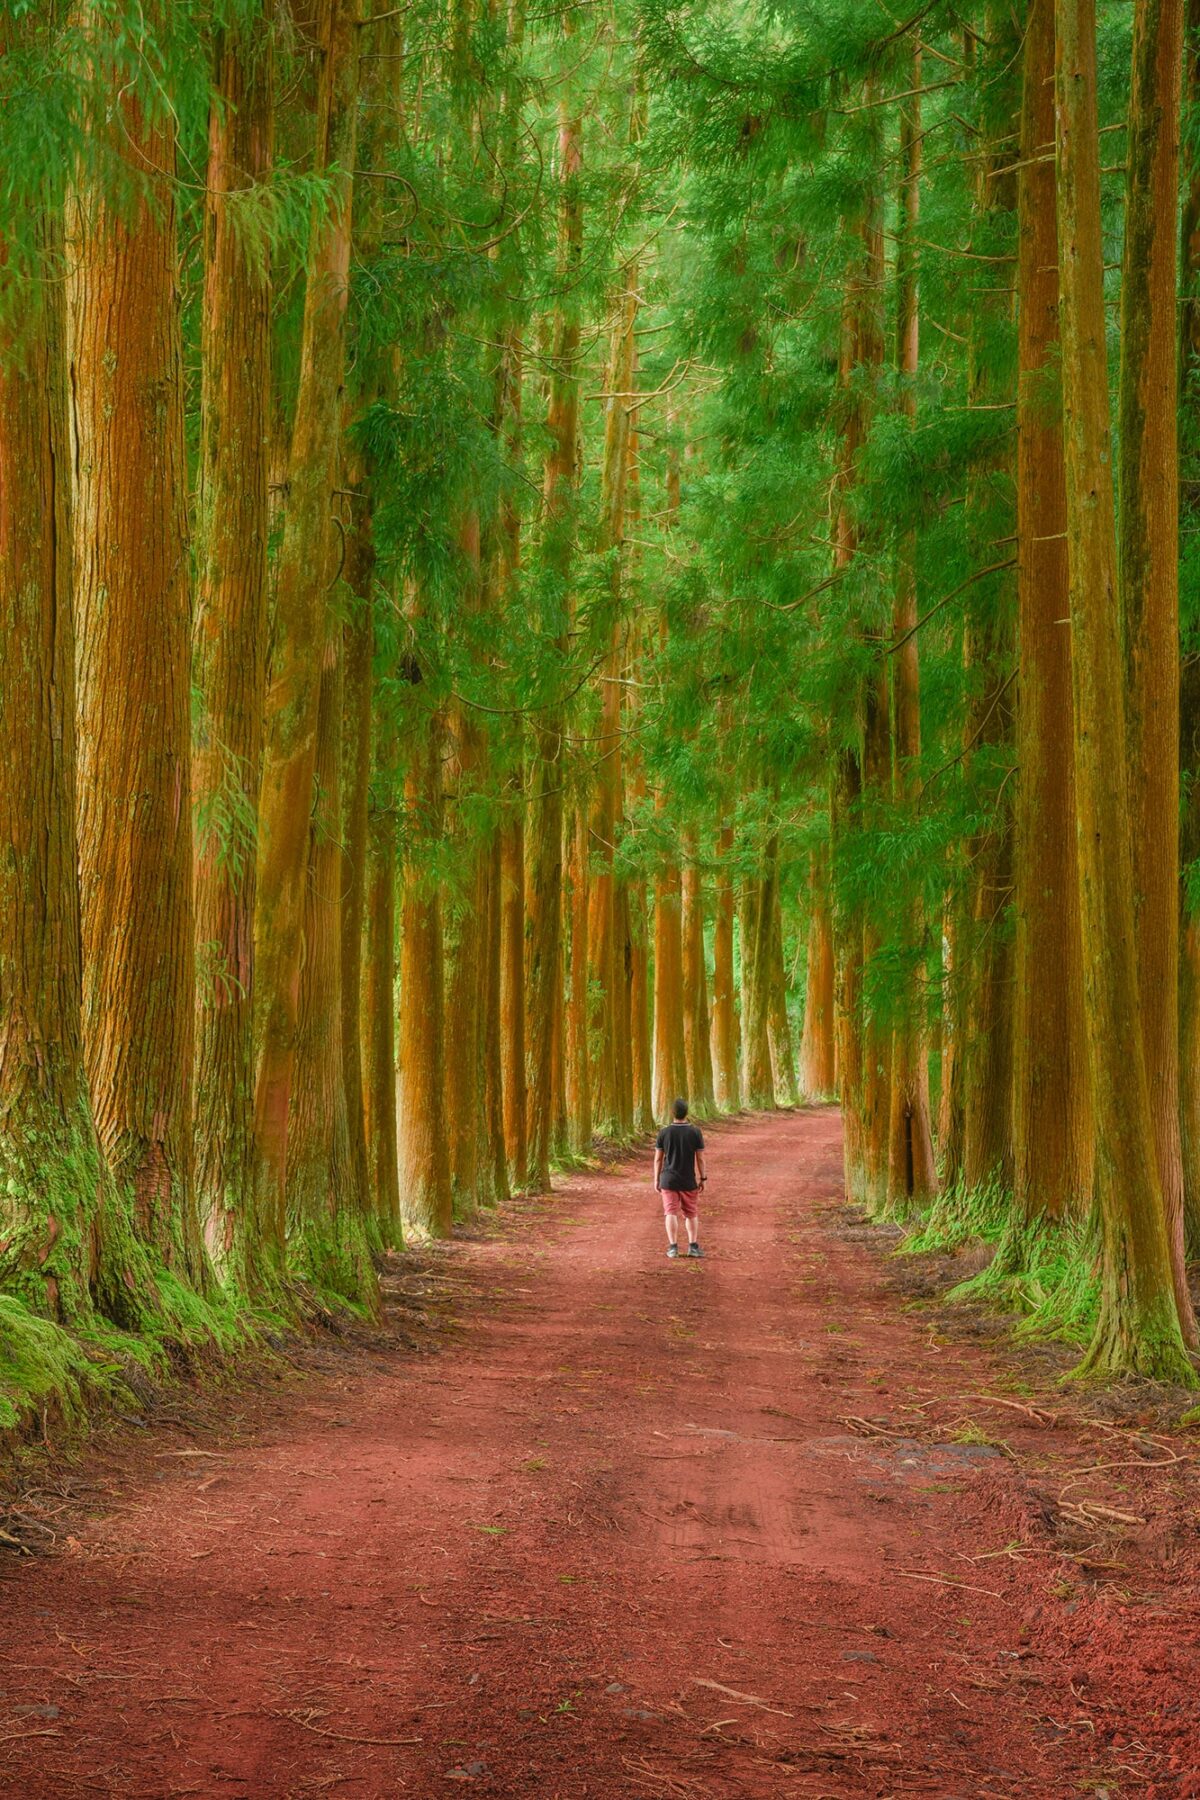
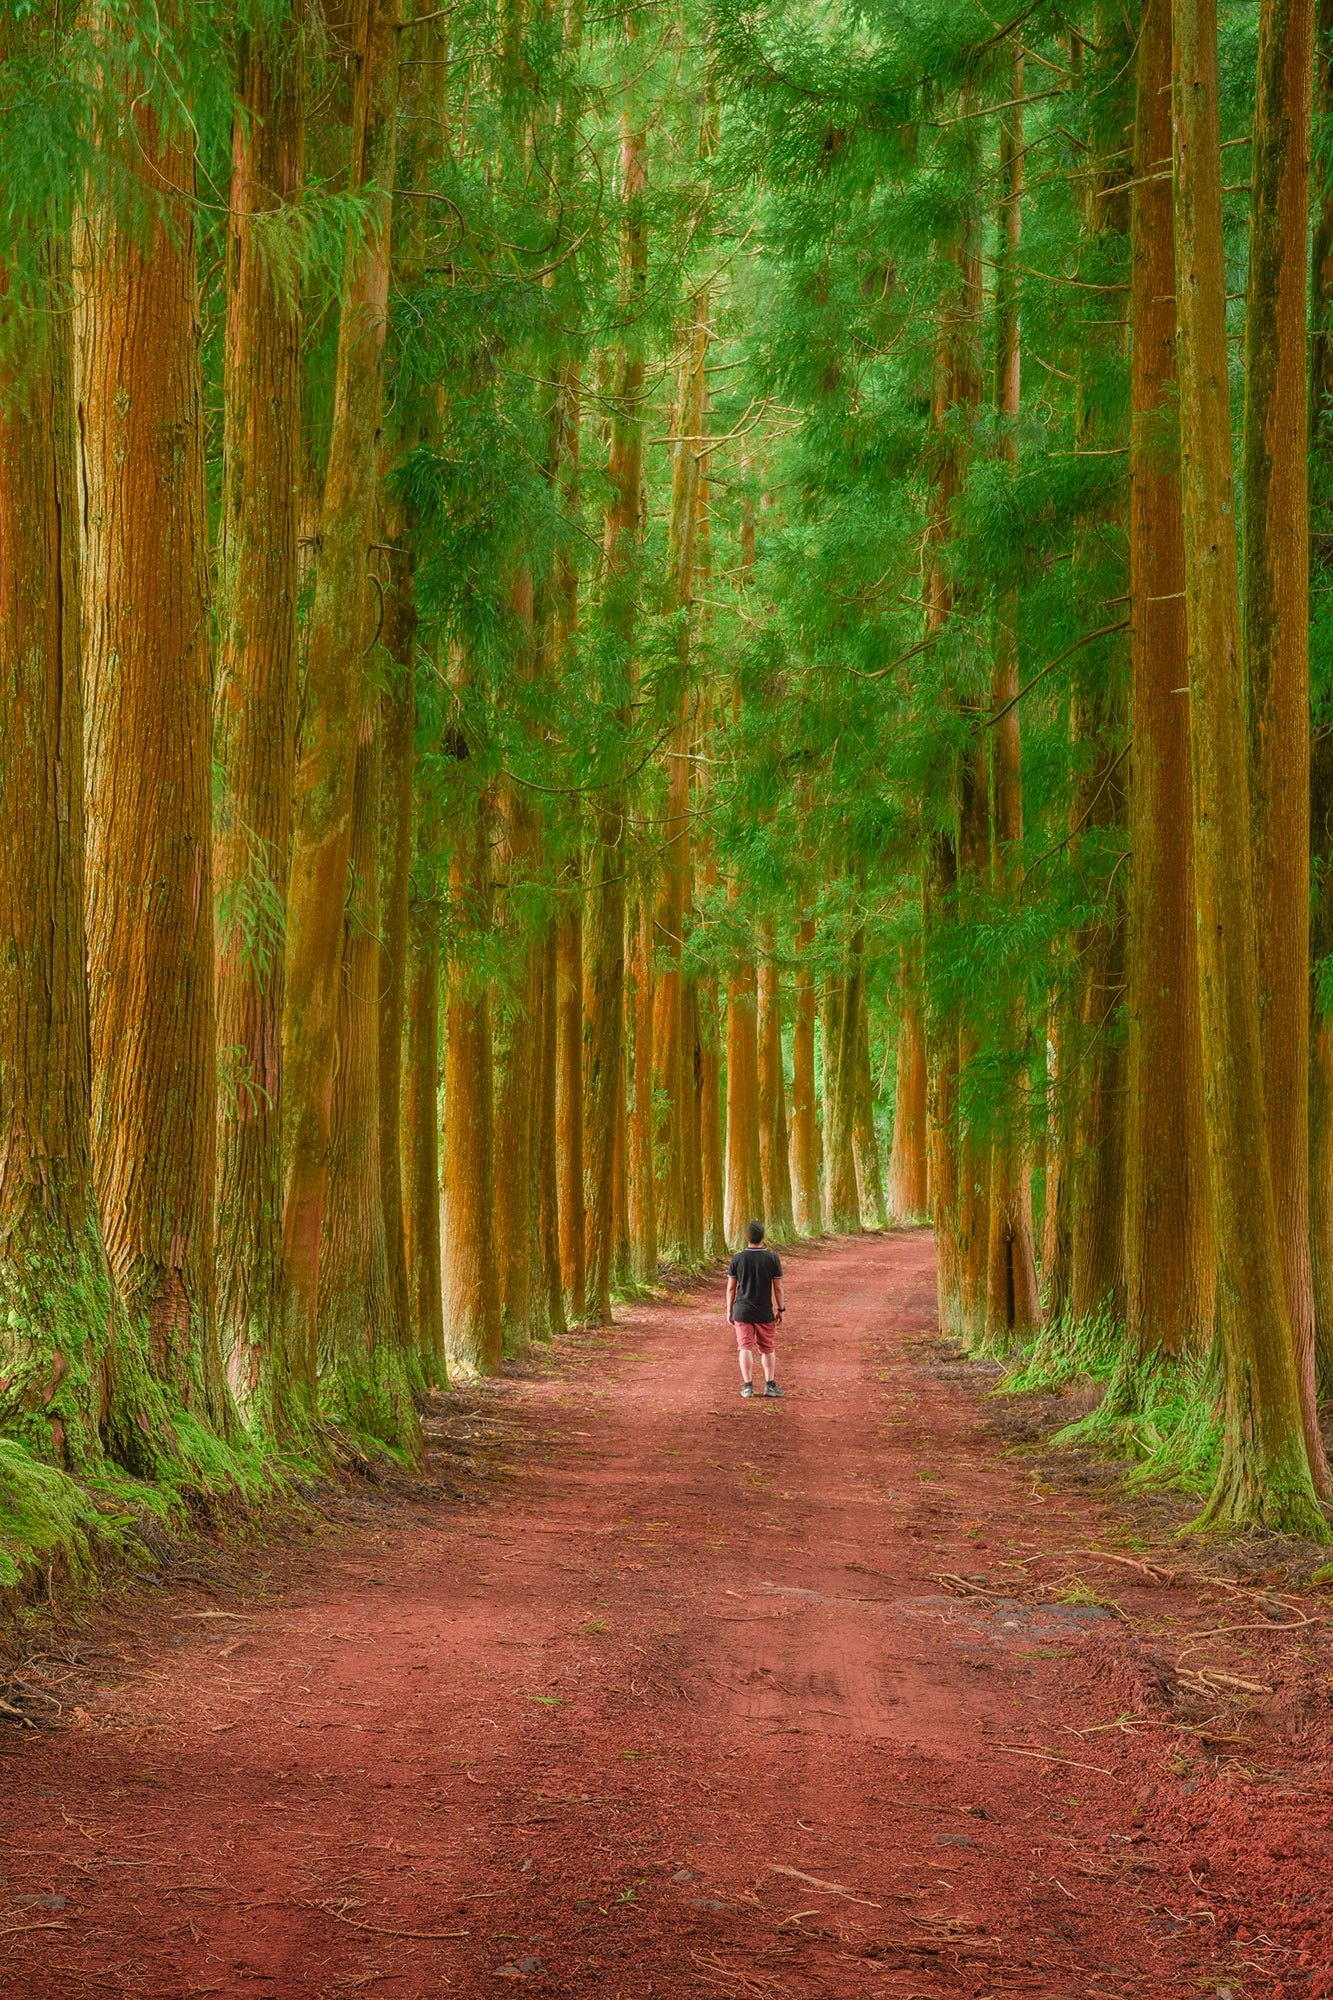
I hadn’t put this place on my list of places to visit. It was as I was driving past that I decided to stop. This park is located in the western heights of Terceira. It’s actually a popular picnic spot for the locals.
How to get there
To find this forest, simply follow the path past the picnic area. As you go along, you’ll see a field with a small house on your left. Walk a few metres further until you reach the next forest. Still on your left, you’ll see a path that leads into the forest and you’ll see these tall trees.
How I took this photo
This composition was self-evident. I chose a vertical orientation because I wanted to see as many of the trees and their straight trunks as possible. What’s more, the red earth and green leaves create a nice contrast. I asked my friend to walk along the path to give a human dimension to this incredible place. The light was quite low, so I used my tripod to make sure the photo would be sharp.
My gear
Nikon D810, Nikkor 24-70mm f/2.8, polarising filter
Camera settings
ISO 200, f/10, 0.6s
Algar do Carvão
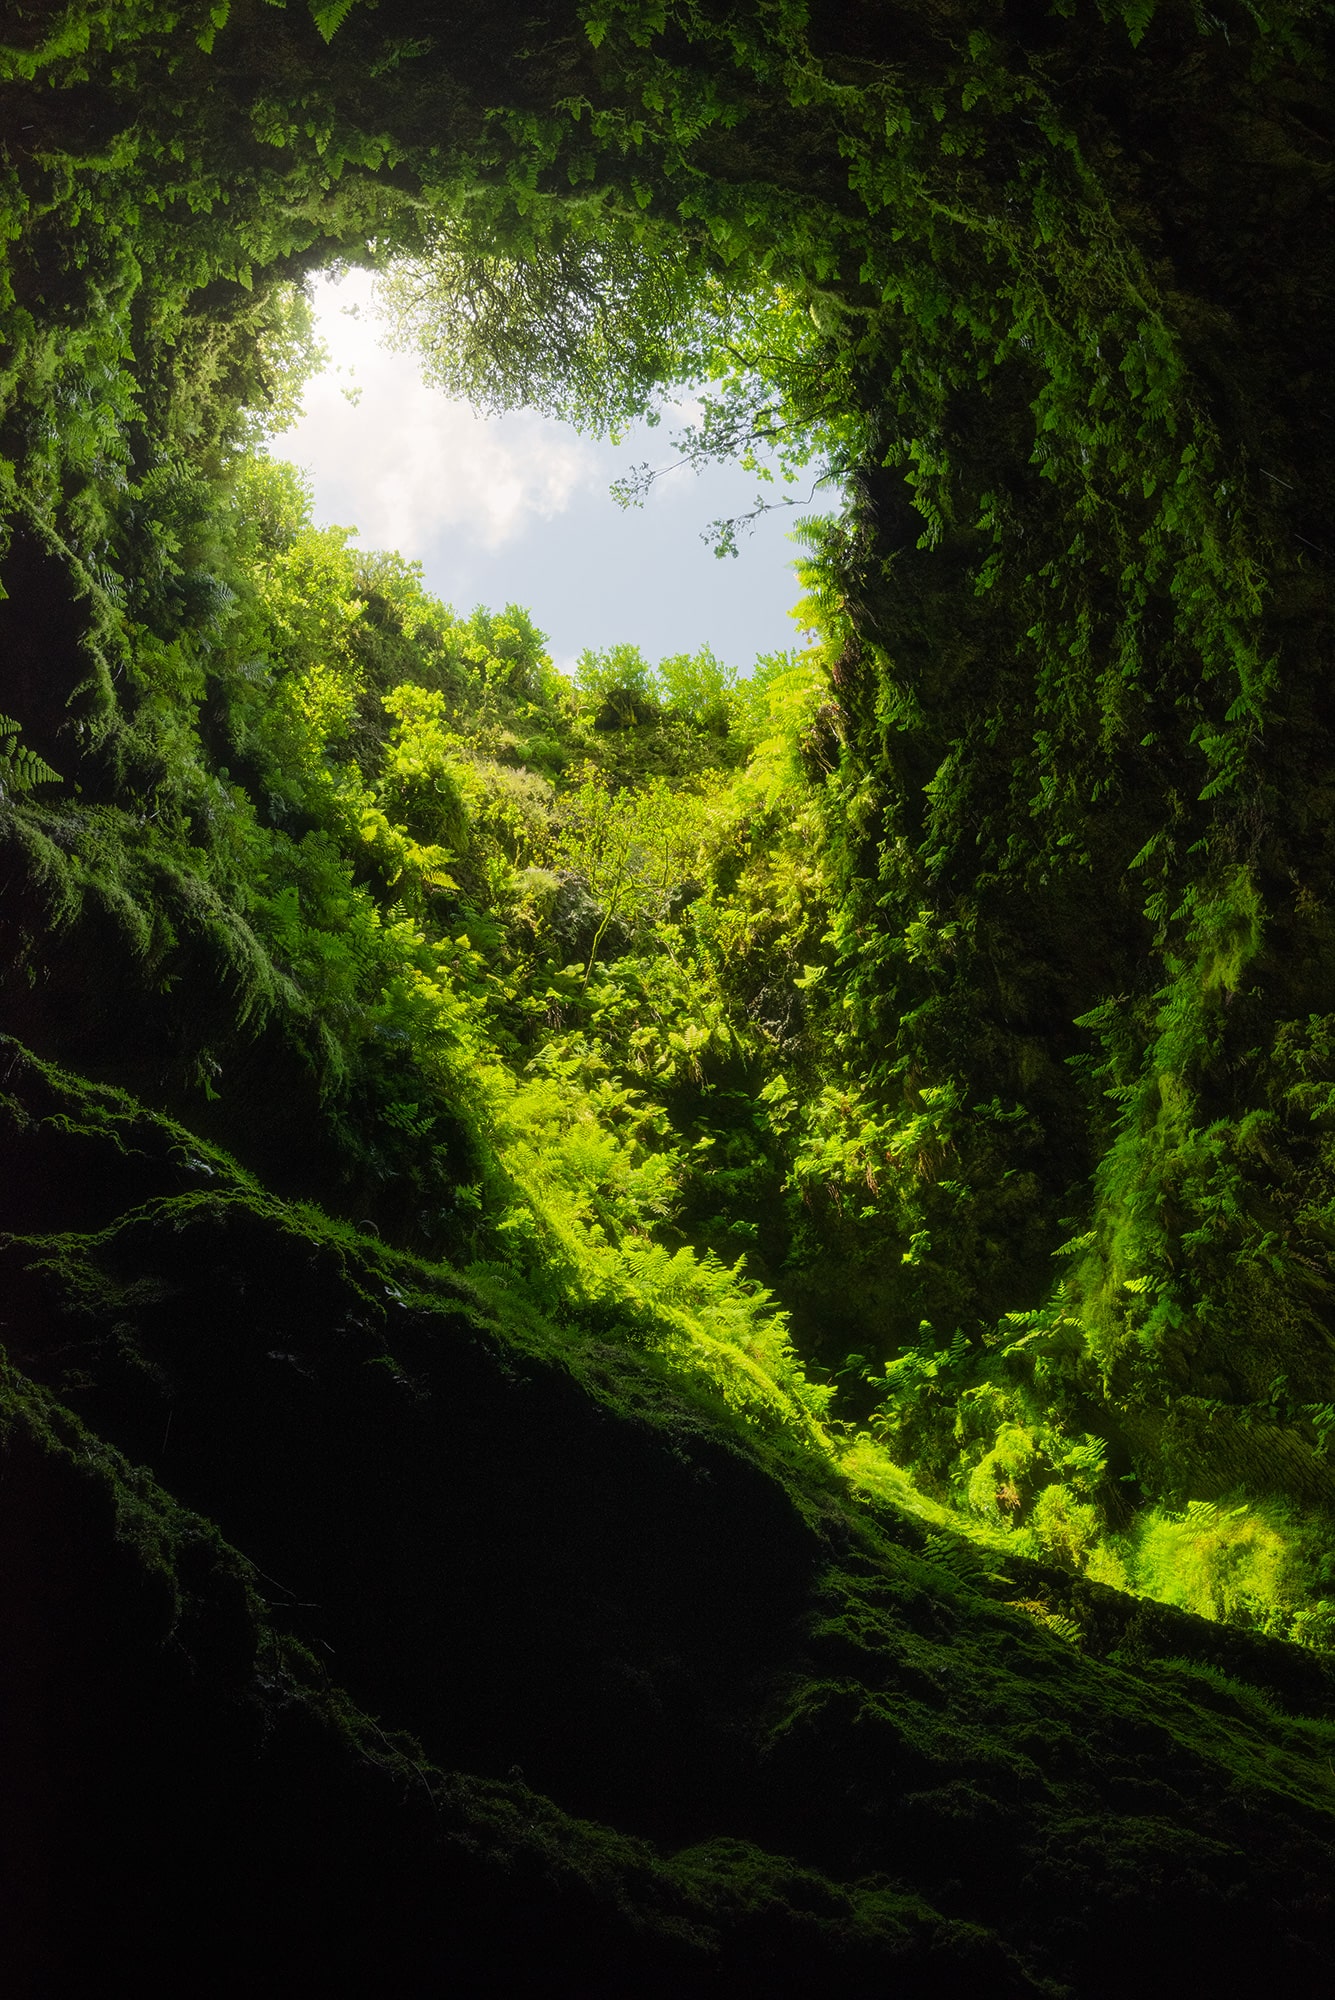
The Algar do Carvão is an ancient lava tunnel in the center of the island of Terceira. It is famous for the ferns that grow down to the bottom of the tunnel. It is also a nice spot for some unusual composition in landscape photography.
How to get there
There’s a parking lot close to the entrance. This is a well-known attraction, so expect to see a lot of people. Once inside, you’ll have to go down several steps without an elevator. The way down and up is fairly easy.
How I took this photo
The light at the bottom of the tunnel is very bright in the center and very dark on the sides. Unfortunately, when I went there, tripods were not allowed. The best thing to do was to take the photographs in raw format. In terms of composition, it’s quite limited. As there were a lot of people on the stairs, I decided to take a photo without it (well, you can’t see it in the photo) and focus on the dynamics of the ferns coming down from the entrance.
My gear
Nikon D810, Nikkor 24-70mm f/2.8, polarising filter
Camera settings
ISO 800, f/10, 1/60s
Published on 01.10.2023 by Jennifer Esseiva
